TUTORIAL: Automatically ask the caller for their consent to be recorded
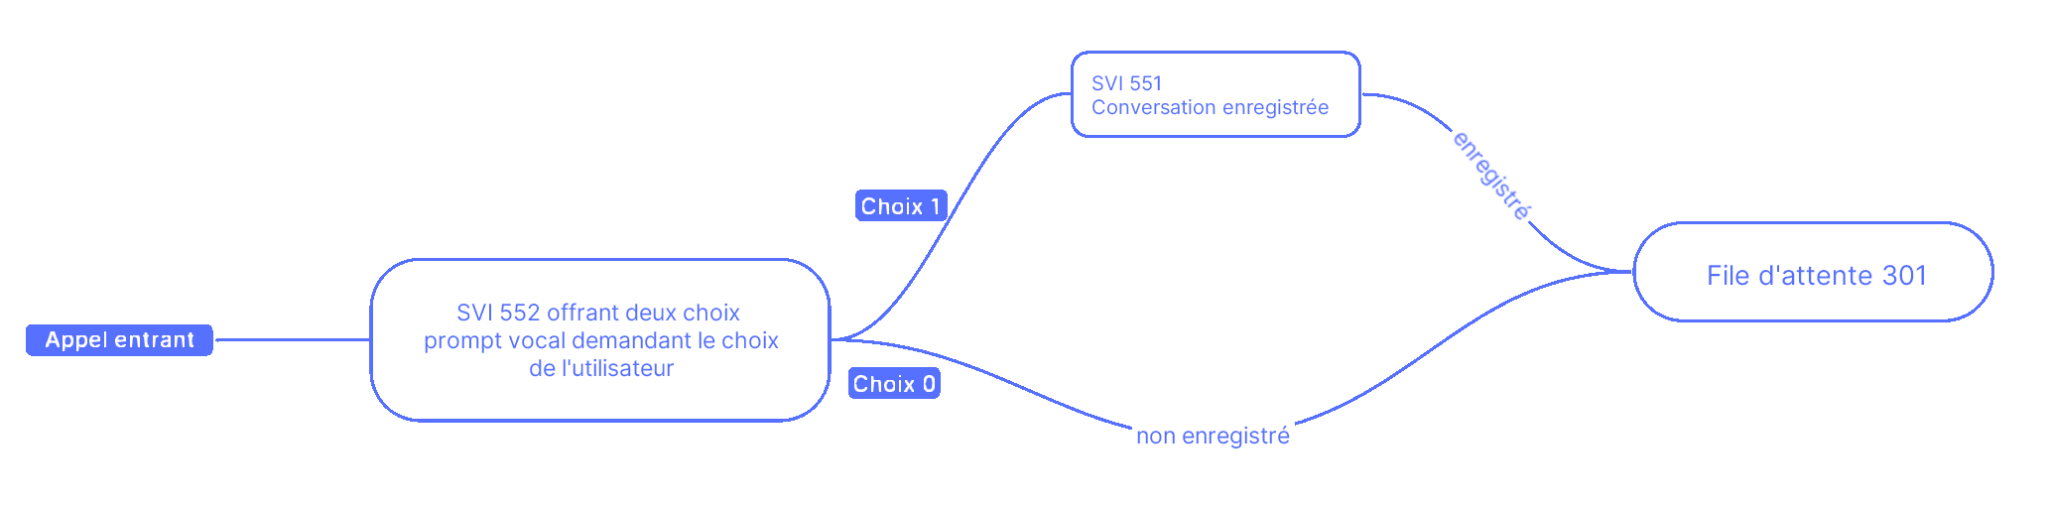
Creating the queue
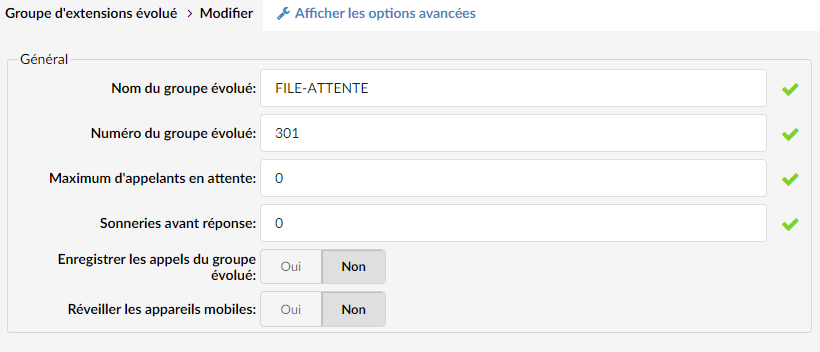
In our example, we will use a queue (or enhanced extension group on versions other than PBXware Call Center), but the destination could just as well be an extension group, or even a single extension.
Go to Extension Groups > Enhanced Extension Groups (Agent Panel > Queues in the case of PBXware CC).
Create the group and assign the member(s) to it.
Creating the IVR tree
Go to the section IVR > IVR Tree
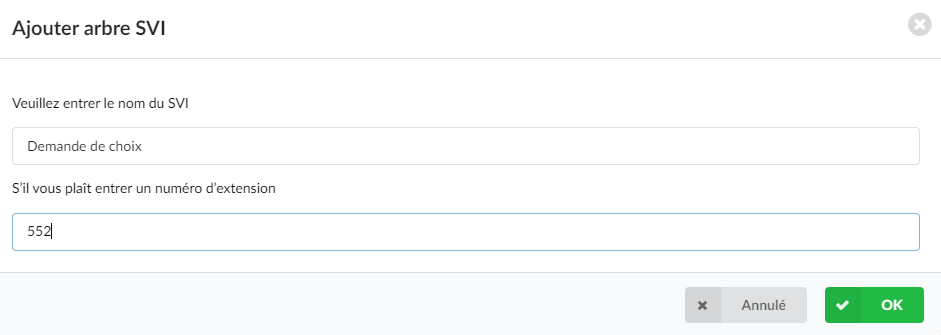
Click the button Create of the section IVR actions in order to create your two IVRs (in accordance with the call plan presented above).
- Create your Choice IVR :
- Create your IVR in case of acceptance
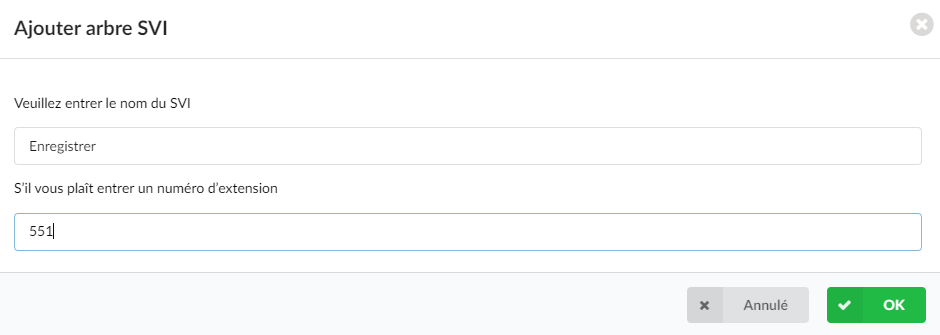
We now have our two IVRs ready to be configured:
Choice IVR configuration
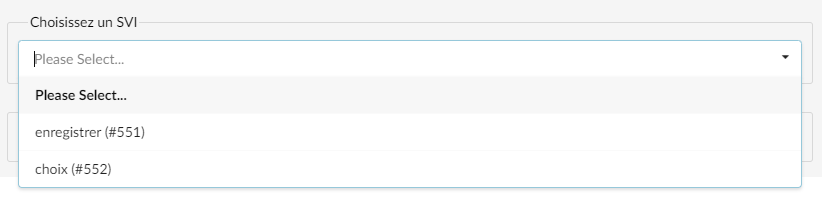
Position yourself on the IVR “Choice request” (552) in the drop-down list.
Add an Action, which will be triggered as soon as the caller reaches the IVR. Our action will consist of playing a greeting asking the caller whether or not they agree to be recorded.
Click the “+” located on the “Action” button of the “IVR tree” section.

A window then opens on the right "IVR tree actions", and a drop-down list offers several options including that of listening to the recording, select this option.
Select your sound file from the drop-down list in the “Sound file” field
If your sound file has been added correctly with the right prefix, it should appear in the drop-down list:
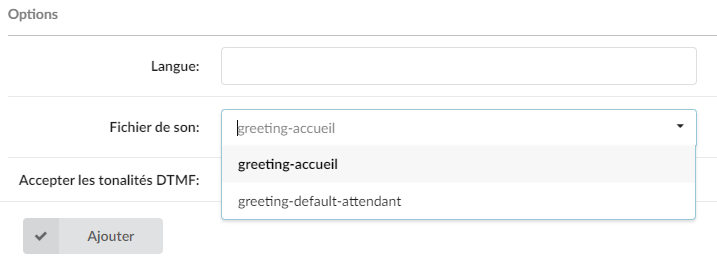
Check the box “Accept DTMF tones” so that when the caller presses 0 or 1, their key is taken into account by the system.
Click the button Add.
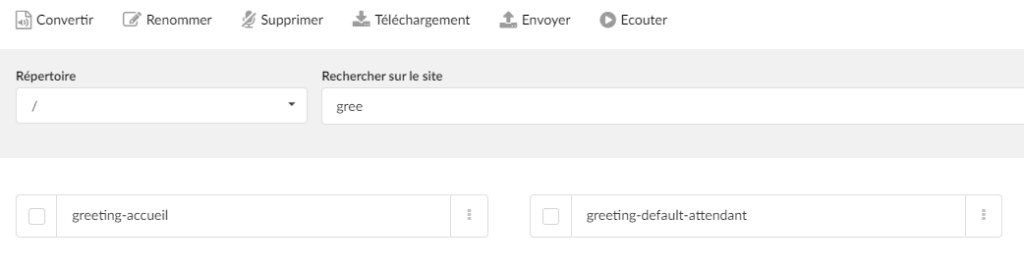
Now, you will need to add the key actions, which will be used to send the user to a destination based on the key they have pressed.
To do this, click the “+” of the section Selection.
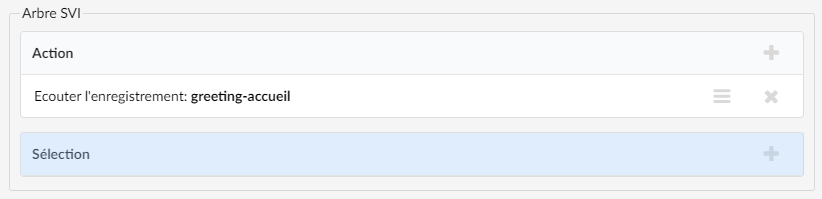
A window then opens on the right "IVR tree actions“, and a drop-down list “Add a selection” offers several dialing options.
In our case, we want the following:
- When the caller presses 0, the call is not recorded
- When the caller presses 1, the call is recorded.
Then configure the options as follows:
- For the 0 key
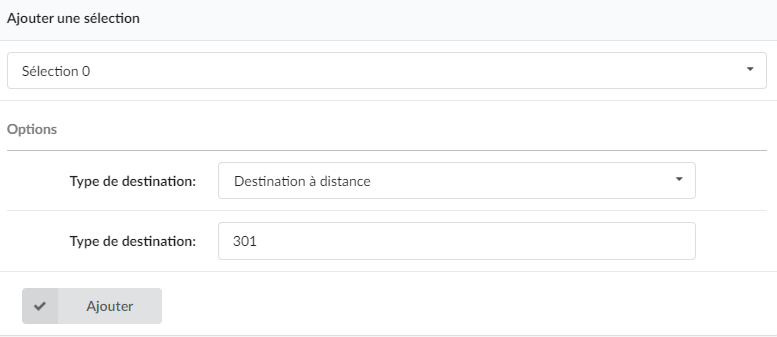
Here, by pressing 0, the caller will be connected directly to the queue.
Click on Add.
- For the 1 key
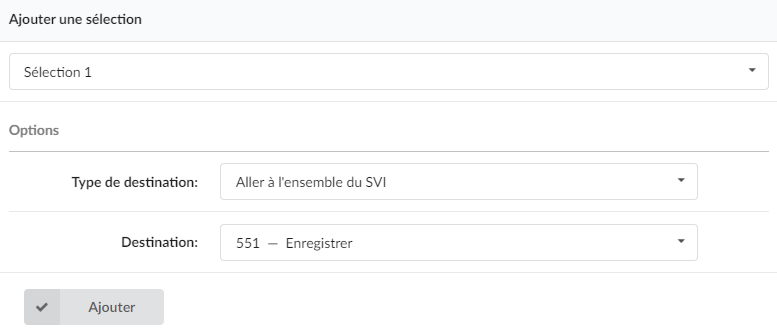
Here, by pressing 1, the caller will be redirected to our second IVR which serves as a recorder for us.
Click on Add.
This is what your Choice request IVR after this first step:
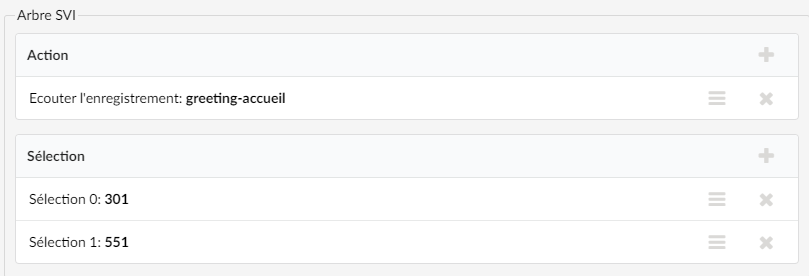
Click the button
Recording acceptance IVR configuration
Now, you will need to configure the recording acceptance IVR.
Go to your IVR “Save” (551).
We are going to add two actions in this IVR, which are:
- Dial the remote extension
- Start recording
Add the action to call group 301:
Click the “+” located on the “Action” button of the “IVR tree” section.
A window then opens on the right "IVR tree actions“, and a drop-down list offers several options including “Dial the remote extension” which allows calling a destination. Select this option and enter the queue 301:
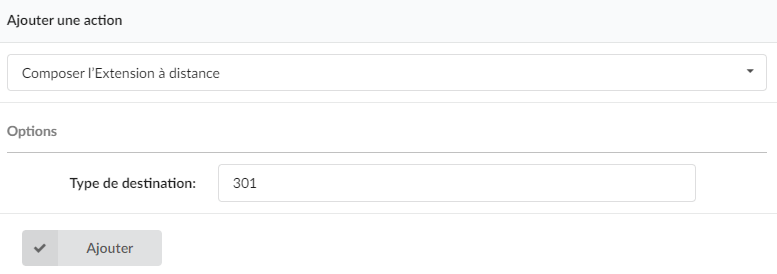
Add as a second option “Start recording“.
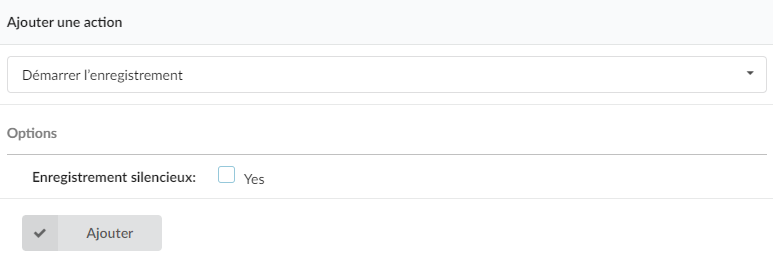
The option Silent recording allows you to notify the caller or not that they are being recorded with a voice saying “Saved” as well as a recurring beep sound.
On the Communicator application, the called party will see this icon appear during the call:

Your recording acceptance IVR should look like this:
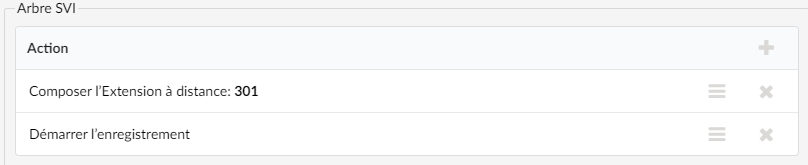
These two actions will then be performed in parallel when the caller reaches this IVR.
Click the button
Your two IVRs are now configured.
Number routing (DID)
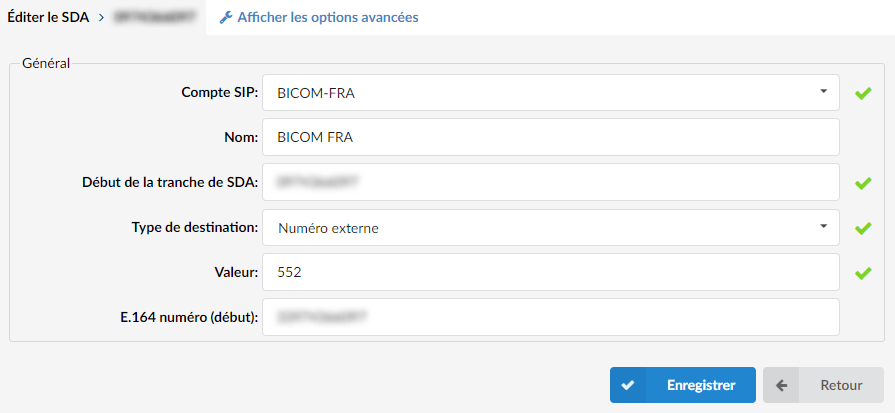
You will now need to route your DID to the choice request IVR. To do this, go to the DID section on the left side panel of PBXware.
Then route your DID to the Destination type “External number” and enter the number of your chosen IVR (here 552).