



Add applications, meetings & branding to a license
Begin by logging into your Bicom Systems account by clicking on accessing login.bicomsystems.com
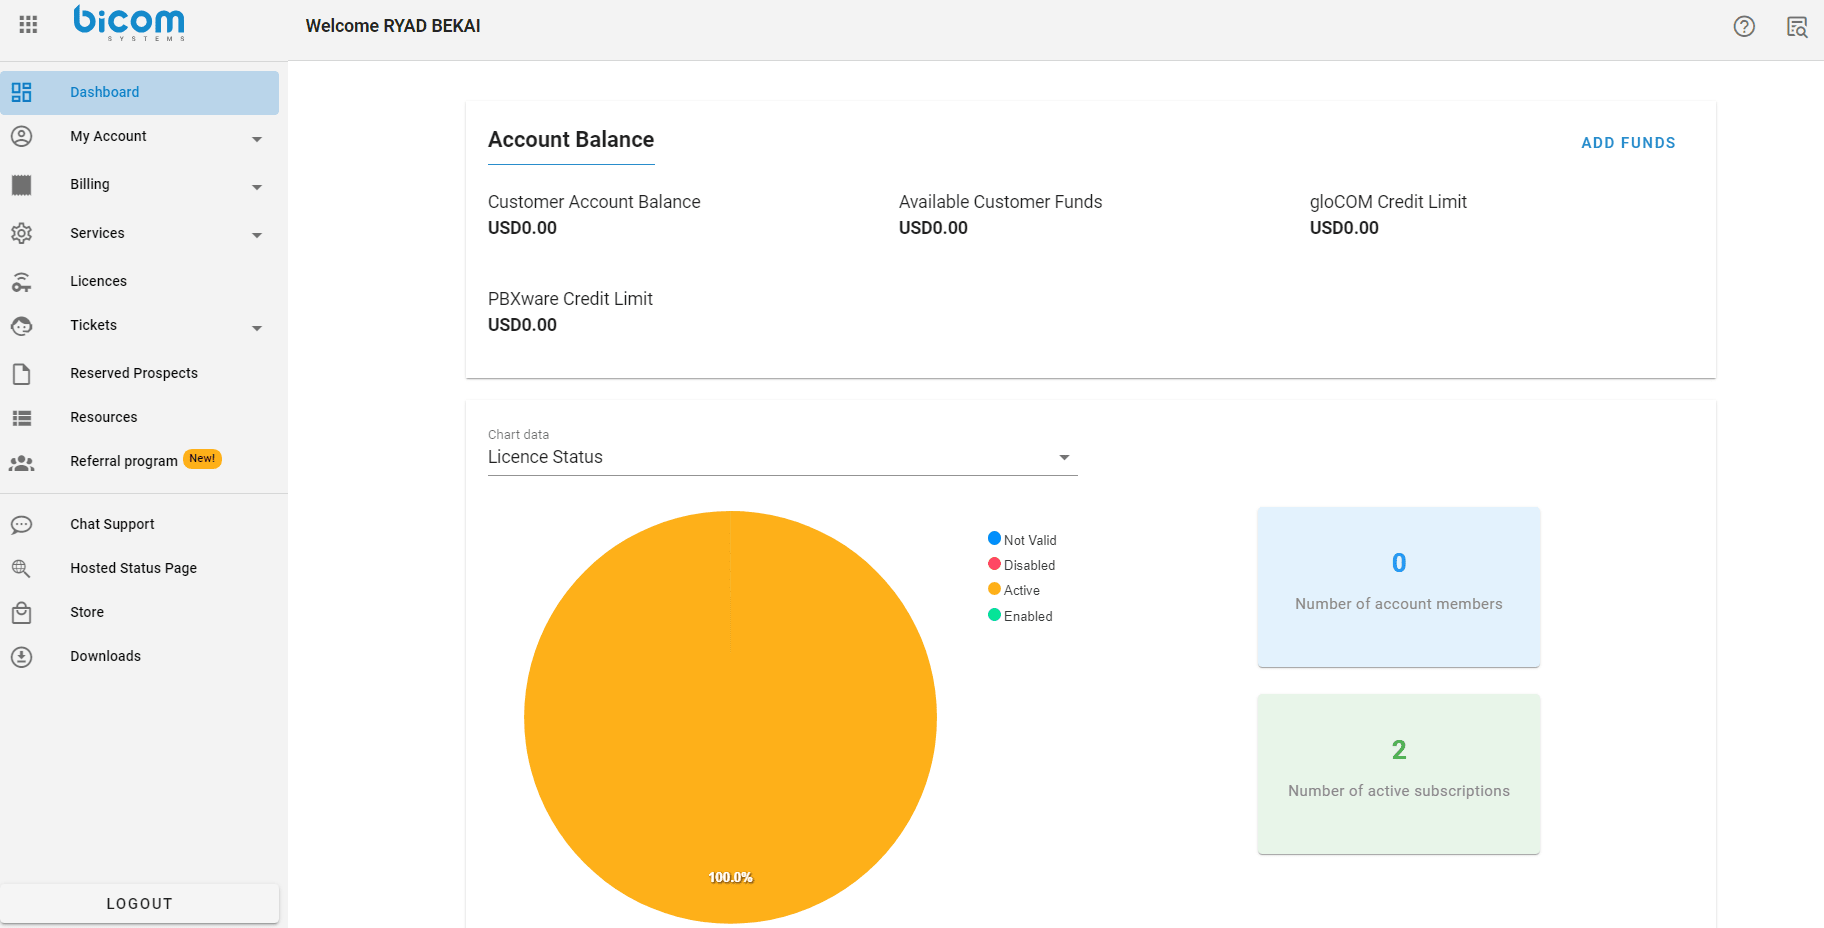
Once logged in, you will find yourself on the main dashboard of your account.
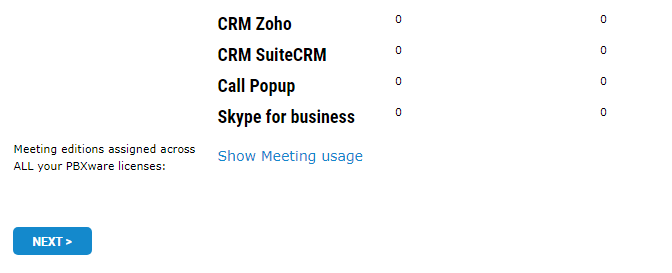
A summary of your application quantities will appear. Click the button Next.
Now select your license from the drop-down list. Note that you can search for it by typing its first few characters.
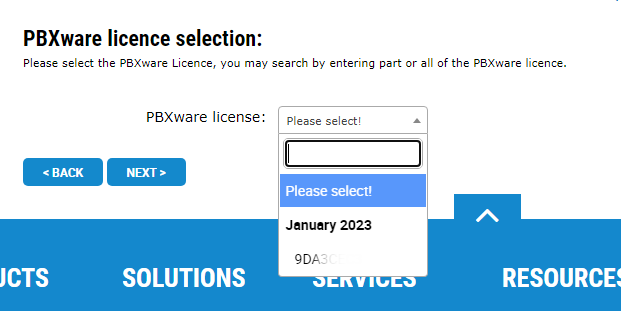
Once your license is identified, select it and click the button Next.
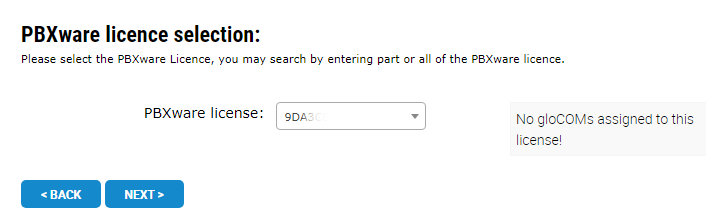
You can now add applications to your license:
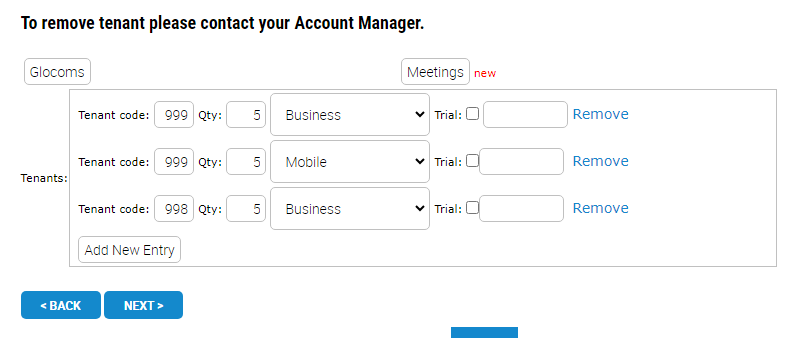
Meeting Licenses
In order to add meeting licenses, click the Meetings button located in the applications addition section:
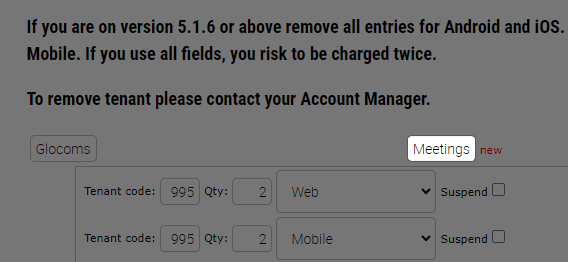
You will now be able to add your quantity of Starter (free) or Business (paid) meeting licenses; please refer to the following table:
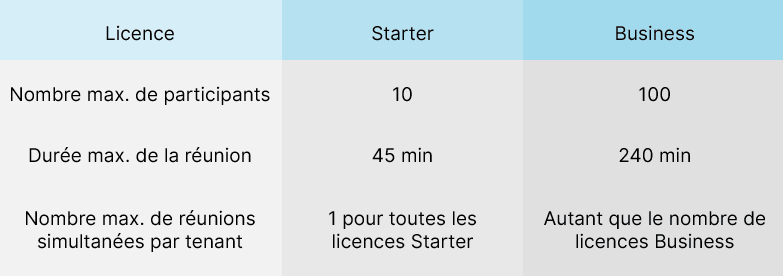
Enter the desired meeting license quantities by specifying the tenant number in the case of a Multi-Tenant license, then click the button Next.
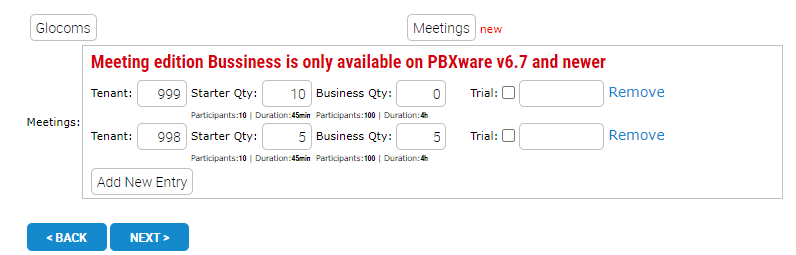
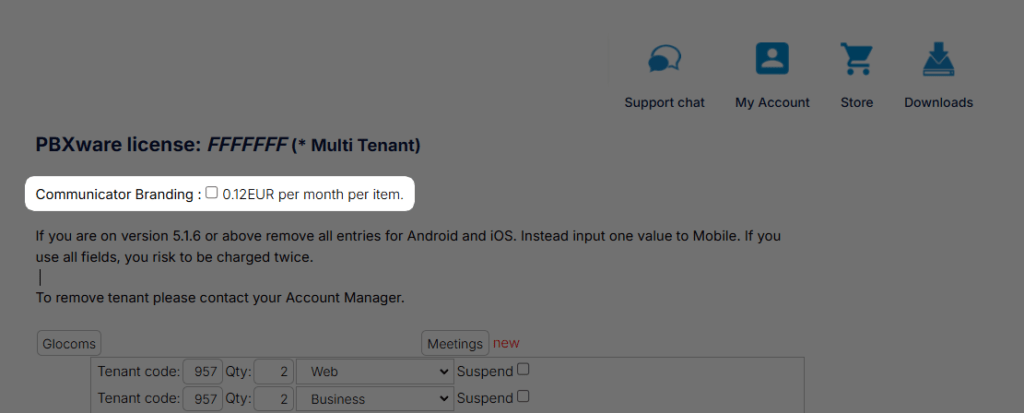
Once your purchases are complete, click the button NEXT, a summary of the purchases will appear.
Click the button CONFIRM CHANGES to complete your purchase.
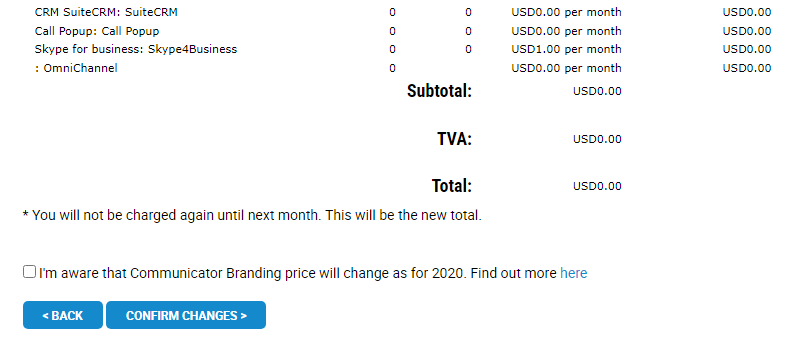
A confirmation message will appear indicating that your changes have been successfully taken into account.

The last step is to reload the license so that PBXware can take note of the changes by contacting the Bicom license server.
To do this, go to your PBX, click on the tab Settings > About.
Here, click on the button Refresh license.
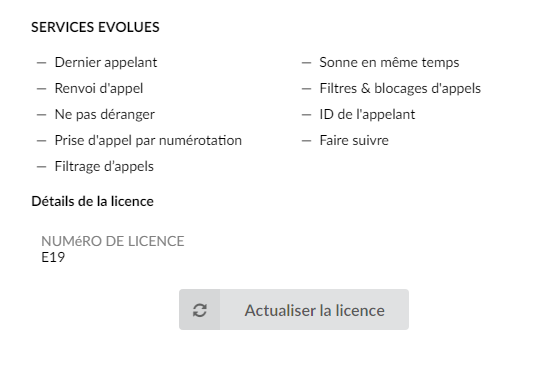
To verify that the licenses have been successfully downloaded, click the Apps section, while positioned in the relevant tenant in the case of a Multi-Tenant edition:

To assign an application edition (mobile, business…) to a PBXware extension, please go to the settings of the relevant extension.

The button Editions & Modules allows you to define which Communicator applications and modules of this application the extension can use.
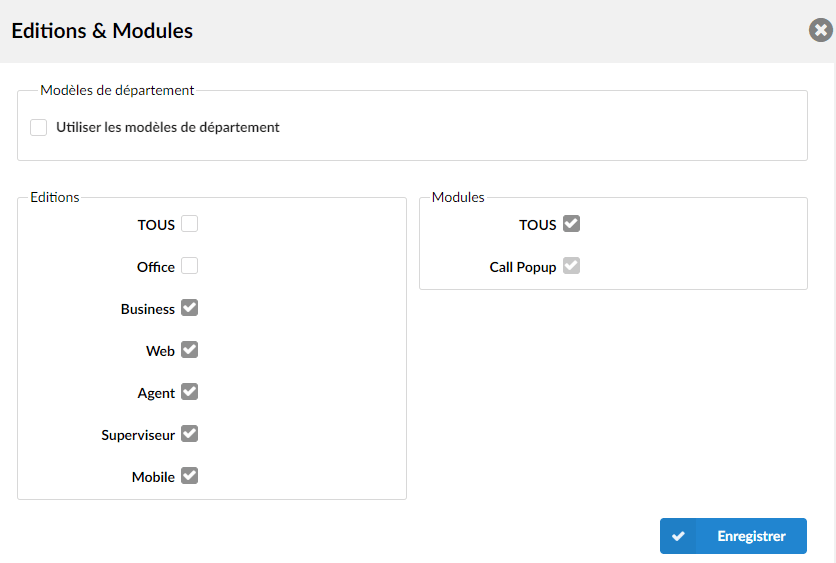
Once you have checked the relevant edition and pressed the button Save, the extension will be ready to use the application.
The option ALL is set by default, so the extension can use all editions.
You can uncheck the option ALL and choose the editions you want to enable per extension.
Assign meeting licenses to users
To assign the meeting licenses previously purchased on PBXware, click the section Meetings, located in the left side panel of PBXware. Position yourself in the tenant to which the meeting licenses were added in the case of a Multi-Tenant instance. Click on the subsection Licenses and assign the licenses per user.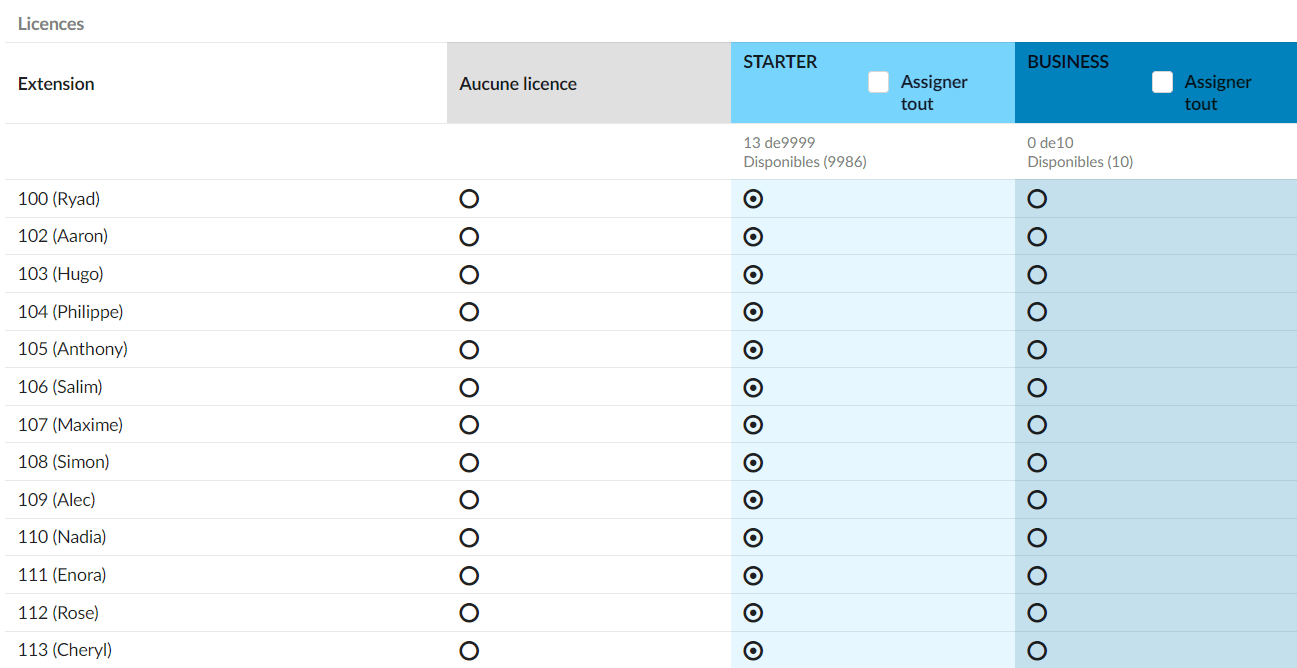 The assignment happens in real time and does not require any registration on your part.