



Test the APIs
In summary, Postman is an essential tool for API developers, offering powerful features to test, debug and collaborate on API development efficiently.
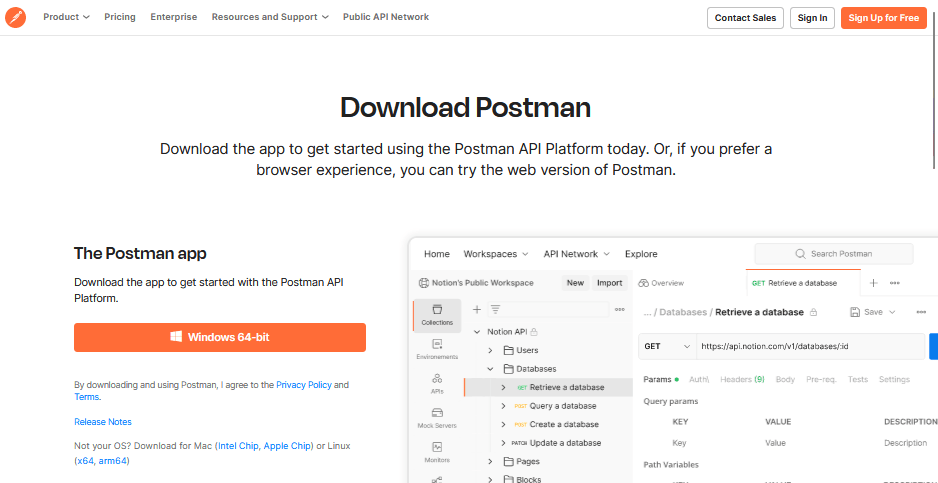
1 – Download and Installation:
Go to Postman's official website at the following address:https://www.postman.com/downloads/ to download the appropriate version for your operating system.
Once the download is complete, follow the installation instructions to set up Postman on your machine.
2 – Importing APIs from a JSON file:
To import the APIs from a JSON file, retrieve the JSON file containing the API specifications from the provided Github repository: PBXware-API-Documentation.
In the Postman interface, click the "Import" button in the top navigation bar.
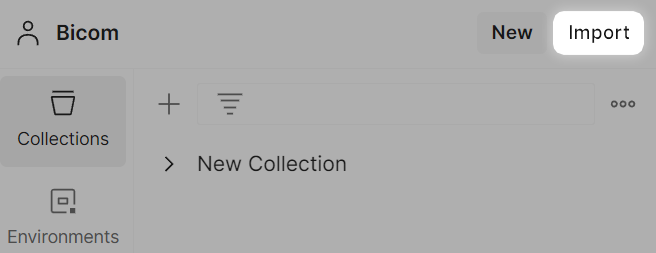
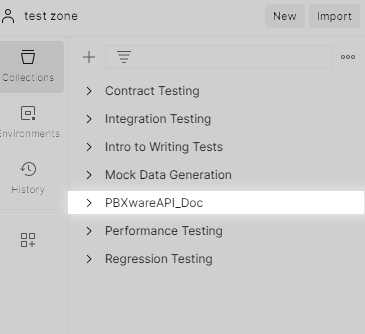
Select “Import File” and drag the JSON file you retrieved from the GitHub repository. Postman will automatically create a new “PBXwareAPI_Doc” collection with the endpoints and parameters specified in the JSON file.
3 – Setting the variables in your Postman Workspace:
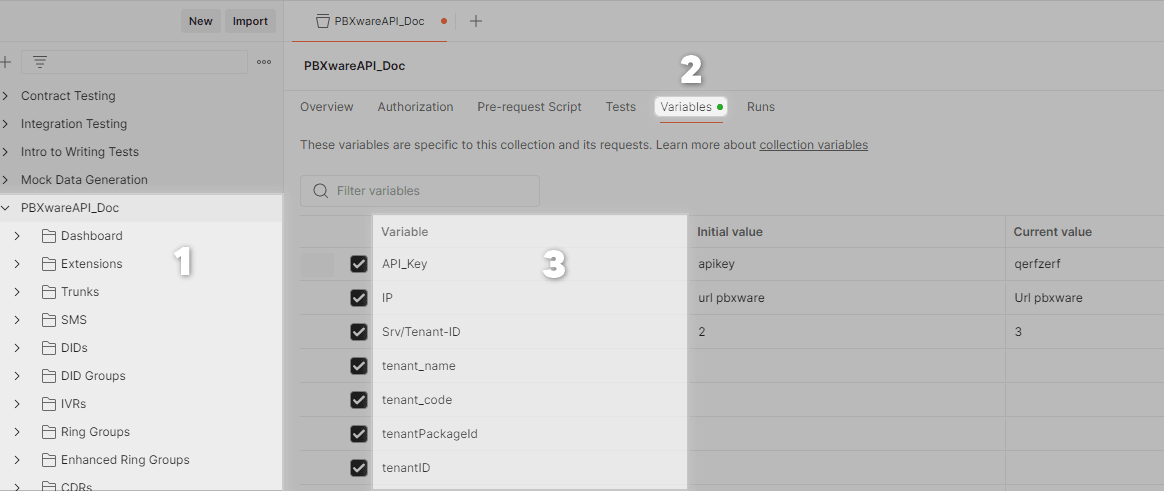
When working with APIs, it is common to use variables to make requests more dynamic and reusable.
In Postman, you can define environment variables or collection variables to store values such as URLs, API keys, etc.
To set a variable, go to the “Manage Environments” tab in Postman and create a new environment or modify an existing one. Then enter the necessary values for the variables used in your API requests.
Example request:
here is the type of request that you will find in the APIs you have imported
Fill in all the values you will need to run your tests.
the ideal thing is to run a .list from the main action to get the unknown values, etc.
Find your API key on PBXware:
/documentation/pbxware-mt/reglages-de-ladmin/#clés-api
4 – Using queries:
Once the variables are defined, you can access the various requests present in the imported collection.
Each request is configured with predefined parameters, but you can customize them according to your needs by modifying the parameter values in Postman.
To send a request, click the "Send" button after selecting the desired request. Postman will send the request to the specified URL with the configured parameters and display the response in the output window.
See the image below.
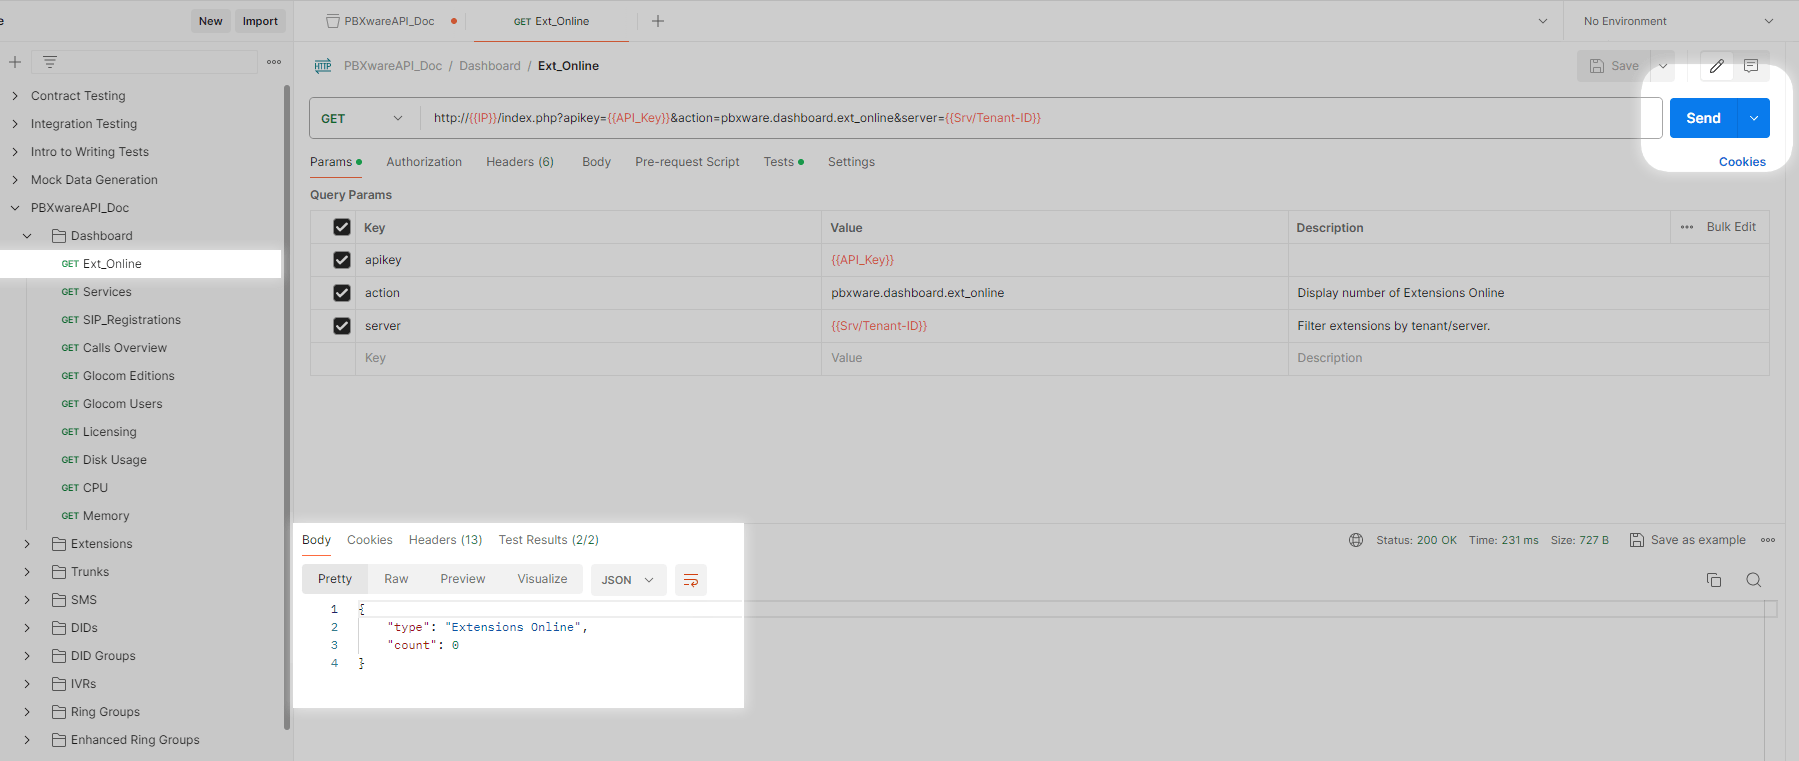
By following these steps, you will be able to quickly import, configure and use PBXware's APIs using Postman, thus facilitating the API testing and development process.
