Standalone installation on Ubuntu
Installing standalone PBXware on the Ubuntu distribution requires certain prior configurations, including updating the system, installing the required dependencies and adding the PBXware-specific packages.
This guide will accompany you step by step to ensure a smooth and functional installation.
INFORMATION:
Installing PBXware requires basic knowledge of server management. It is helpful to have some experience with networking, Linux operating systems and virtualization platforms (such as VMware or Hyper-V).
Prerequisites
You must have an Ubuntu instance already installed and configured (network).
Download Ubuntu
Choose the Ubuntu version :
We recommend downloading the version 24.04.1 LTS Server of Ubuntu, because it is stable and suited to servers. You can download it via this linkDownload the ISO :
Once on the site, select the appropriate version and download the ISO file.- Install the ISO on an instance:
Install the downloaded ISO on a physical or cloud instance (VMware, Proxmox, AWS..)
To install PBXWare, you must first download and prepare the installation script.
Once you have deployed your virtual or physical instance (Ubuntu, Gentoo, CentOS…), the installation of PBXware can start. Please connect via SSH to the newly deployed instance and switch to superuser (root) mode:
sudo -su Launch the distribution updates:
apt update apt upgrade A few useful packages must now be installed for future use:
apt install wget apt install bzip2 apt install psmisc apt install pcregrep Installation
Download the script
Open the terminal and run the following command to download the PBXWare installation script (example with version 7.4):
wget https://downloads.bicomsystems.com/updates-8.0/install-script/install-pbxware-v8.0.sh.gz Replace 7.x with the desired version.
Unzip the script
The uploaded file is compressed in the format .gz. To decompress it, use the following command:
gunzip install-pbxware-v8.0.sh.gz This will generate a file named install-pbxware-v8x.sh.
Grant execution permissions
To be able to run the script, you must give it execute permissions. Use the following command:
chmod +x install-pbxware-v8.0.sh This allows the script to be executed on your system.
Run the script
Once the script is prepared, you can run it to start the installation of PBXware. Use the following command:
./install-pbxware-v8.0.sh Follow the on-screen instructions to complete the installation.
It is recommended to first log in as superuser with sudo su, then run the installation. However, you can also run the command sudo ./install-pbxware-v8x.sh
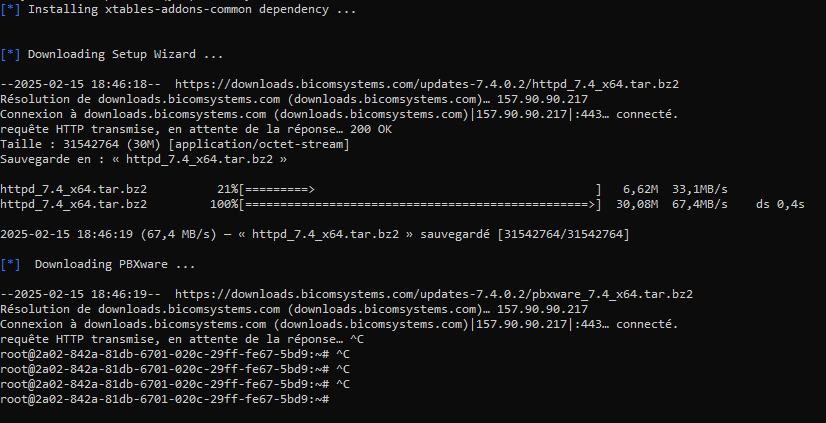
After running the installation script successfully, you should see this:
* This is PBXWare v8.0 installation script. * Please note, this script will stop and wipe * out any previous installation of PBXWare v8.0! Do you want to proceed (y/N): Type Y to proceed with the installation:

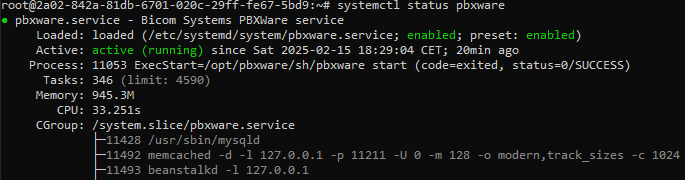
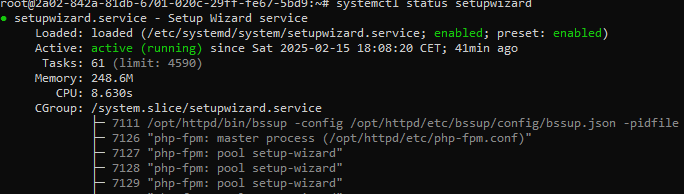
The two PBXware-related services should now be running:

The installation is now complete and the system is ready.
Connect to your system from your browser at the IP address of your instance to configure PBXware.

Systemctl
The command systemctl is used to manage and interact with services systemd under Linux. It allows you to start, stop, restart, reload a service, as well as display information about its status.
systemctl start / stop / restart / reload pbxware.service systemctl start / stop / restart / reload setupwizard.service systemctl status setupwizard.service systemctl status pbxware.service Journalctl
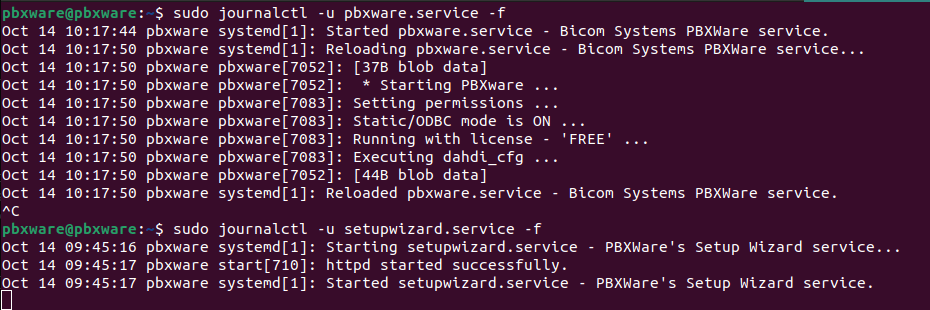
Since PBXWare runs on Ubuntu, journalctl is a command-line tool for viewing and managing log messages created by the system and the service manager systemd. It provides access to the system event logs, including boot logs, service statuses, error messages and other system events.
The command journalctl -u is used to filter and display log entries relating to a specific service or unit of systemd under Ubuntu. This is particularly useful for troubleshooting or for monitoring the behavior of individual services. You can monitor the logs of pbxware and from setupwizard as they are written using the option -f.
sudo journalctl -u pbxware.service -f sudo journalctl -u setupwizard.service -f 
Installation wizard
Once the script installation is complete, go to a web browser at the IP address of your PBXware instance to start the deployment.
The installation wizard is designed to collect the essential data needed to make the system operational. Once the installation wizard is complete, the system should be fully licensed, fully operational, and ready to use.
If you have decided to install PBXware on a platform other than SERVERware, the default password to access the installation wizard is pbxware.
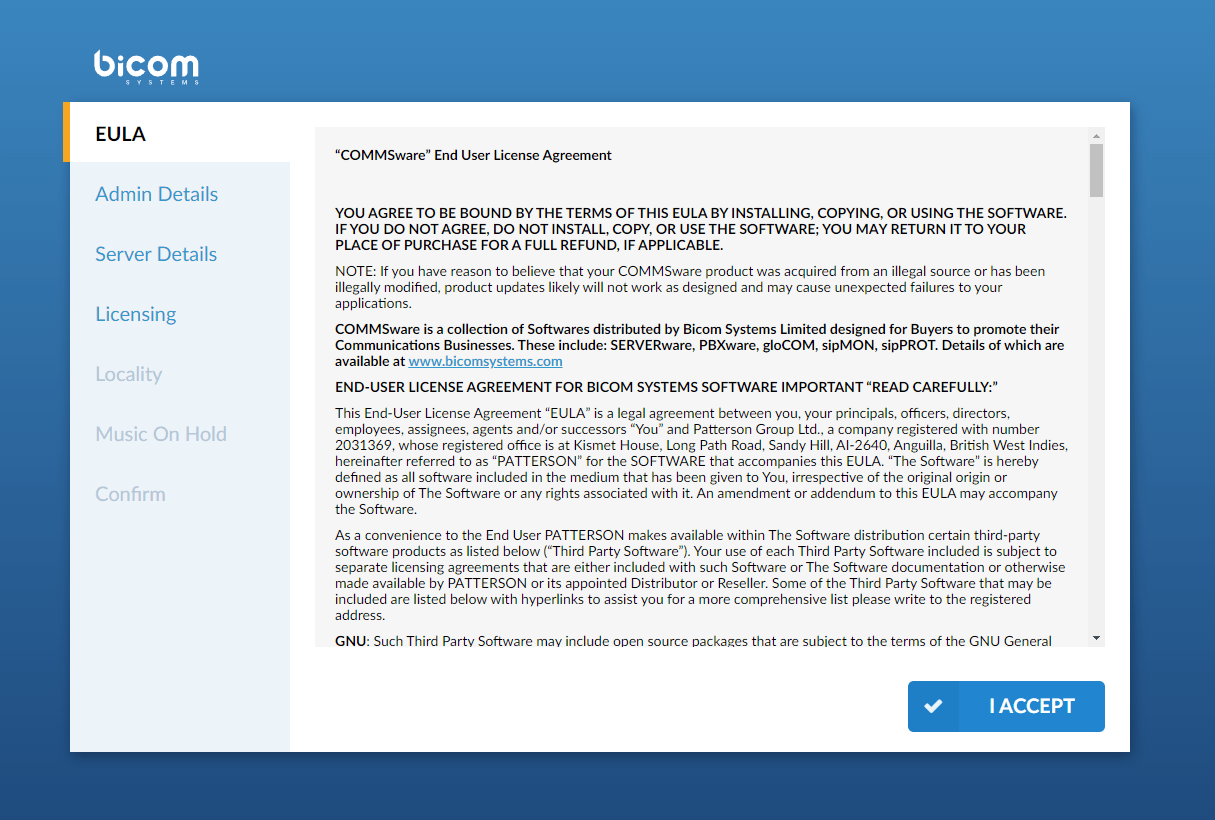
EULA

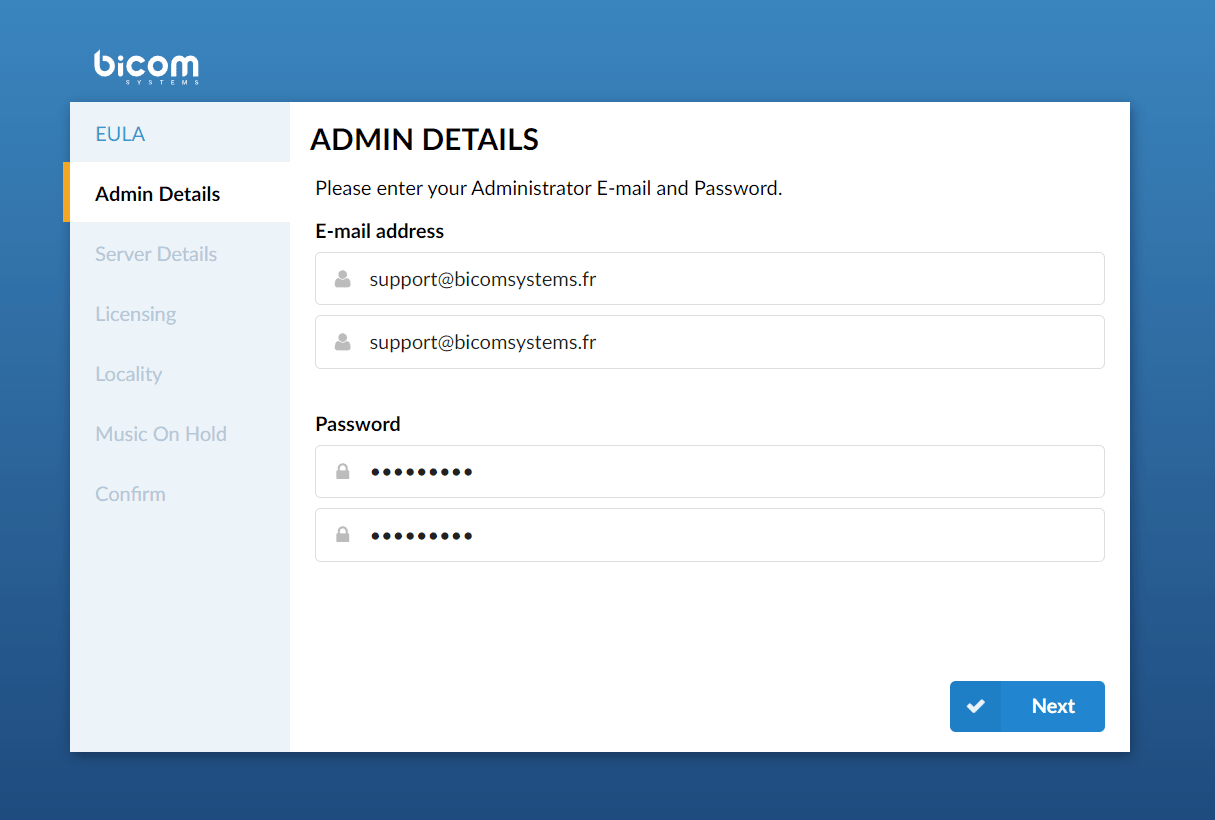
Administrator details
- Email/Confirm the Email
The provided email address is used as the username to log in.
- Password/Confirm password
The provided password is used to log in
Server details
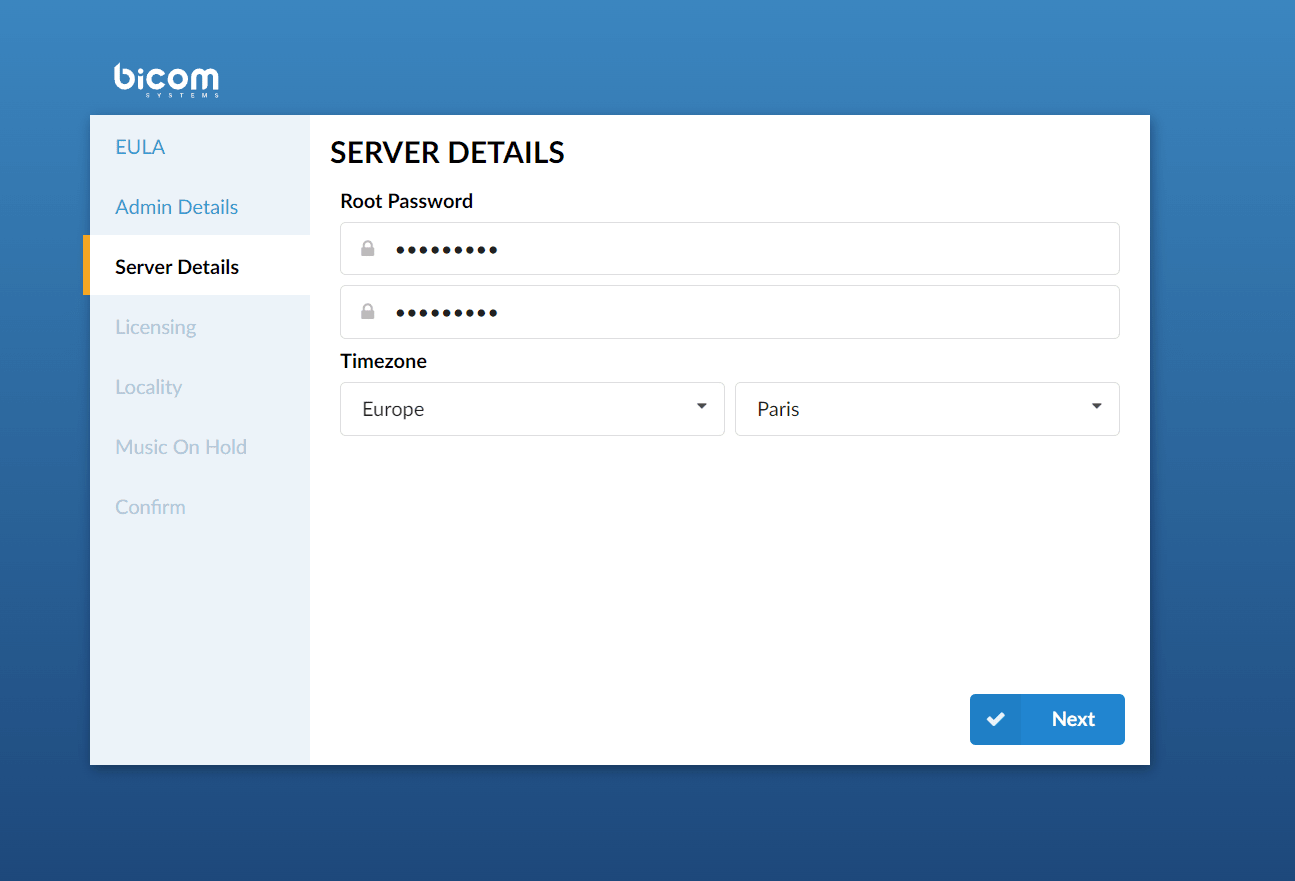
- Root password
PBXware requests this password when connecting to the system/SSH and when accessing system services through the web interface.
- Confirm the password
Retype the root password entered in the field above.
- Time zone
Select the time zone in which PBXware is located.
License
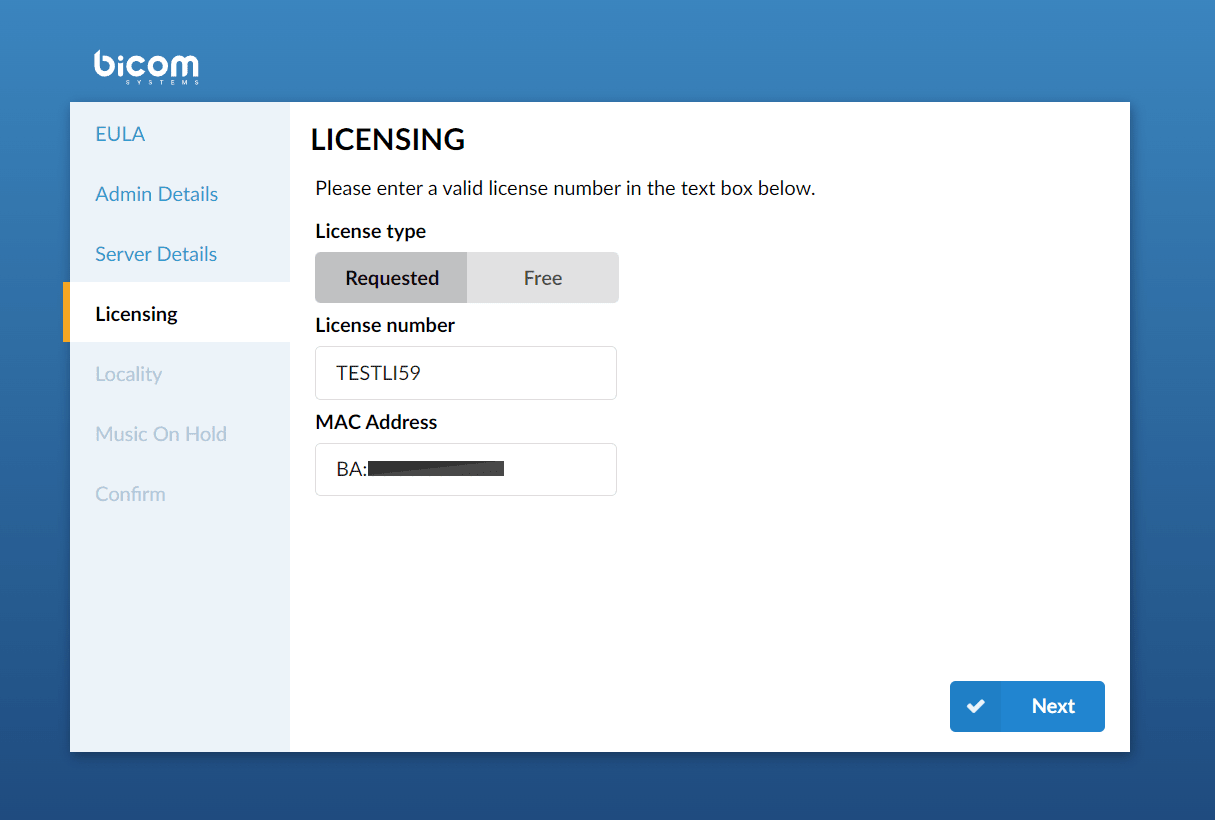
The license part allows you to enter a valid (non-active) license. If the system has more than one network card, all found MAC addresses will be displayed.
- License type
Select a license type for the system. The system comes with two license types: Free License and Requested (paid).
- License number
Enter the PBXware license number, select the MAC address if there are several, and click 'Next' to save.
- The MAC address associated with PBXware.
NOTE: The machine must have access to an Internet connection in order to retrieve the license. If more than one MAC address is present, select the one you want to associate with PBXware and click 'Next'.
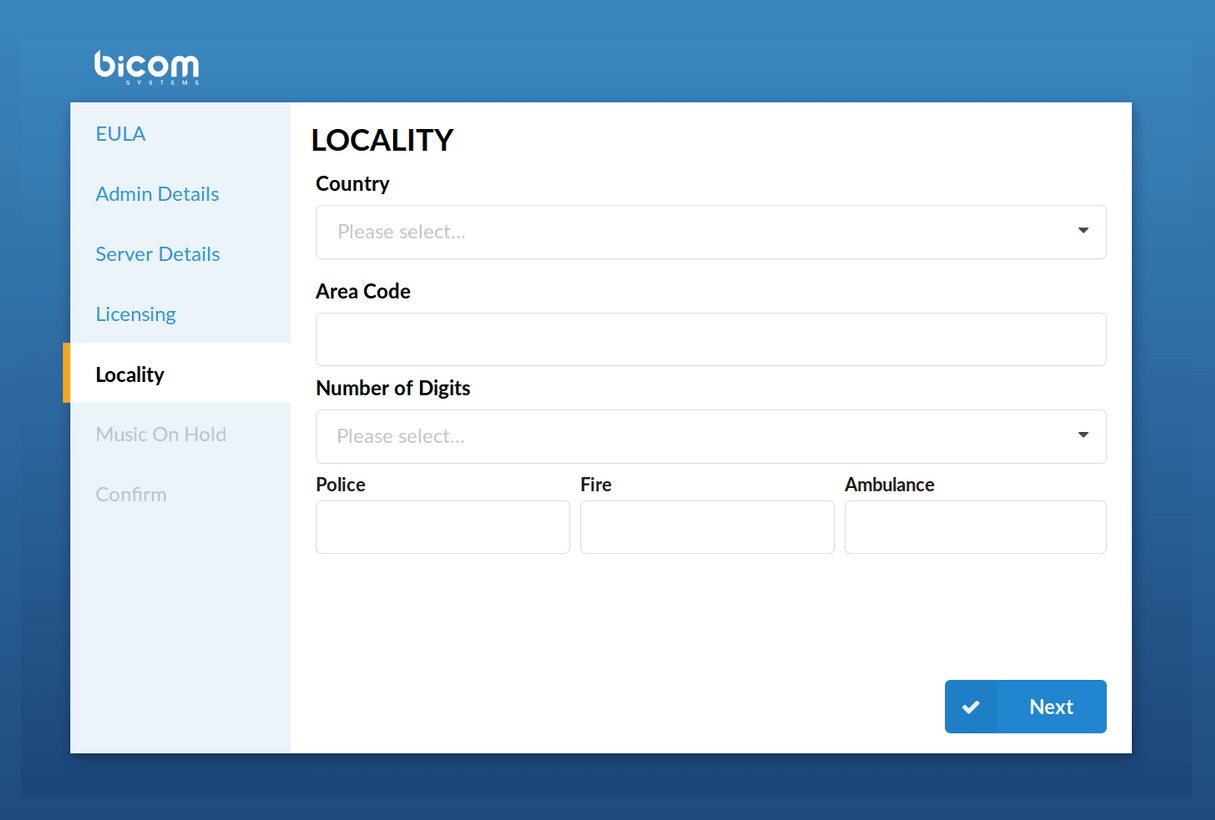
Locality
Locality allows you to enter the system's "local" values in order to define all the values needed for the system's normal operation.
- Country
Select the country in which PBXware is located.
- Prefix
The dialing code where PBXware is located; for example, if PBXware is located in France, you will need to set '33'.
- Extension length
The number of digits that PBXware will match to local extensions.
If this field is set to ‘3’, all local extensions will have a range of 100-999.
If this field is set to ‘4’, all local extensions will have a range of 1000-9999...
- Police / Fire / Ambulance
The phone number of the emergency services in the region where PBXware is located (e.g. Police: 17, Fire: 18, Ambulance: 15)
PBXware has an option to call these emergency services through certain trunks. If all channels are busy, an active call will be interrupted in order to dial these emergency numbers.
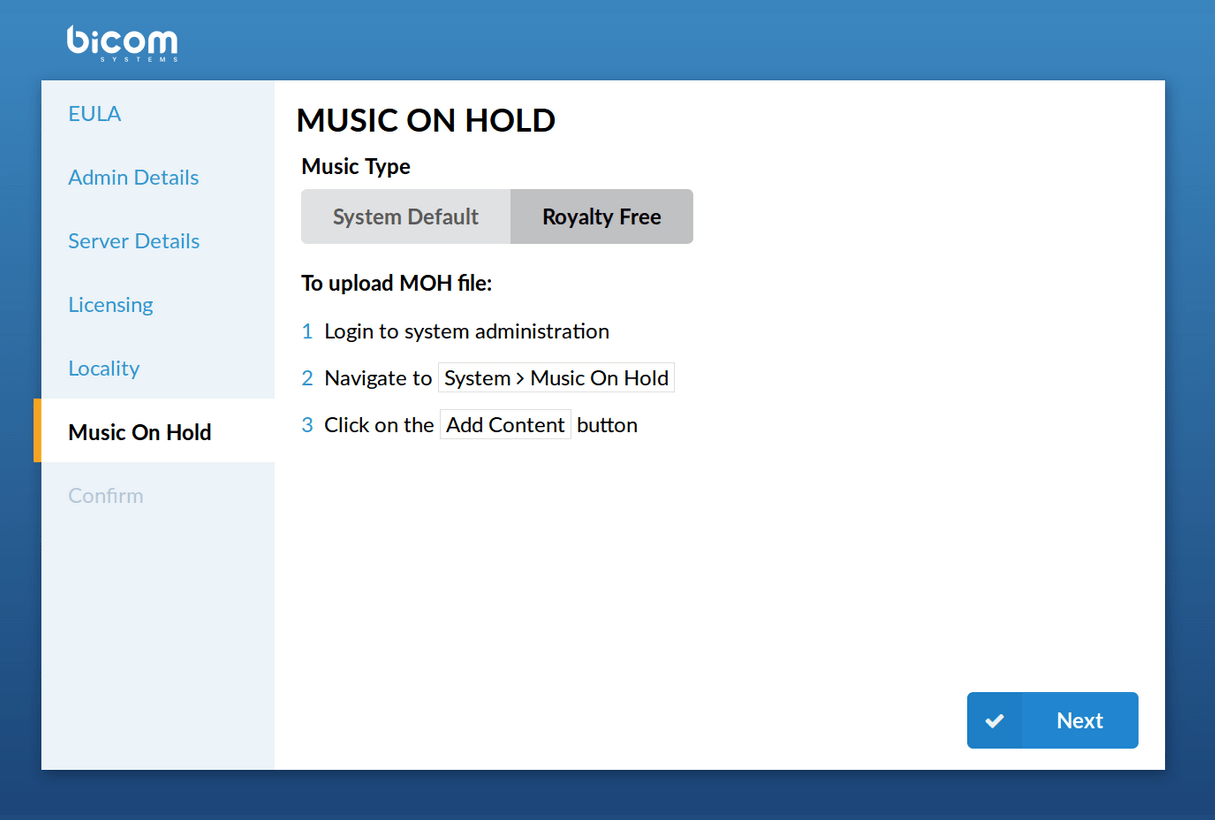
Music on hold
- Royalty Free music on hold
This operation downloads royalty-free music that can be used as the default music on hold. It can be changed later.
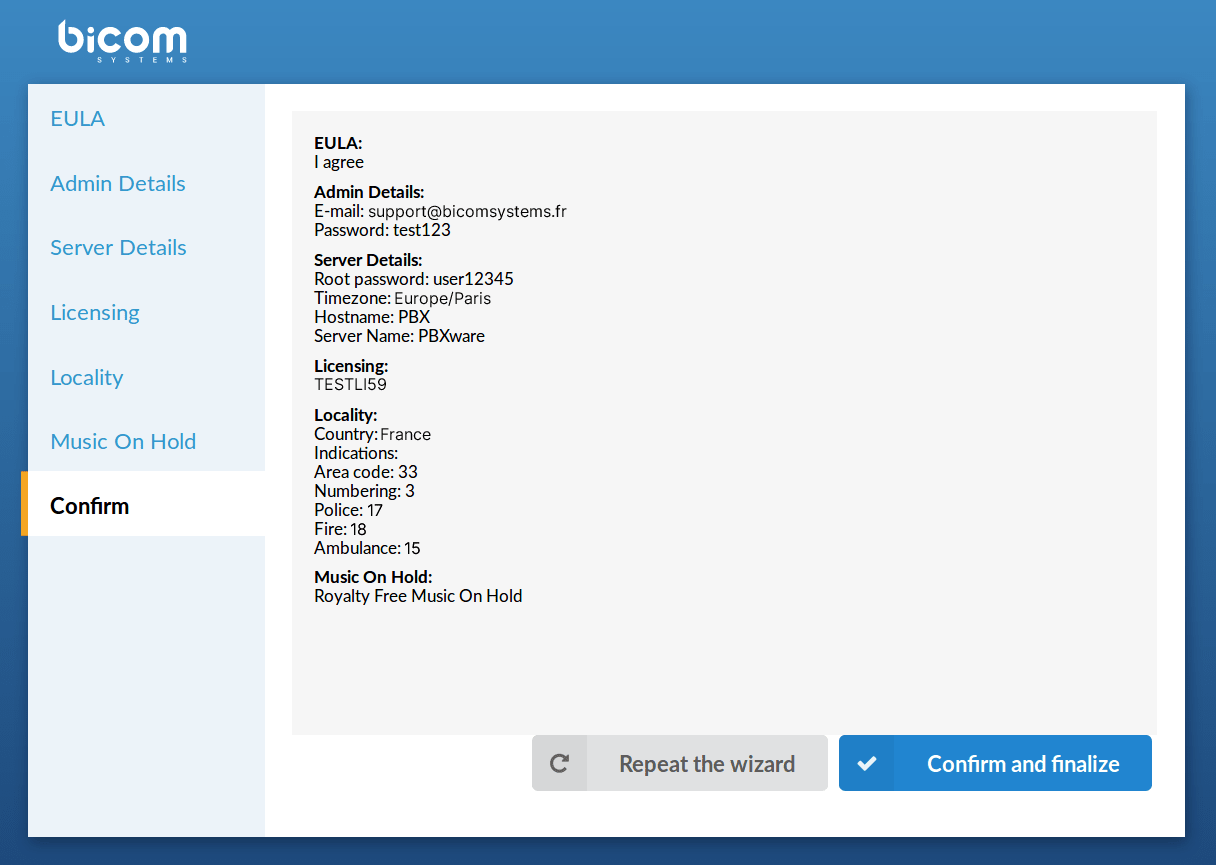
Confirmation
Finally, the confirmation step allows you to recheck all the values and finish the wizard or start over from the beginning. If you click "Confirm and finalize“, the configuration wizard ends and the browser is redirected to the system's login screen.
If you click this button, all the details provided will be reset and you will return to the first step.
Click this button to confirm the data provided in the installation wizard and finalize the installation. All the details provided will be applied and the installation wizard will redirect you to the PBXware login screen.
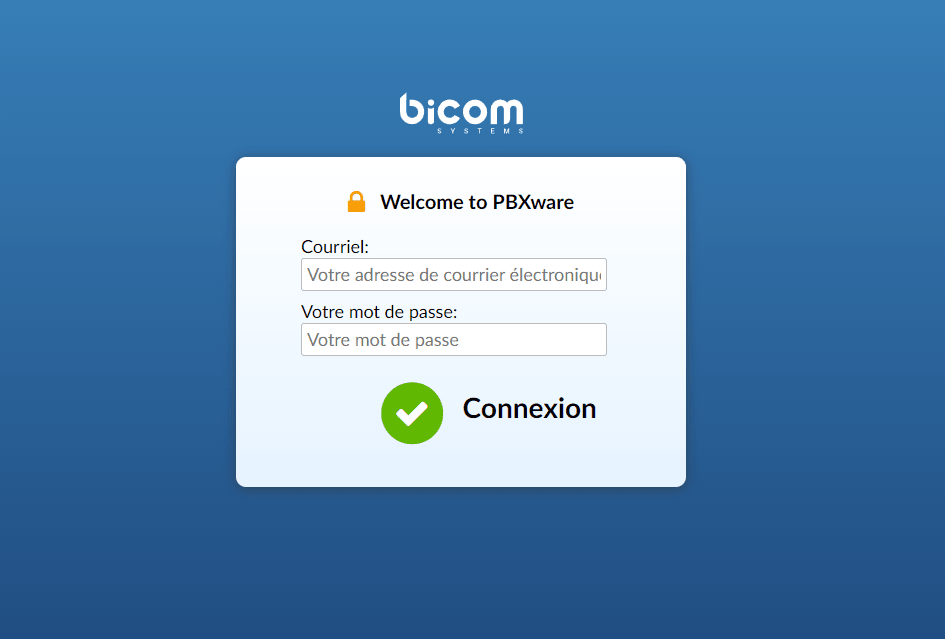
System login
- Login screen
In order to connect to the system, please point your browser to: http://IP_ADDRESS/ (For example: http://192.168.1.2/)
- Email address
This is the administrator's email address that you set in the initial setup wizard.
- Password
This is the administrator password that you set in the initial setup wizard
PBXware is now fully installed and ready to be put into production.
TIP
Now follow the guide: PBXware: Getting Started