Installation on a virtual machine via ISO

ESXi-specific settings
In order to install and correctly start the machine on a VMware environment (ESXi, vSphere, Workstation, etc.), you will need to make sure that the following two parameters are configured:
• SCSI controller type
• Startup options
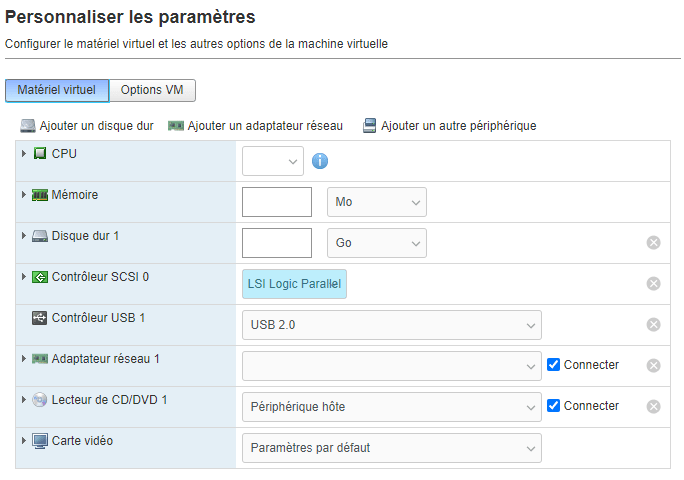
The SCSI controller must be set to LSI Logic Parallel as shown in the image:
The firmware must be set to BIOS as shown in the image:
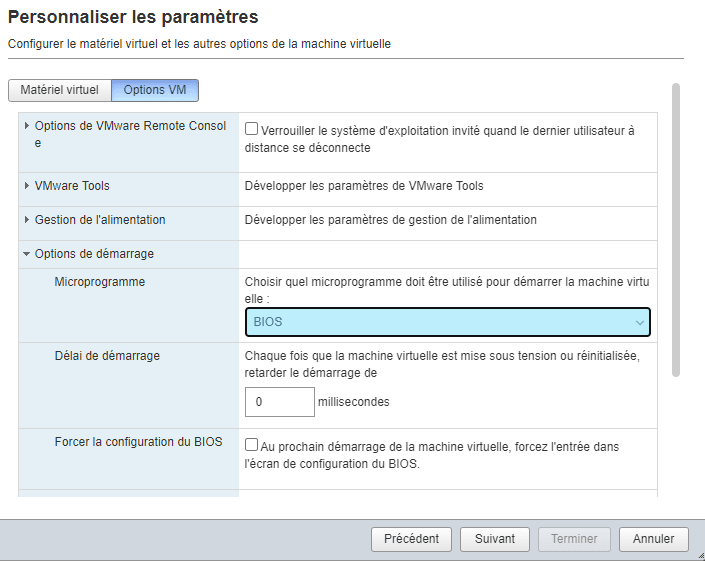
These options do not differ between creating the virtual machine on ESXi directly or on the vSphere centralization platform.
Getting started & installing PBXware
Once the ISO file download is complete, extract the downloaded image to your disk and open the extracted folder. Import the PBXware_x.iso file with VMware Player/Workstation/Fusion or Proxmox into the "CD/DVD Drive" option and run the virtual machine.
1. Boot the physical/virtual machine
Start the virtual machine, making sure you have selected the ISO file in your virtual CD/DVD drive, wait for the installer to start, and follow the on-screen instructions.
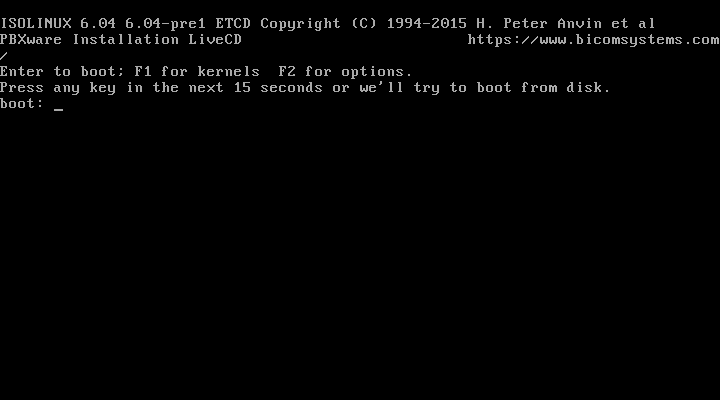
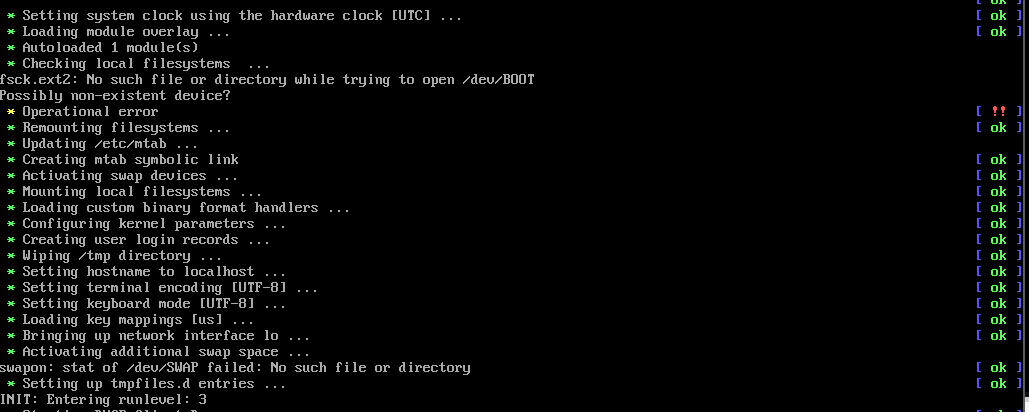
2. On the installation wizard home screen, you will be able to see the IP address detected by your machine.
The PBXware IP address can be obtained by:
• Obtaining the DHCP server
• Connecting a monitor to the PBXware unit and obtaining the IP address from the command prompt by entering the ifconfig command
• Installing PBXware Finder on a Windows machine also connected to the same network. PBXware Finder can be downloaded at this link
Select the option Next.
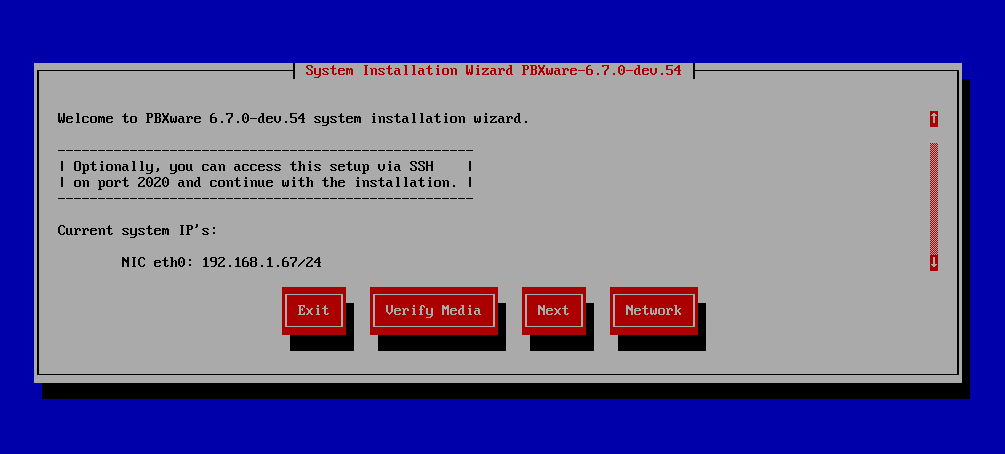
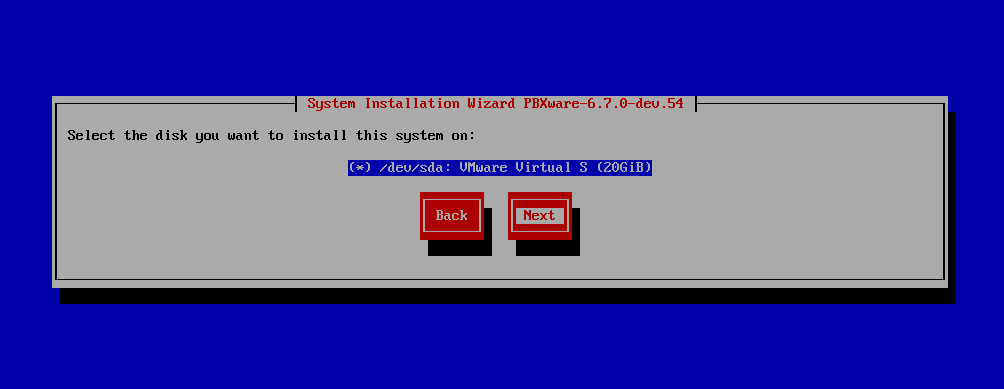
3. Select the disk on which you want to install PBXware and click Next
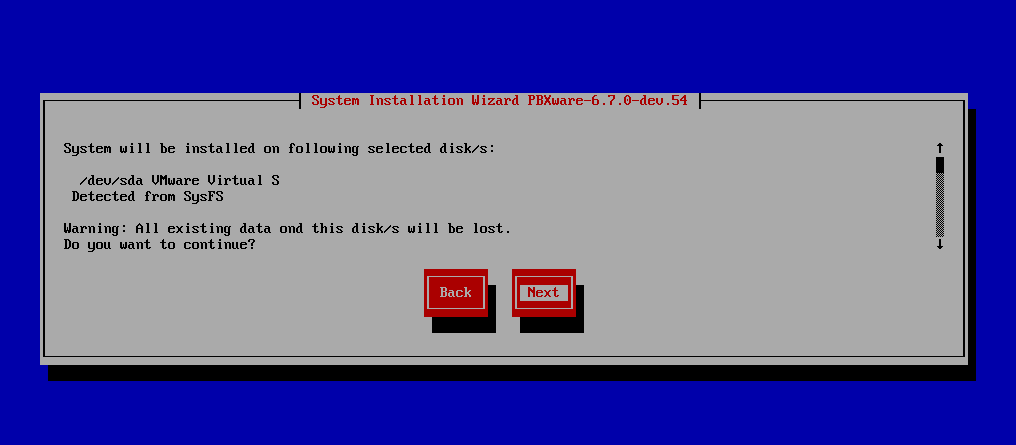
4. Confirm that you indeed want to use this disk to install PBXware and click Next
5. PBXware will format the partitions of the chosen disk 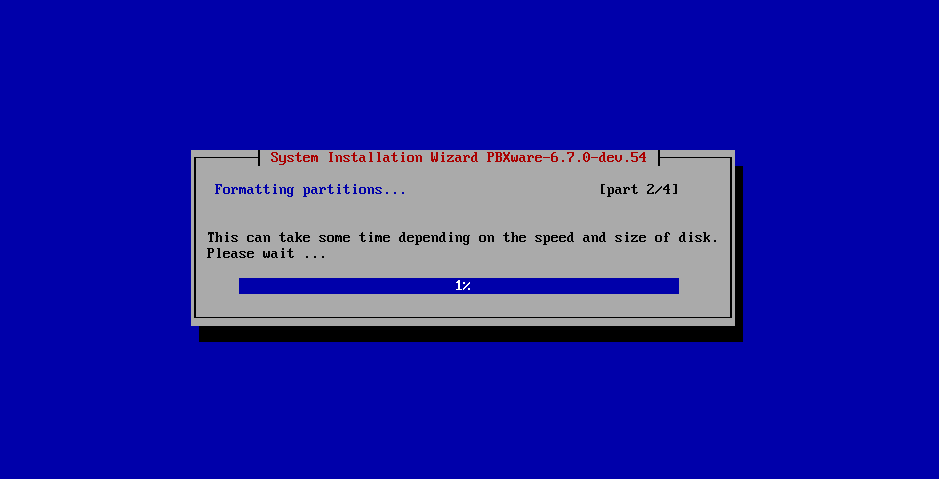
6. Once the partitions are formatted, PBXware will be installed on the chosen disk 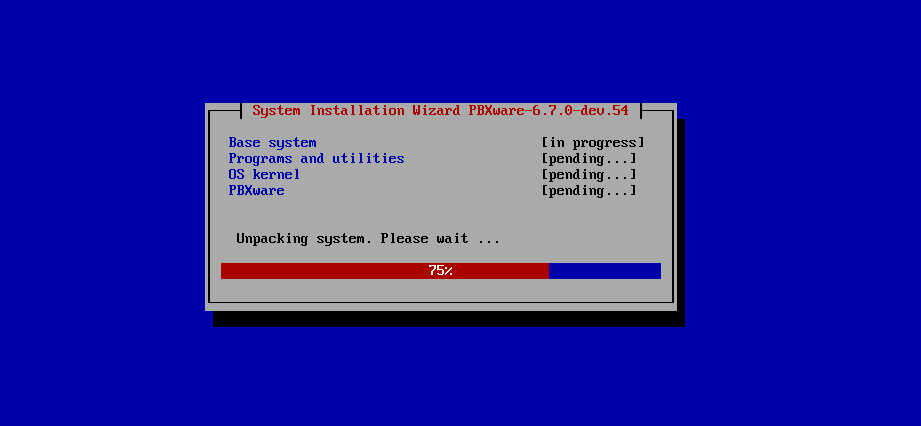
7. Now configure the network card you want to use. It will be detected automatically. Click Next
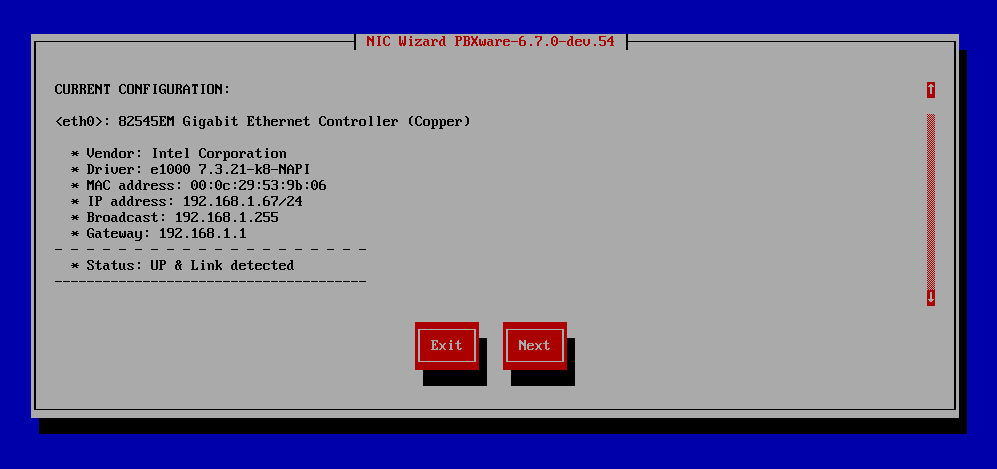
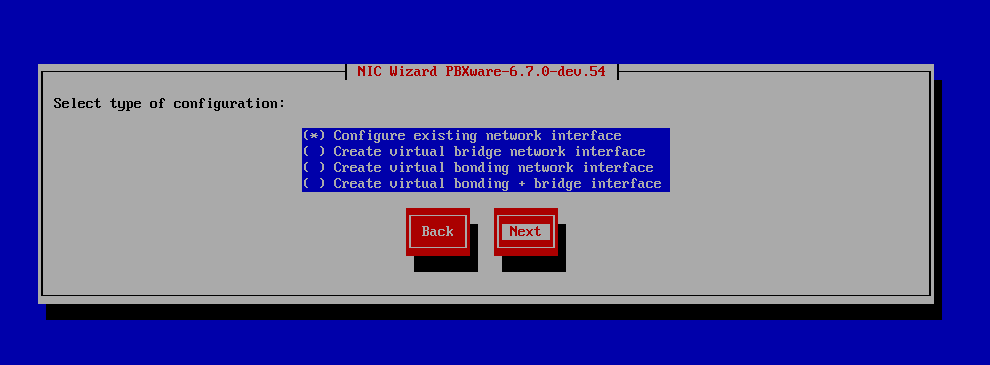
8. Select one of the four options, which respectively allow you to:
• Configure the chosen network card
• Create a virtual network card in bridge mode
• Create a virtual network card in bonding mode
• Create a virtual network card in bonding & bridge mode
Select one of the four options & click Next
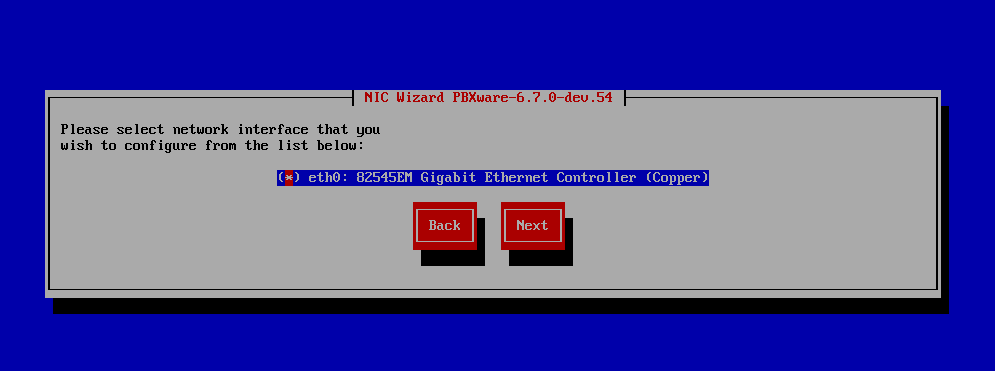
9. Select the network card you want to configure & click Next
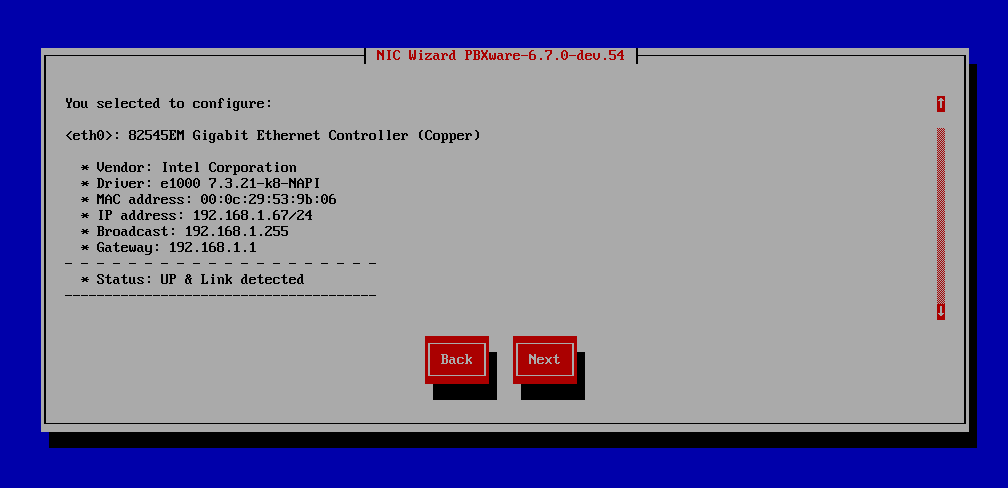
10. The options of the chosen network card will be displayed in the following summary:
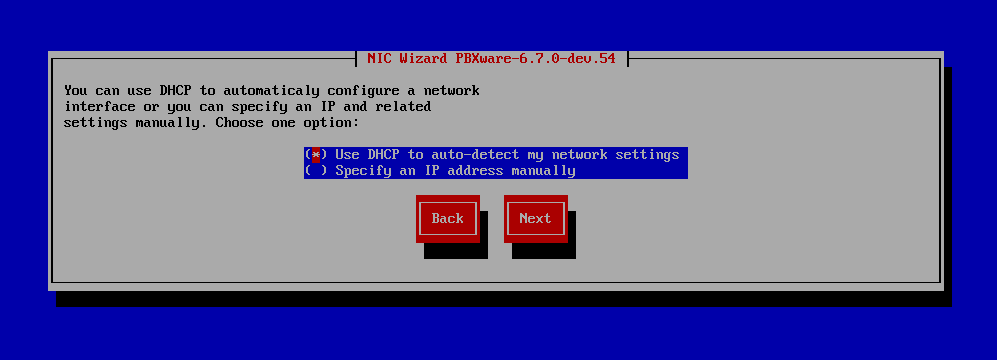
11. Select one of the two options that allow you to use DHCP or to assign an IP address manually & click Next.
12. Click Finish to complete the configuration of your network interface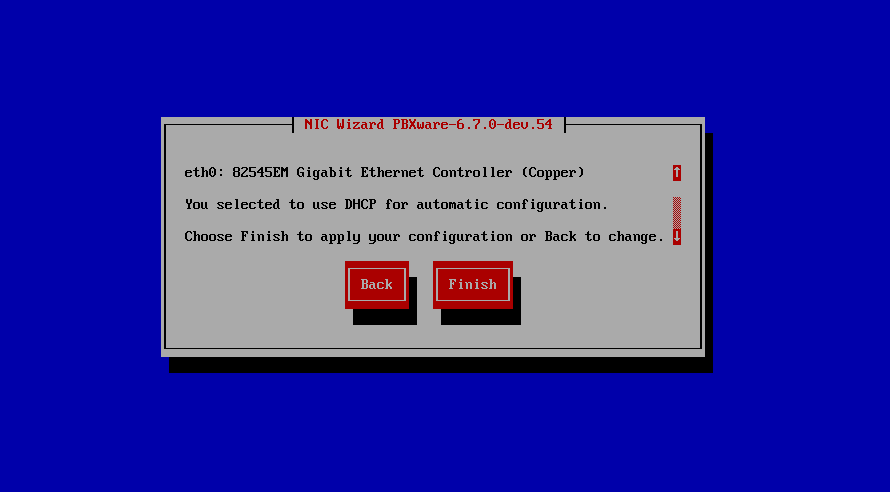
13. An installation summary is now displayed. It informs you that the system has been installed successfully and that a reboot is required. Click Next. 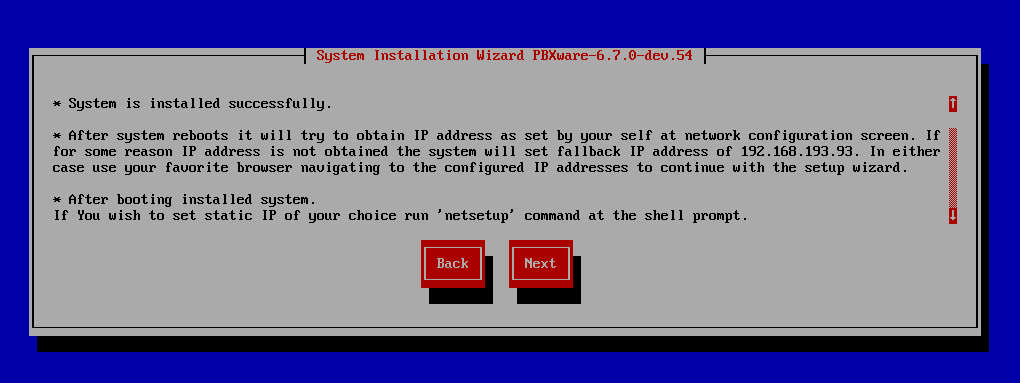
14. Reboot your system (it will restart automatically after 20 seconds without any action on your part).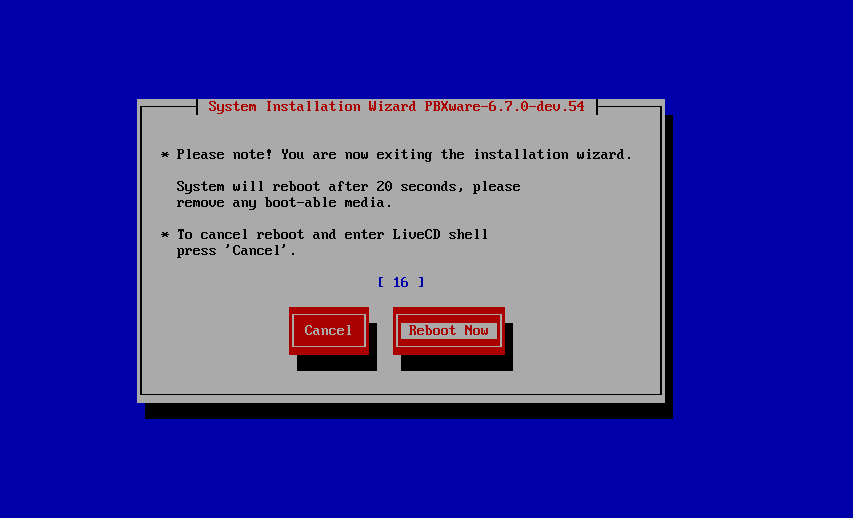
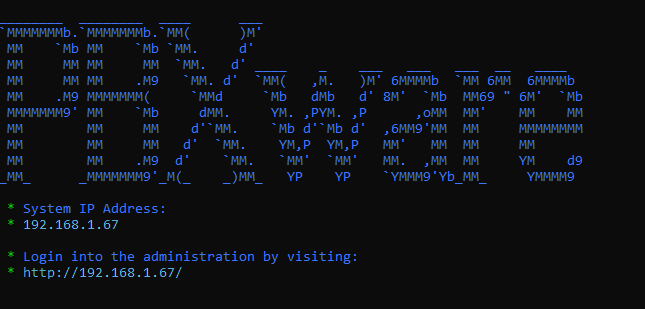
15. PBXware has been installed successfully. Now go to the IP address mentioned to access the PBXware online configuration wizard.
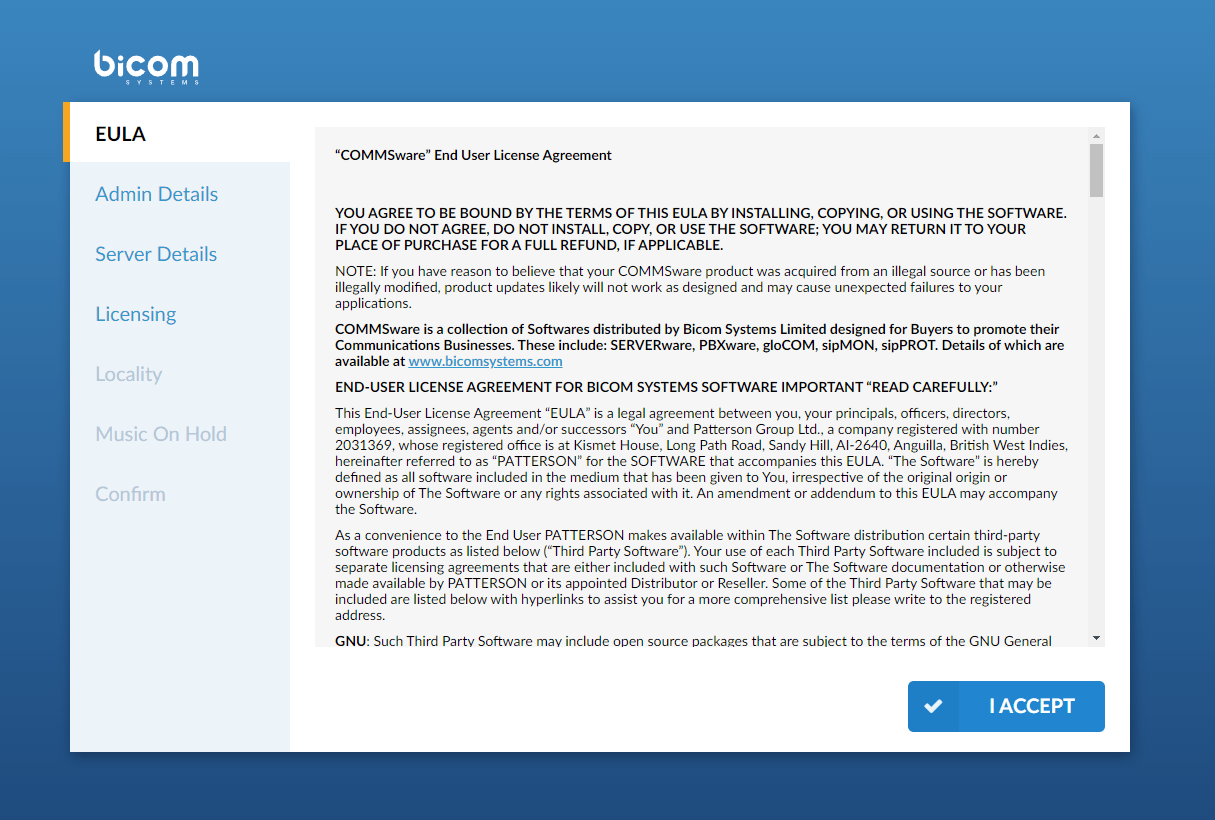
EULA
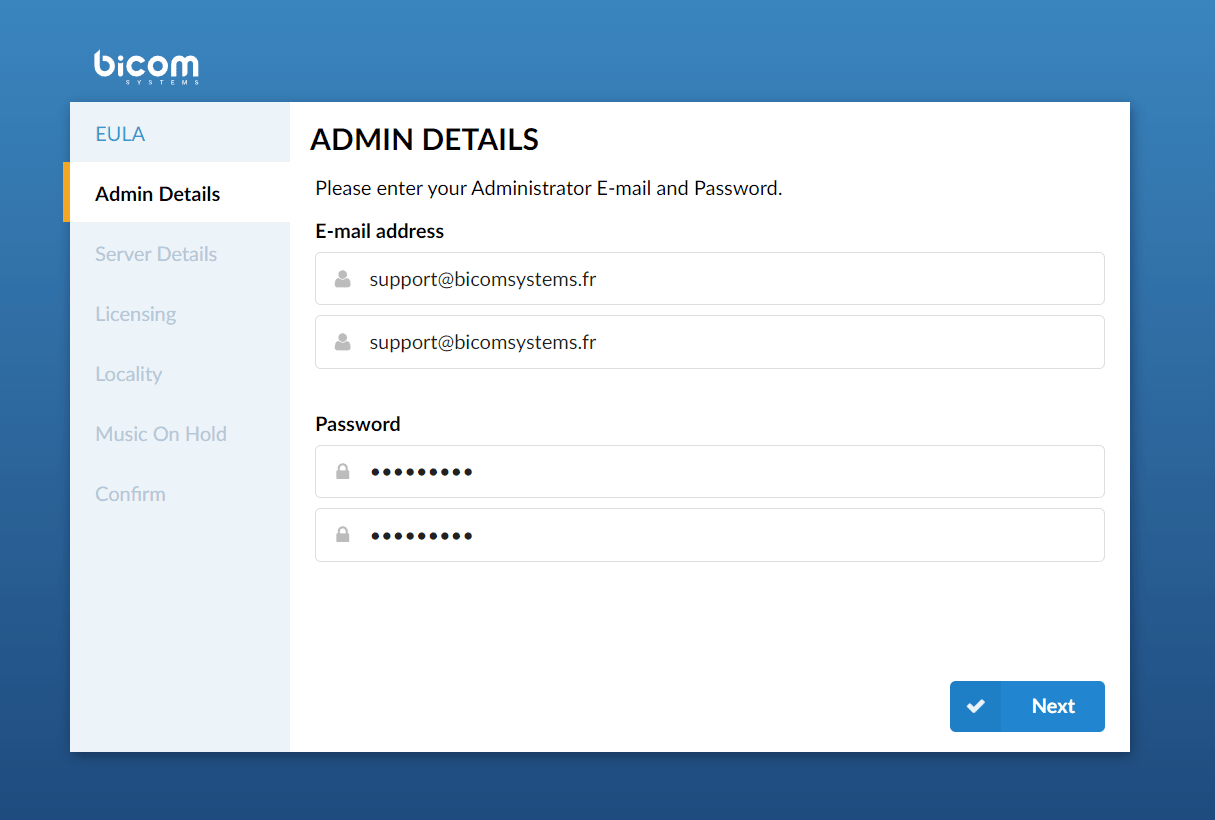
Administrator details
- Email/Confirm the Email
The provided email address is used as the username to log in.
- Password/Confirm password
The provided password is used to log in
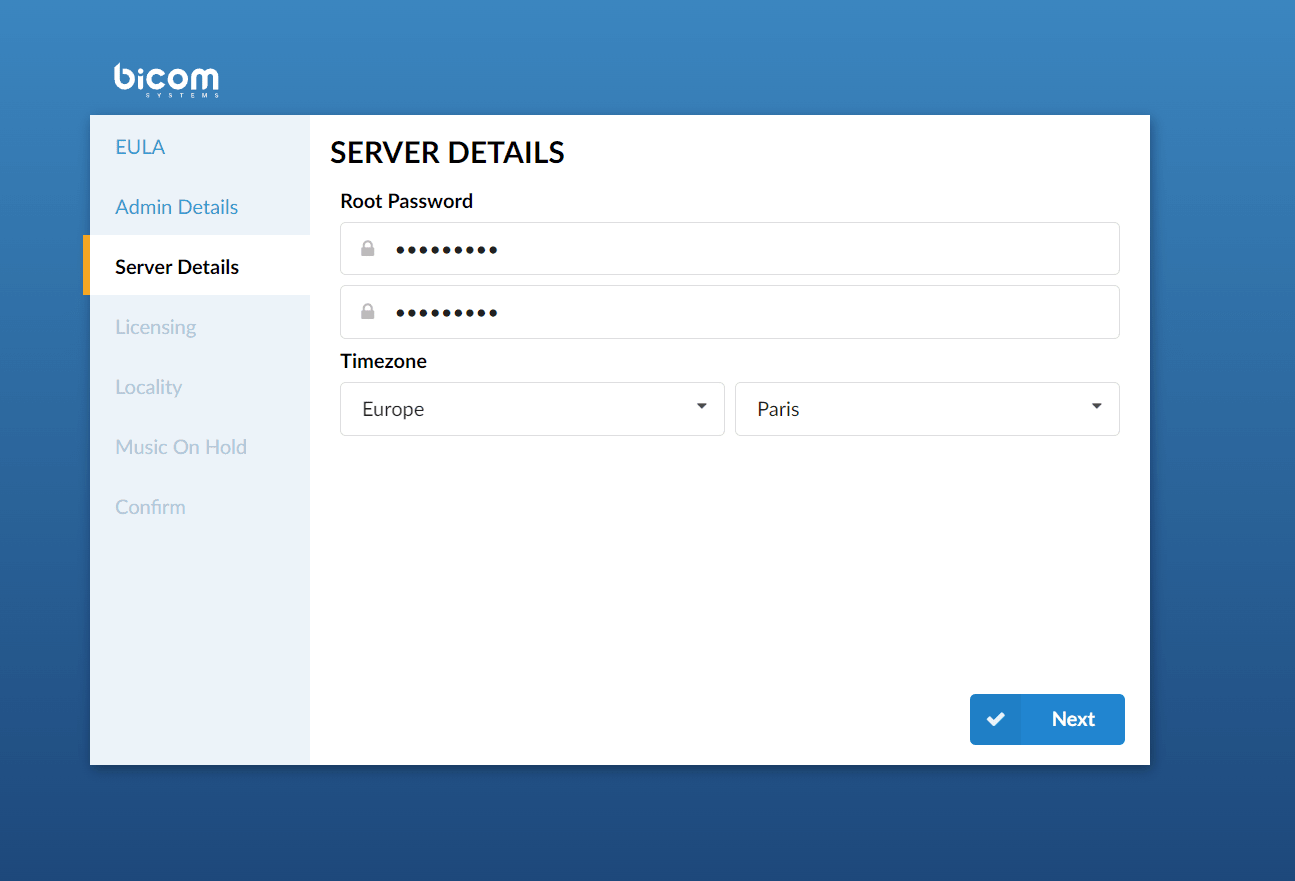
Server details
- Root password
PBXware requests this password when connecting to the system/SSH and when accessing system services through the web interface.
- Confirm the password
Retype the root password entered in the field above.
- Time zone
Select the time zone in which PBXware is located.
License
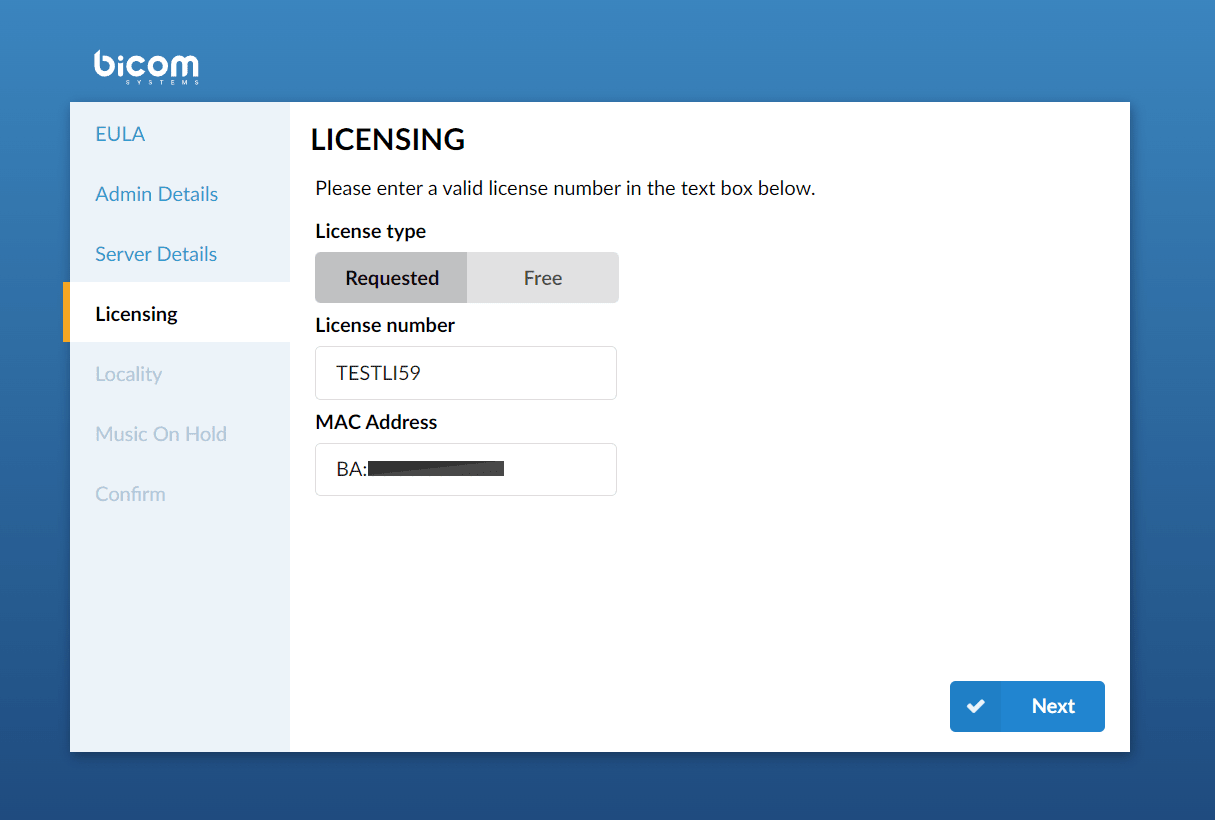
The license part allows you to enter a valid (non-active) license. If the system has more than one network card, all found MAC addresses will be displayed.
- License type
Select a license type for the system. The system comes with two license types: Free License and Requested (paid).
- License number
Enter the PBXware license number, select the MAC address if there are several, and click 'Next' to save.
- The MAC address associated with PBXware.
NOTE: The machine must have access to an Internet connection in order to retrieve the license. If more than one MAC address is present, select the one you want to associate with PBXware and click 'Next'.
Locality
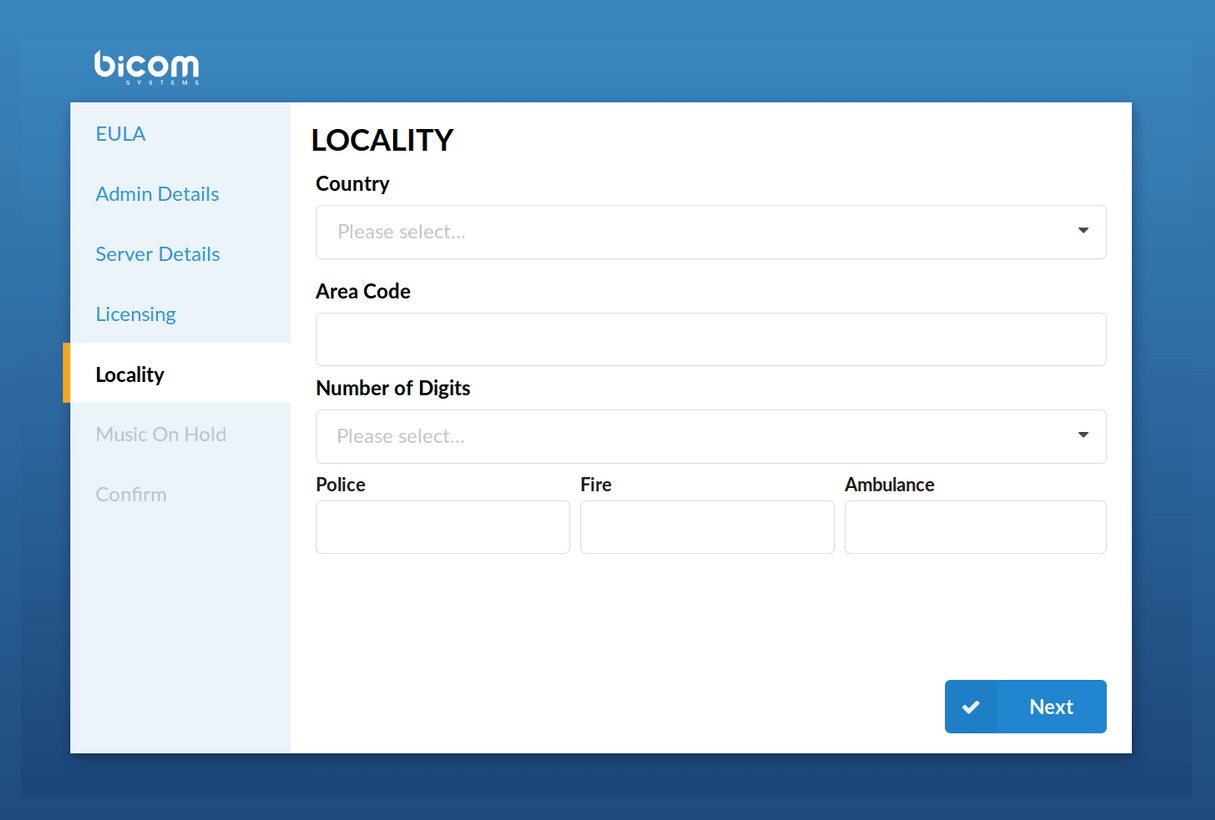
Locality allows you to enter the system's "local" values in order to define all the values needed for the system's normal operation.
- Country
Select the country in which PBXware is located.
- Prefix
The dialing code where PBXware is located; for example, if PBXware is located in France, you will need to set '33'.
- Extension length
The number of digits that PBXware will match to local extensions.
If this field is set to ‘3’, all local extensions will have a range of 100-999.
If this field is set to ‘4’, all local extensions will have a range of 1000-9999...
- Police / Fire / Ambulance
The phone number of the emergency services in the region where PBXware is located (e.g. Police: 17, Fire: 18, Ambulance: 15)
PBXware has an option to call these emergency services through certain trunks. If all channels are busy, an active call will be interrupted in order to dial these emergency numbers.
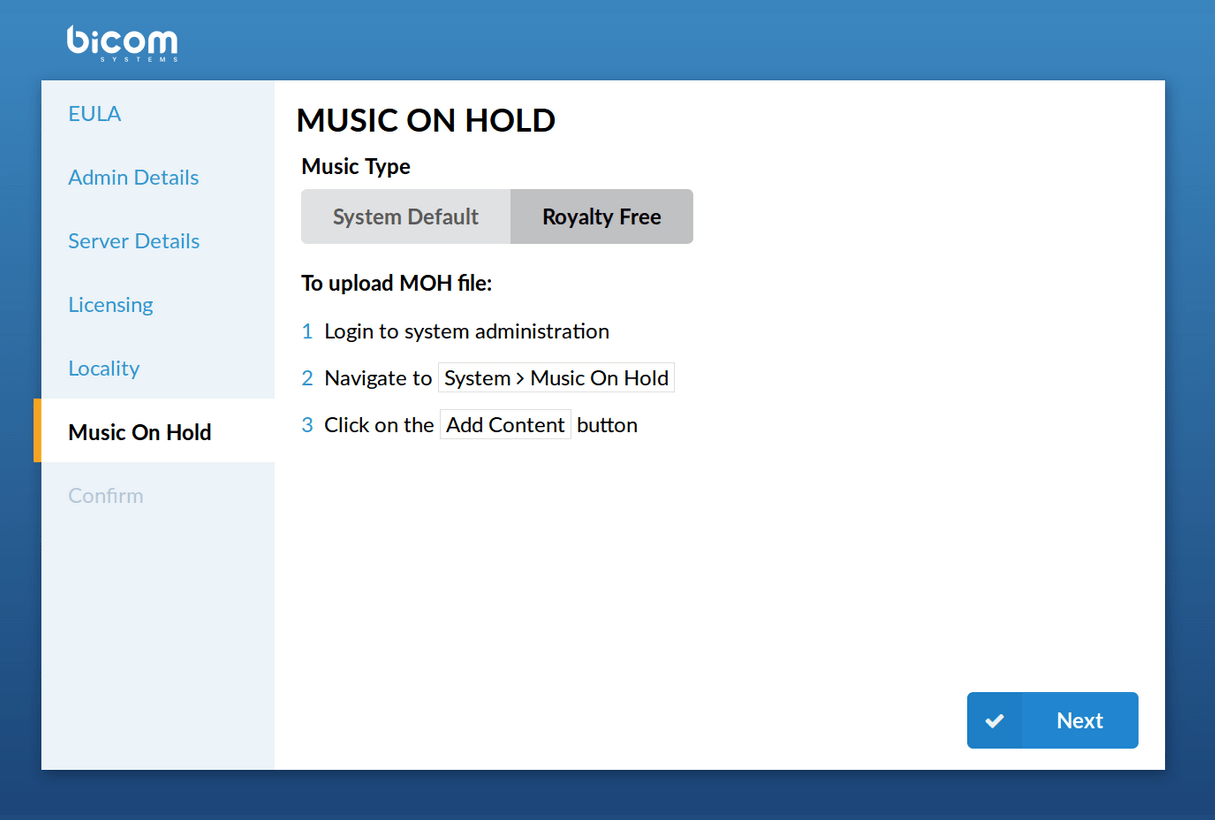
Music on hold
- Royalty Free music on hold
This operation downloads royalty-free music that can be used as the default music on hold. It can be changed later.
Confirmation
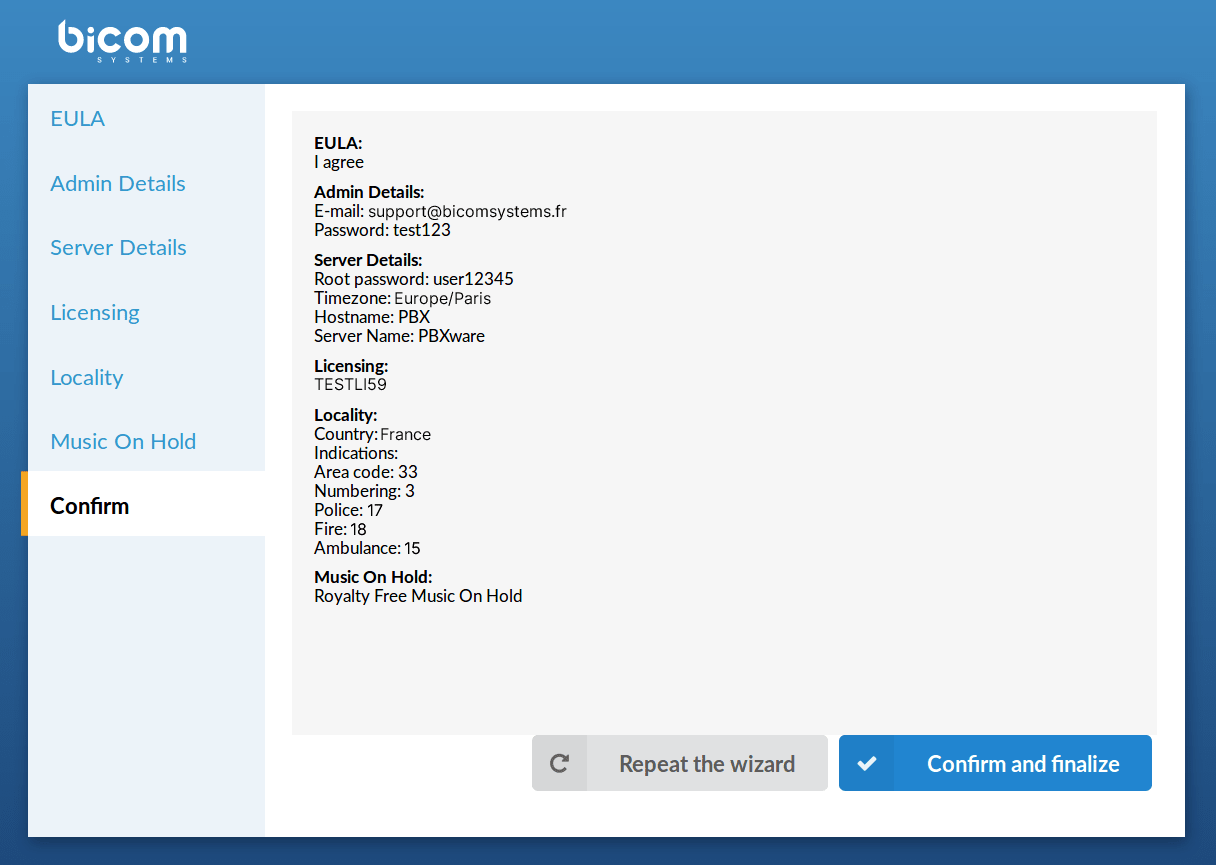
Finally, the confirmation step allows you to recheck all the values and finish the wizard or start over from the beginning. If you click "Confirm and finalize“, the configuration wizard ends and the browser is redirected to the system's login screen.
If you click this button, all the details provided will be reset and you will return to the first step.
Click this button to confirm the data provided in the installation wizard and finalize the installation. All the details provided will be applied and the installation wizard will redirect you to the PBXware login screen.
System login
- Login screen
In order to connect to the system, please point your browser to: http://IP_ADDRESS/ (For example: http://192.168.1.2/)
- Email address
This is the administrator's email address that you set in the initial setup wizard.
- Password
This is the administrator password that you set in the initial setup wizard