Quick configuration guide
Start
In your browser, open the address of your PBXware SP and authenticate using the administrator credentials.
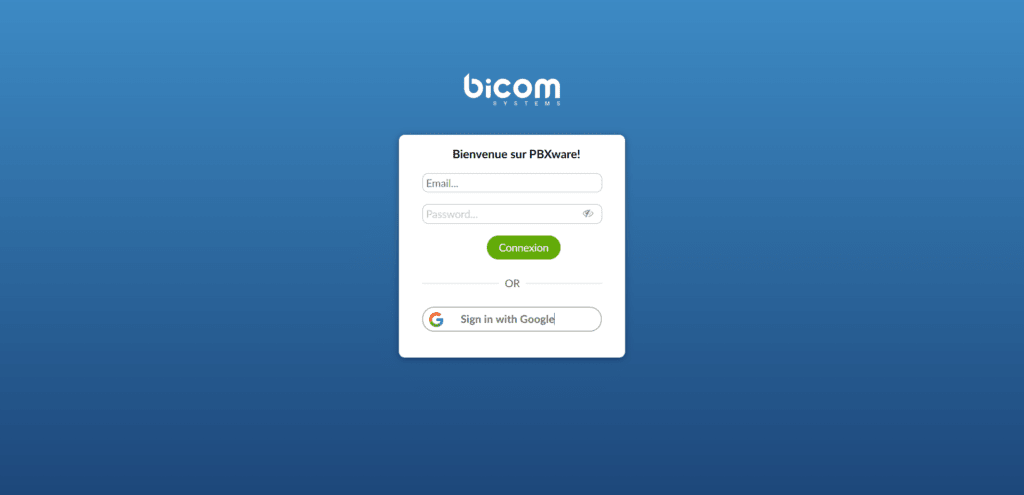
Go to Settings > Servers and click Edit next to your server's name.
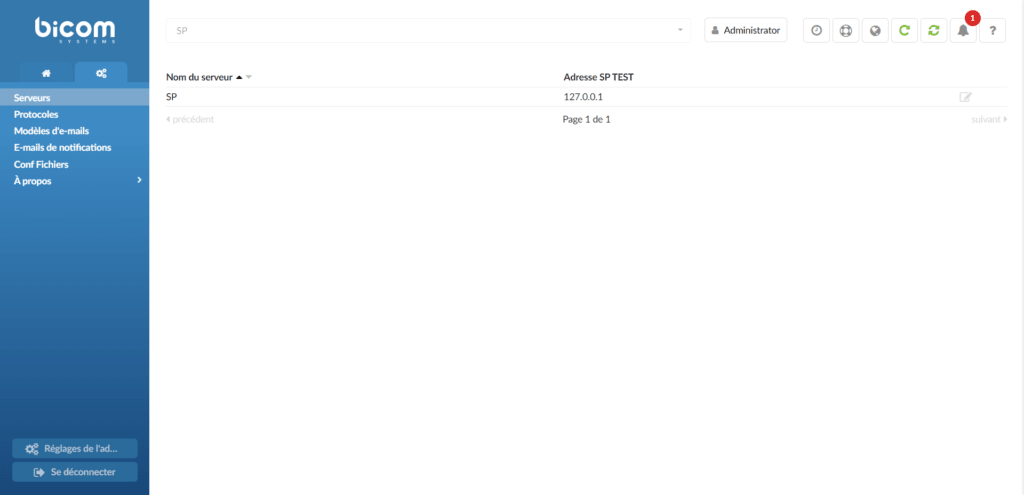
In the section Network info, in the field Primary domain, enter the exact domain that will be used on all your PBXware instances connecting to PBXware SP, and in the field Domain name, enter the domain name used to access your PBXware SP .
IMPORTANT INFORMATION:
Please note that, unless all PBXware systems connected to PBXware SP are on the same domain, most of the core features of the SP edition will not work.
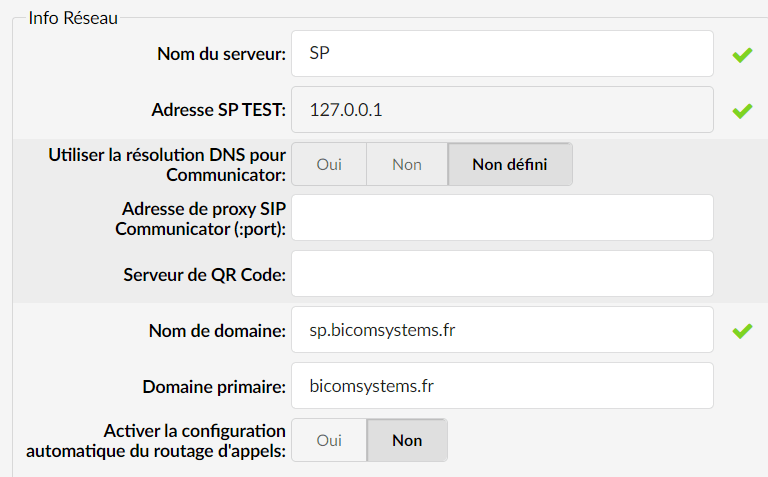
If you plan to use PBXware SP only to control remote systems, confirm Enable automatic call routing configuration on No, but if you want to use your PBXware SP as a gateway and route the calls of all your systems through it, set this option to Yes.
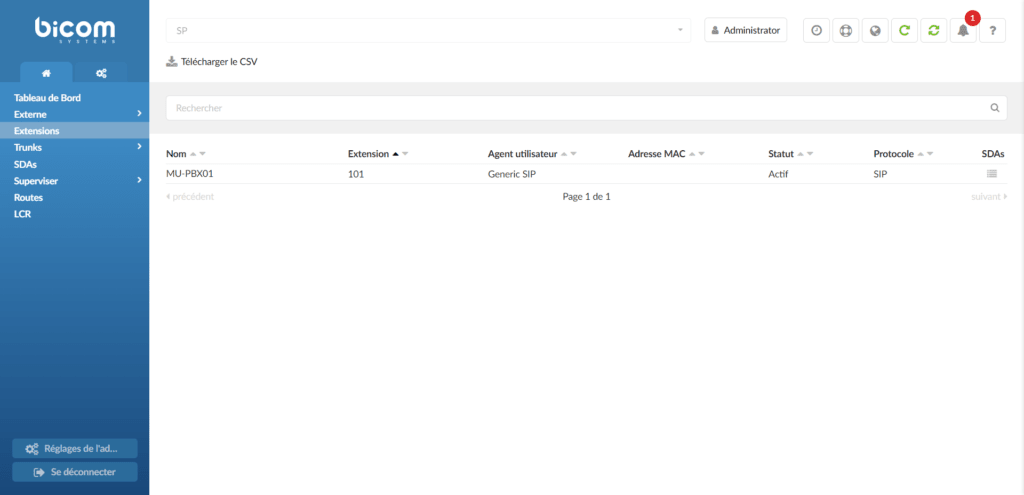
With this option set to Yes, whenever you add a new server to PBXware SP, a multi-user (MU) extension will be automatically created on the SP server and a new trunk will be created on the remote PBXware system with all the necessary registration details already configured.
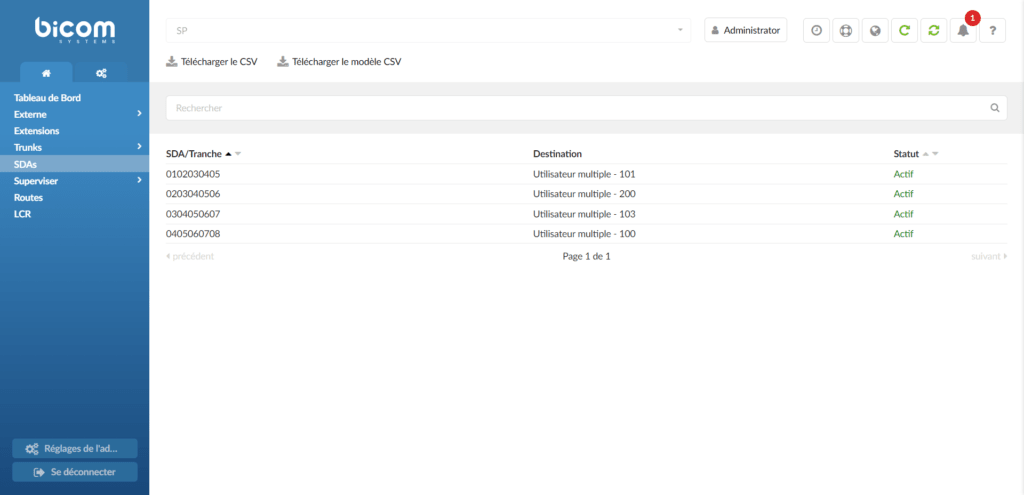
Furthermore, all DIDs of the remote system will be recreated on the SP edition and pointed to a multi-user (MU) extension.
If you decide to use this feature, the call flow between the trunk provider and your PBXware should look like this:
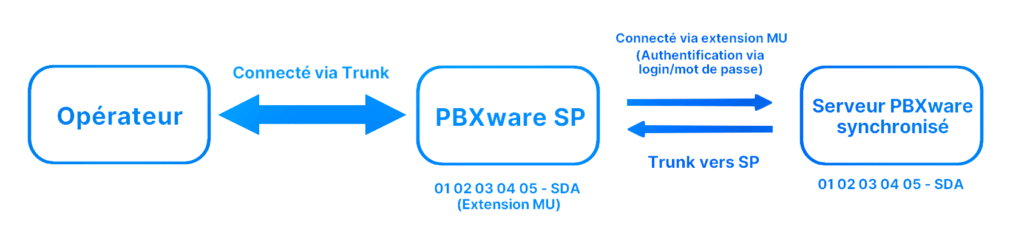
Please note that you will still need to edit the external system settings to ensure that outbound calls are routed through the new trunk.
If created, multi-user extensions will be located on the Extensions page, accessible from the left navigation pane.
IMPORTANT INFORMATION:
If you decide to use this feature and route all your calls through PBXware SP, please note that, as with the other editions of PBXware, the total call volume that PBXware SP will be able to handle will depend on the available hardware resources.
Once all the settings in the section Network configured, click on Show advanced features and scroll down to the section Features. To ensure that the control of remote systems is fully functional, make sure that the Use dynamic features option is set to No.
Adding a new server
To add a new server, click on External > Systems in the left navigation panel, then click the button Add a system in the top left corner of the page.
Once the Add window is open, we will need to fill in several fields in order to add a new PBXware to our SP platform:
- Name – Recognizable name of the external system you are adding
- Hostname – the domain name server can be reached at the address ie mt01.bicomsystems.com
- API key – API key used to authenticate the remote connection to the system you are adding.
Please note that you will first need to create a new API key on the remote PBXware and paste it into this field.
Email – if you have previously enabled automatic configuration for call routing, this email address will be used when creating a multi-user extension on SP.
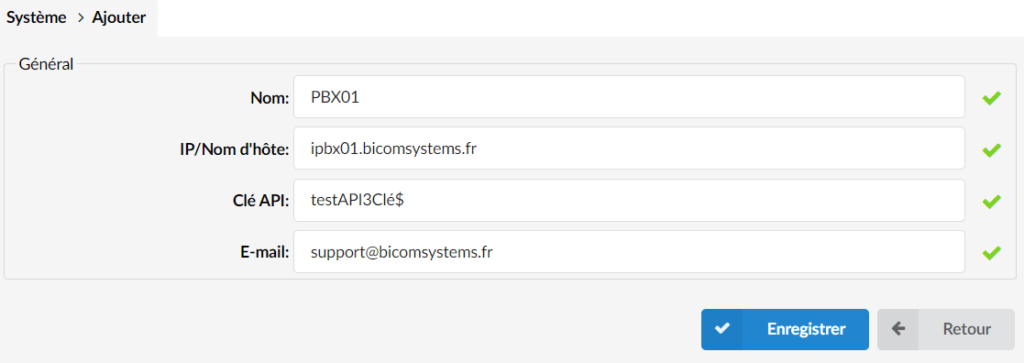
Once all fields are filled in, click Save to add your new PBXware.
Assuming the hostname and API key have been correctly filled in, the synchronization process should start and, after a short period, your server's status should change from In progress to Completed. To see this change, you will need to refresh the page manually
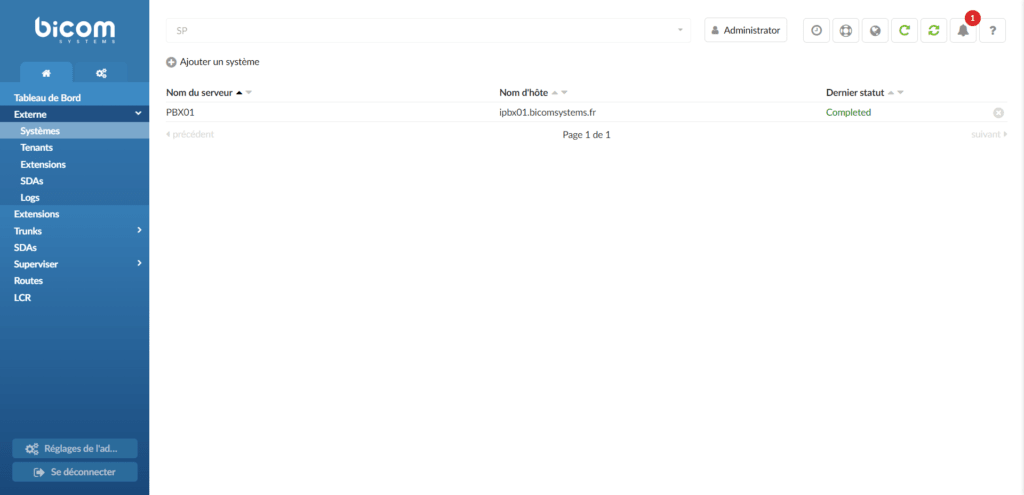
Once the synchronization is complete and the status changed to Completed, all information about tenants, extensions, and DIDs from the external system will be synchronized and available for direct access or modification from the PBXware SP interface, with a simple click of the mouse, and without the need to log in to any of the remote systems.
Any future change made to a tenant, an extension, or a DID, made either on PBXware SP or directly on the external system(s), will be synchronized between two PBXware systems in real time as soon as the changes are applied.
To access one of these items, click on External in the navigation menu of the left panel, then select one of the available options:
- Tenants
- Extensions
- DIDs
From this point, filtering, browsing, and editing are as simple as on any other PBXware edition.
NOTE:
When accessing a remote system using PBXware SP's SSO (Single-Sign-On) feature, the username displayed in the PBXware interface will be SP User instead of Administrator to inform users of how they are accessing the external system. Furthermore, all changes made on the external system will be attributed to the SP User on the Action Logs page.
Although you have most of the permissions of the PBXware administrator account, the account settings will be disabled when you are logged in as an SP user, which will prevent you from changing the password or configuring two-factor authentication.
You must connect directly to the remote system to make these changes.
Logs
If adding a new external server fails, go to the External > Logs for more information on the problem.
On the page Logs, you will also obtain all the information about the status of the relevant actions performed on PBXware SP. You can filter the data by date, host, and action type.