TUTORIAL: Register a SIP Trunk

ADD A SIP TRUNK
To create a SIP trunk, please see Register a SIP trunk > Create a trunk
The SIP trunk acts as a link between PBXware and the VoIP service provider, allowing the routing of incoming and outgoing calls. It provides communication channels that can carry multiple calls simultaneously over an IP connection.
SIP trunks allow you to connect your company's IPPBX to the internet and make phone calls. It is a virtual connection to the PSTN (Public Switched Telephone Network).
The term "trunk" is used in the PSTN network and refers to a set of telephone lines shared by a group of consumers. Since these physical lines do not exist in the context of SIP trunking, the word "trunk" refers to virtual lines.

PBXware supports many operators.
Note that if your operator does not appear in the list, it may still be supported by PBXware. We invite you to test the configurations by referring to the examples cited in this documentation.
INFO:
To view the list of all certified operators, please click on this link
Prerequisites
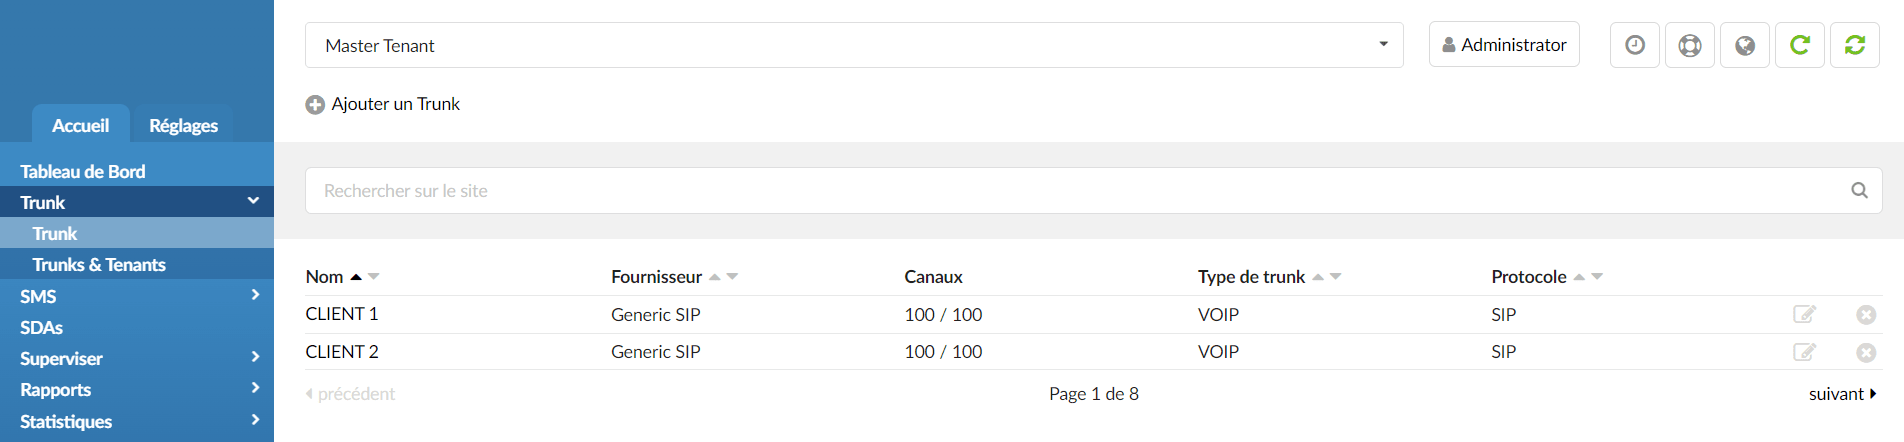
Go to PBXware in the section Home > Trunks
NOTE:
On a Multi-Tenant version, you must position yourself in the Master-Tenant.
TIP:
It is possible to create operator templates in order to pre-fill all the fields in advance. Go to the Settings > Operators section and click the button Add a custom operator.
See: Settings > Operators
Integration guides
Below you will find the integration guides for certified SIP trunks on PBXware:


Add a trunk

In order to add your first SIP Trunk, please click Home > Trunks. On a Multi-Tenant system, you must be located on the Master-Tenant. Click on Add a Trunk.
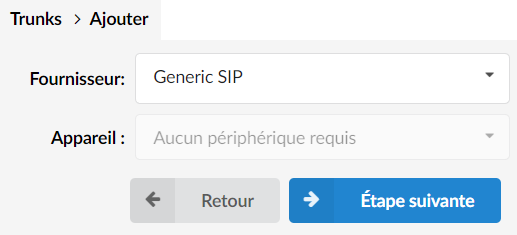
Choose a provider (generally Generic SIP). You will be able to create providers later in order to import predefined settings.
Click on Next step.
Assign a trunk to a tenant
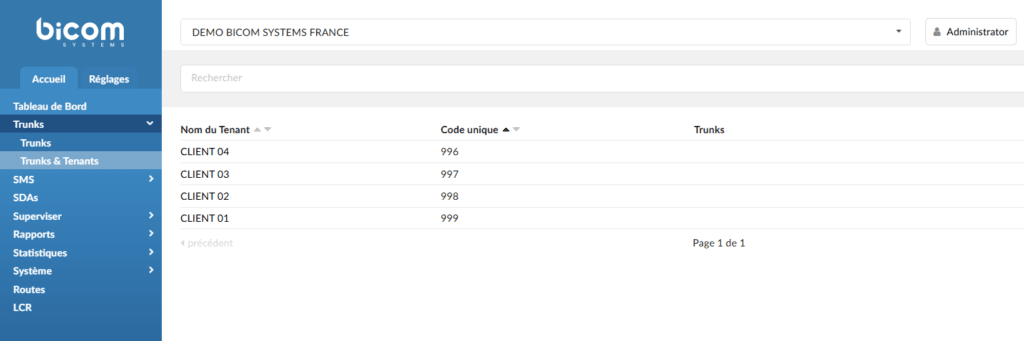
Position yourself in the Master-Tenant to assign a trunk to a tenant.
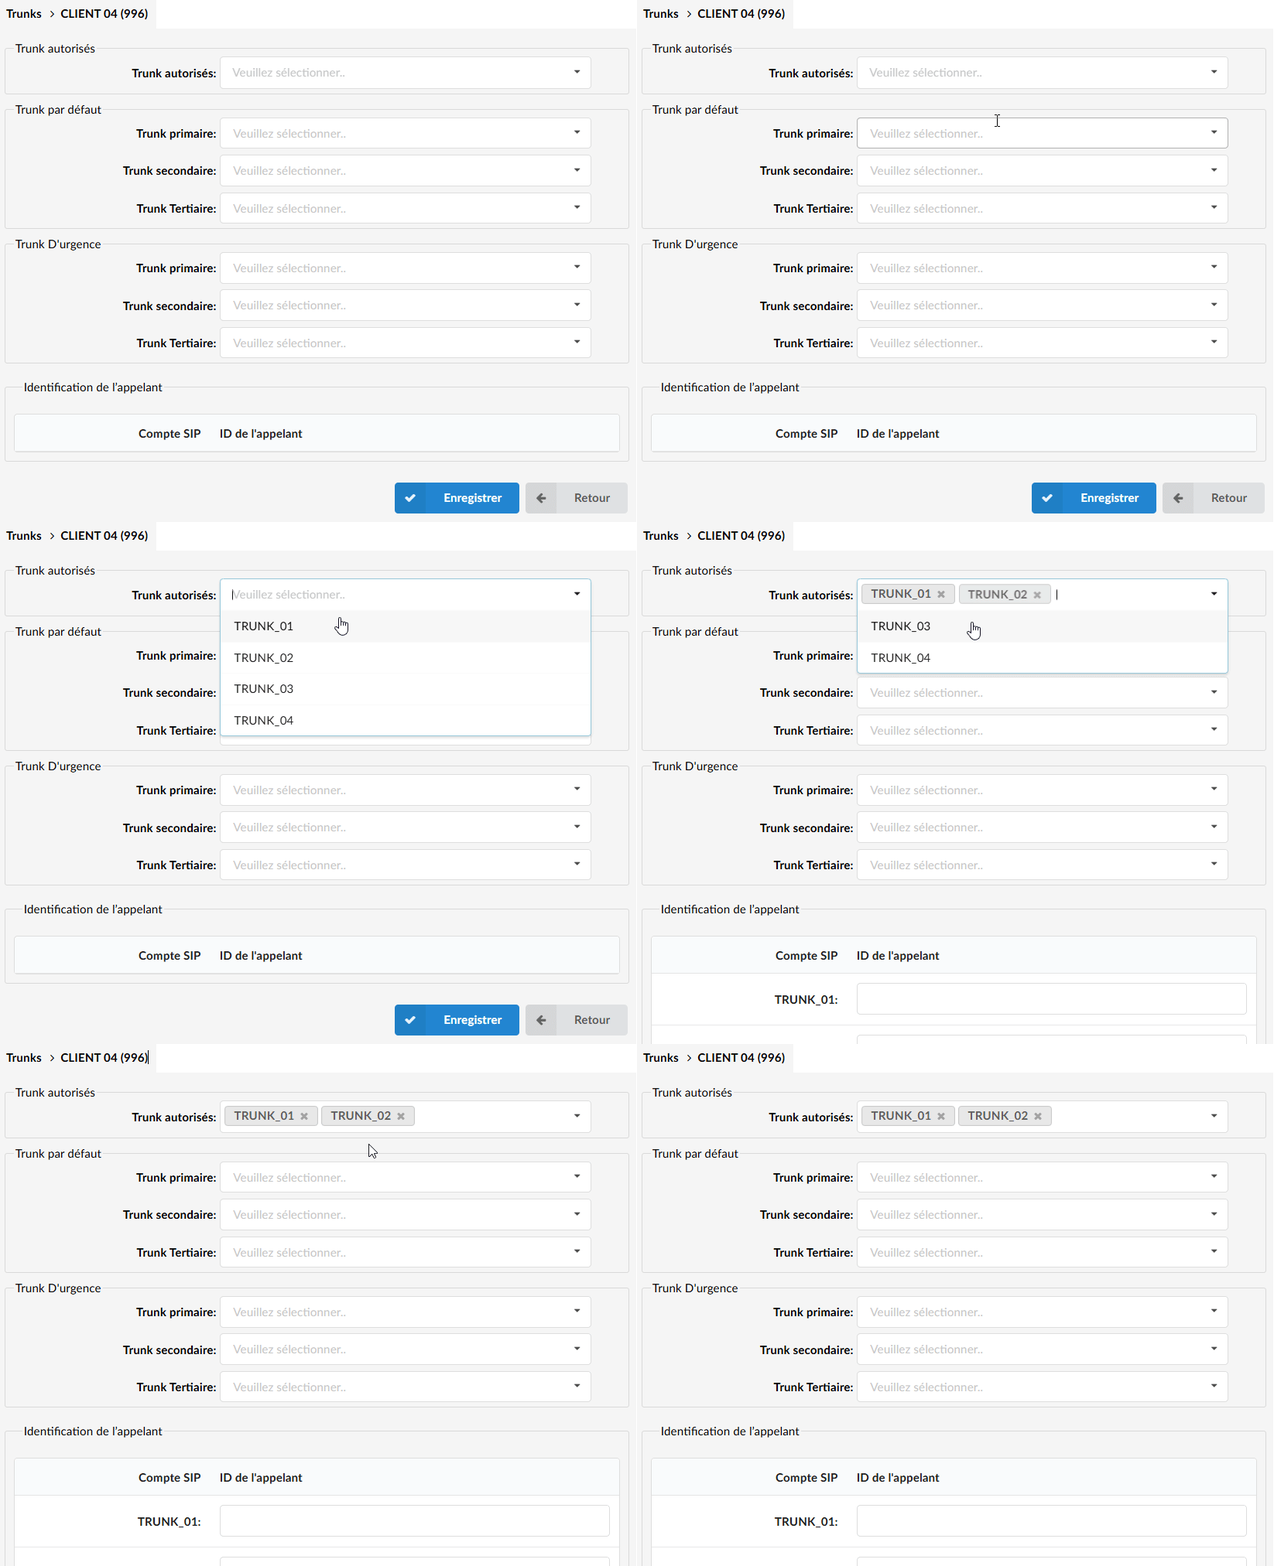
Navigate to the section Trunks > Trunks & tenants & navigate to the tenant in question (example: CLIENT 04).

Select the trunk(s) you want to assign to the selected tenant.
NOTE:
It is possible to assign as many trunks to a tenant as you wish.
Conversely, it is also possible to assign a single trunk to multiple tenants to create a shared configuration.

The Default Trunk section allows you to define an order for choosing trunks by priority. This means that if the Primary trunk no longer responds, the secondary trunk will automatically take over.
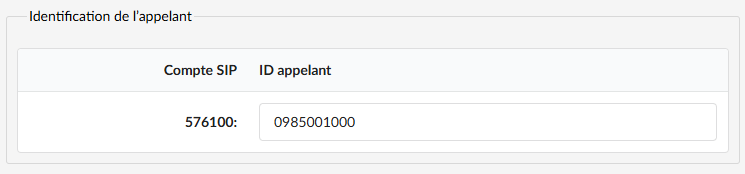
Number presented on outbound
To avoid "anonymous" being displayed or calls failing, you will need to set an outbound caller ID number.
You can set a display number (CallerID) from the Caller ID section of the Trunks & tenants section.
Add DIDs
DIDs are used to direct all incoming calls (which come through trunks) to specific system destinations. Go to Home > DIDs (on a Multi-Tenant system, you must position yourself on the Master-Tenant).
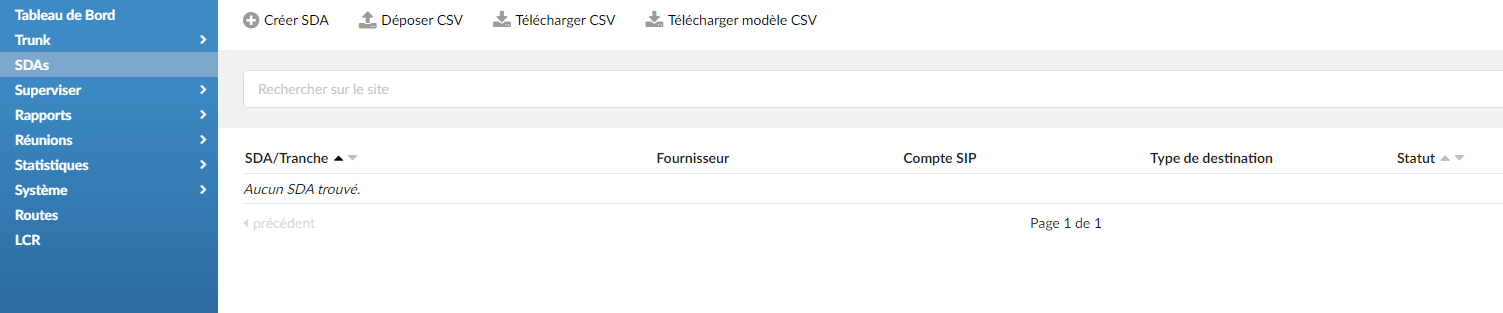
Click on Create a DID.
Add and edit a DID
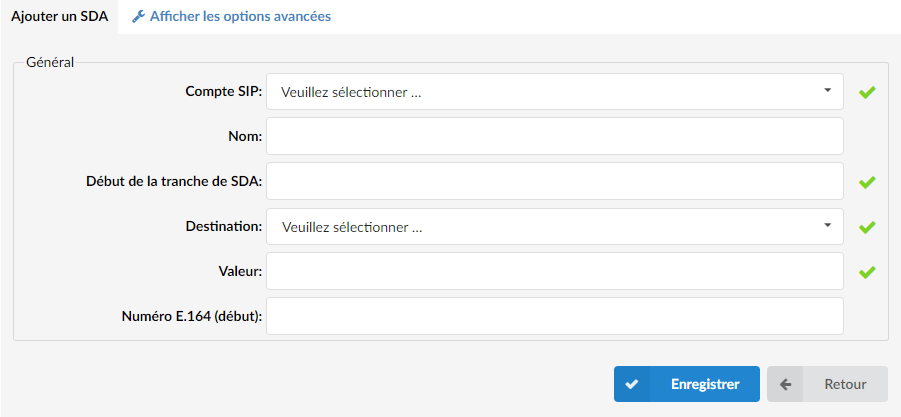
- SIP account (Trunk): Select the trunk from which the DID will take calls
- Name: Enter the name of your DID (for reference)
- DID range start: Enter your DID number here
- Destination: PBXware destination to which the DID will forward all calls.
- Value: Destination value to which all DID calls will be directed.