



Dstny
In order to register a Dstny trunk on PBXware, several parameters must be configured.
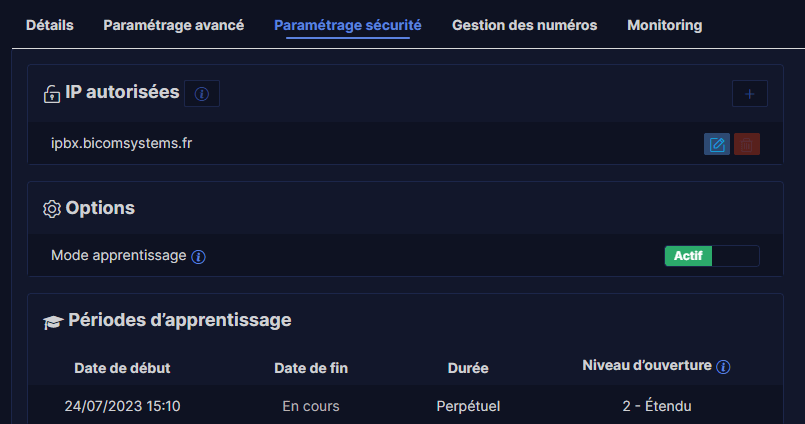
Make sure that the PBXware public IP address/FQDN is allowed in the SIP trunk whitelist.
Go to the section Home > Trunks located on the left side panel of PBXware (position yourself in the Master-Tenant in the case of a Multi-Tenant edition) and click the button Add a Trunk.
Choose Generic SIP as provider and click on Next step.
Fill in the following fields:
- Name or number: Enter a name for your trunk
- User type:peer
- Peer host: voipXX.myopenip.fr where XX corresponds to the number in the URL that was provided to you, for example voip02.myopenip.fr
- Peer username: trunk username (Xka9uO…)
- Peer secret: trunk password
Show the advanced options and configure the following options:
- Qualification (ms): 16000
- Pass-thru mode: Yes
- Sign up/Register: With username
- Allow Remote-party-ID: Yes
- Send the Remote-Party-ID: Use Remote-Party-ID
