



Use basic features
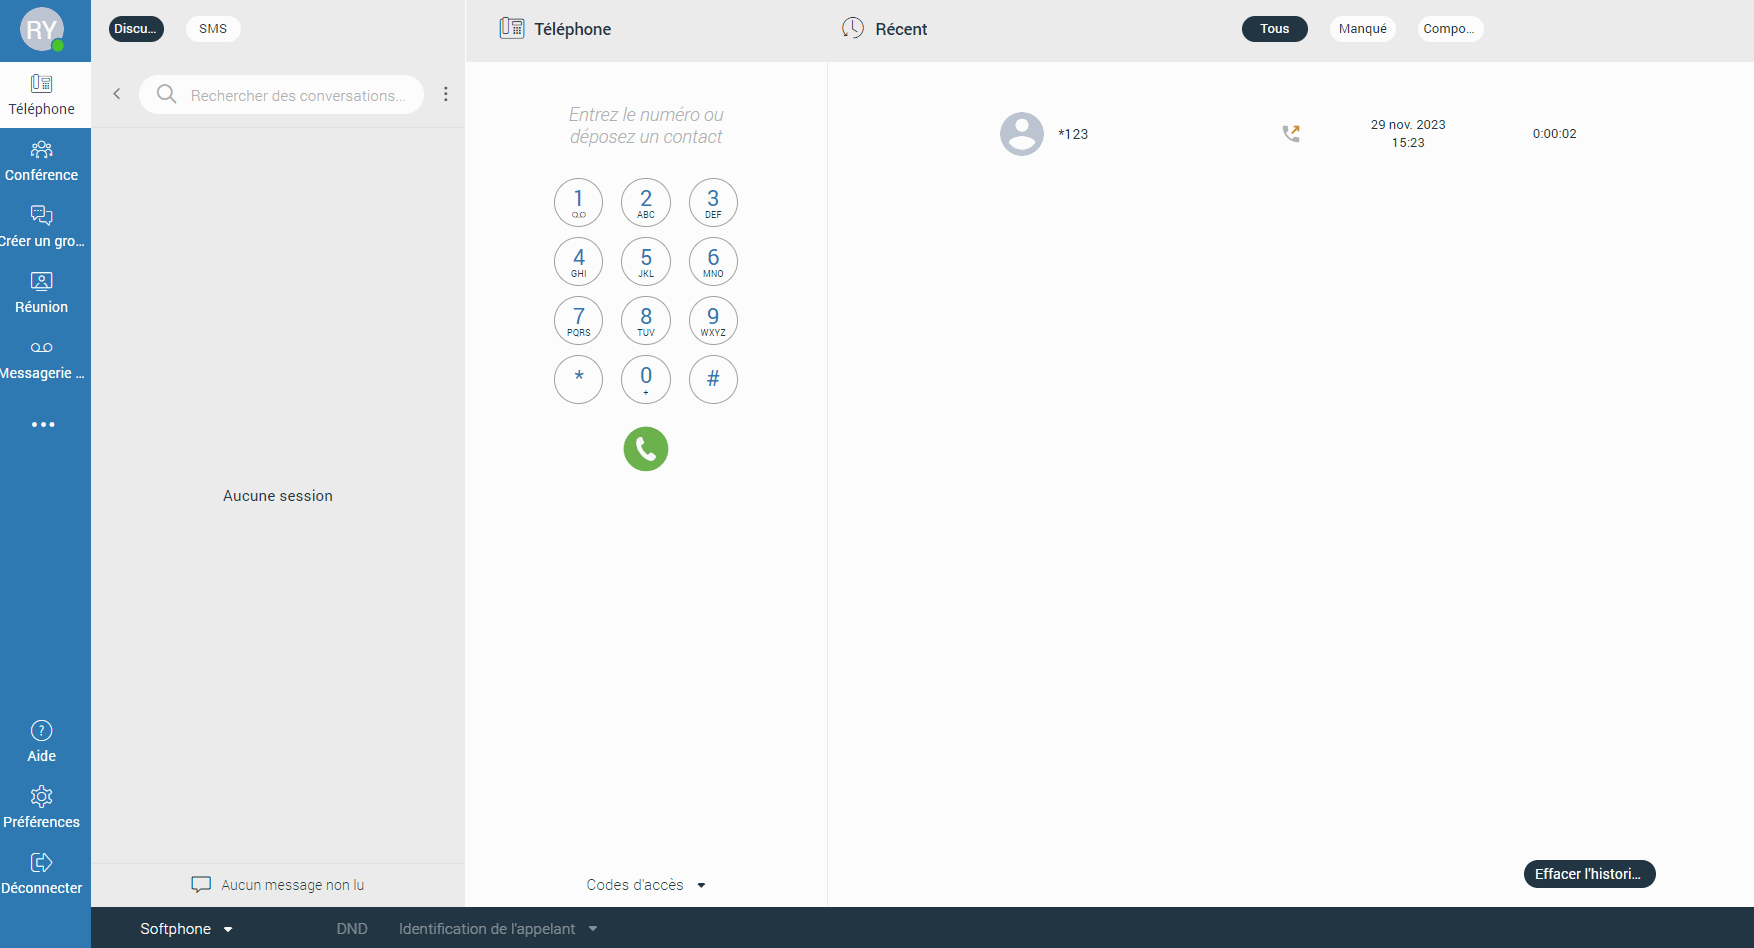
Once connected to Communicator Web, the browser will display the Communicator Web home screen.
The home screen allows you to easily access various options such as Dialer, Conference, Group chat, Meetings, Voicemail and much more.
System notifications
The system notification provides you with important information about the system. For example, if you are using an outdated version of the application.
The notification will be displayed each time the user logs in to the application. To dismiss the notification, click the Dismiss button.
Navigation bar
The navigation bar is located on the left side of the screen.

At the very top of the navigation bar is your avatar image with your online status at the bottom right of the image.
Below the avatar, the navigation sidebar contains six options: Phone, conference, create a group, meeting, voicemail and parked calls.
The following list shows the meaning of these options:
– Phone : Opens the phone screen in the middle of the window.
– Conference : Opens a conference screen in the middle of the window.
– Create a group : opens a Create Group chat screen in the middle of the window.
– Meeting : Opens a Meeting screen in the middle of the window.
– Voicemail : Opens a voicemail screen in the middle of the window.
– Parked calls : Opens a Parked Calls screen in the middle of the window.
Lower down, the navigation bar contains help, preferences, and the logout button.
– Help : Opens a help screen in the middle of the window.
– Preferences : Opens a preferences screen in the middle of the window.
– Logout : log out of Communicator Web.
Contact list
The contact list is located on the right side of the screen.
It allows the user to see which of their colleagues are currently available, busy, or away from the office. The contact list can be in two modes: grid view and list view.
Extensions with the Inactive or Suspended status in PBXware will not be displayed in the contact list.
You can start a call or a chat conversation while hovering over the contact (only in grid mode).
Furthermore, by hovering over the contact, you can see the status message, the phone status, and the devices the contact is currently using.
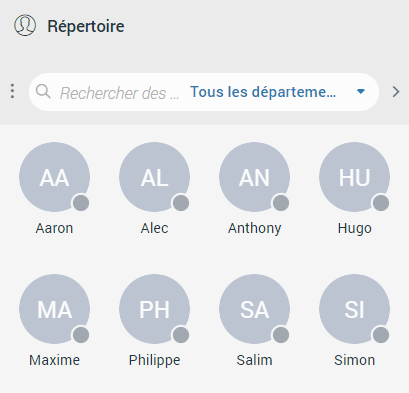
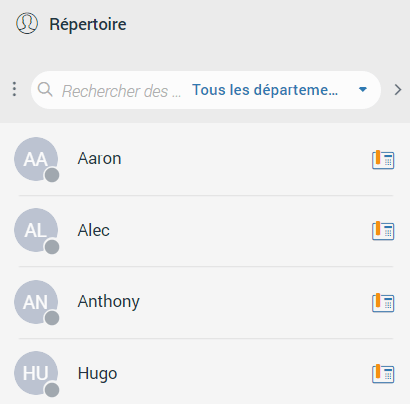
Extensions with the option Show in desktop/mobile application on PBXware set to No or Undefined by the administrator will not be displayed in the contact list.
Furthermore, they cannot be searched in the contact or conversation list, but you can still receive a call or a message from these extensions.
Right-clicking the contact displays a drop-down menu with additional options.
The following list shows the meaning of these options:
– Call : make a phone call.
– Call with : allows you to select the device with which you wish to make a call.
– Chat : start a chat conversation or open the existing one.
– Request attention : Allows the user to request immediate attention from your contact
– Contact information : displays information about the contact.
– Send an email : Send an email.
– Voicemail : leave a voice message for the contact
– Call monitor : allows you to monitor calls in real time for any contact listed in the call monitoring list in the enhanced services
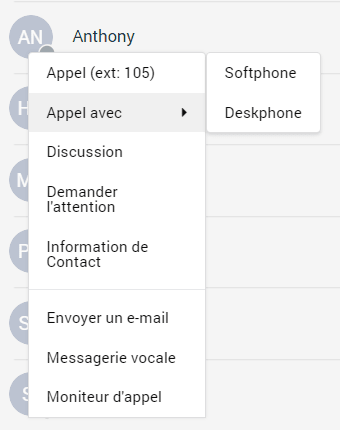
Call Monitoring must be enabled by your administrator in the enhanced services of PBXware.
The search field is located above the contact list. It allows you to search for a specific contact by entering the contact's name or extension number.
Also, it is possible to filter contacts by department. Filtering contacts by department allows you to search through departments using the up and down arrow keys on the keyboard or by entering the department name in the search field above the department list.
The return key ← of the keyboard deletes character by character, and the ESC deletes all the text written in the search field.
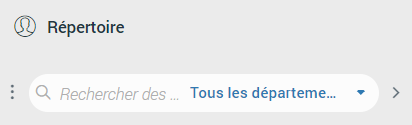
In the event of an input error in the search field, the user receives the message: No user online
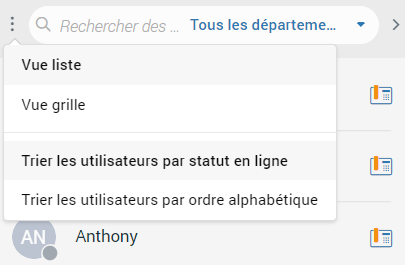
There are three dots next to the search field. By clicking on them, a drop-down menu appears in which you can choose between Grid view and List view. In addition, you can choose whether you want to sort the users by online status or sort the users alphabetically. Furthermore, to the right of the search field there is an arrow that allows you to collapse/expand the contact list.
Furthermore, you have the ability to resize the contact list instead of collapsing it.
This way, you will keep your contacts visible while benefiting from additional space in the middle of the screen.
Company directory
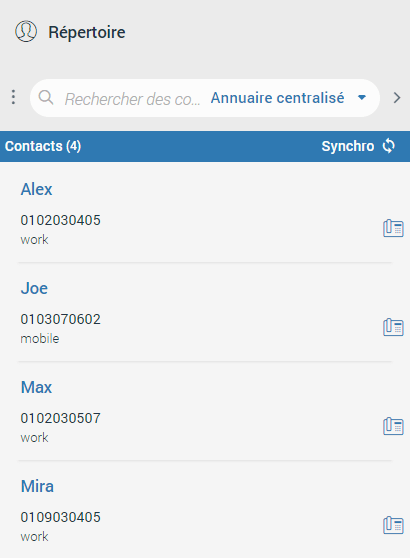
The central phone book is a centralized list of contacts managed by the PBXware administrator. It is shared among all Communicator Web users.
Select the option Centralized directory in the drop-down menu above the contact list to access the contacts from your central phonebook.
You can use the contact search field to find a contact by their name or number. Click the phone icon next to the contact’s number to launch a phone call. Right-click a contact to open a context menu with additional options.
In addition to the contacts managed by the administrator, each user can manage their personal contact list. This personal contact list is private and visible only to you, and can be managed through Online Self Care by clicking on the Central Phone Book tab.
Here, you can see all the contacts in your personal phone directory, add new contacts, import/export contacts or download a CSV template.
To remove a contact, click the X button located to the right of each contact.
After closing the Online Self Care window, you must click the sync button to refresh the contact list if necessary, so that the changes made in Online Self Care can be synchronized in Communicator Web.
Phone
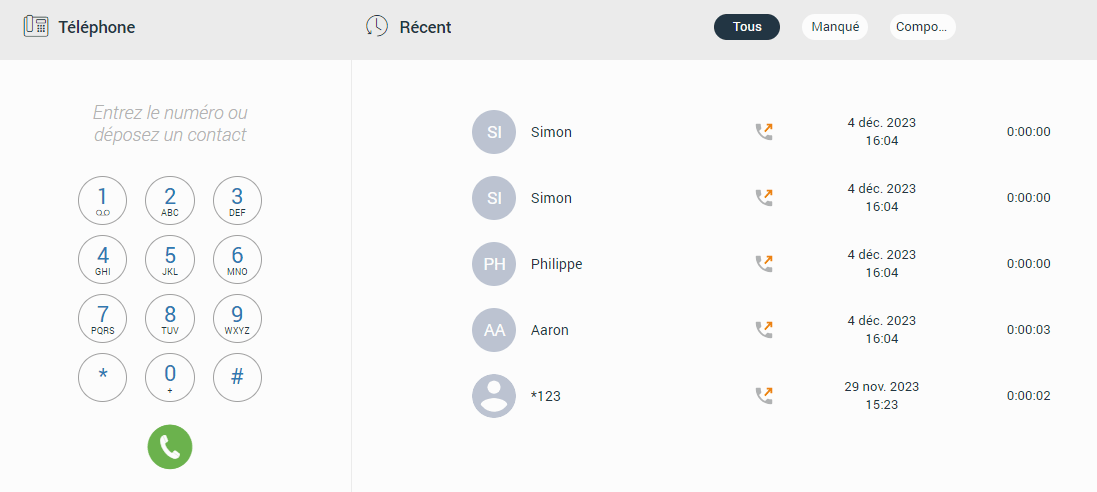
The phone section is positioned in the middle of the screen.
This contains two sections: a keypad and a recent calls section. The dialer allows the user to make, receive, and view recent calls.
Communicator brings a unified call history across desktop, mobile, and web applications.
Call history is stored for up to a month on the server and synchronized across all users' devices.
This means you will be informed of your recent calls at all times. The app ensures that the user's call history is synchronized at each login and that their recent calls are available on their device.
You can make a call by entering the number using your keypad or by dropping a contact into the designated area.
Immediately after you start entering numbers, a backspace arrow appears on the right side of the call window input, allowing you to delete the entered number. In addition, the number can be deleted using the backspace key ← of the keyboard.
If the input field is active and no number is entered, pressing the Enter key on the keyboard twice in a row will call the last dialed number. In addition, double-clicking the green handset gives the same results.
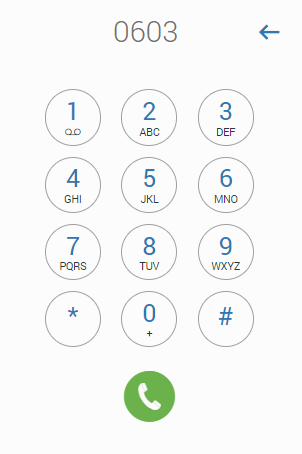
When you press and hold any key on the phone dialer, except for 0, it will display the number or sign pressed. However, when you press and hold the 0 held down, the + (plus) sign is displayed.
Access codes allow you to easily access some of the most frequently used access codes.
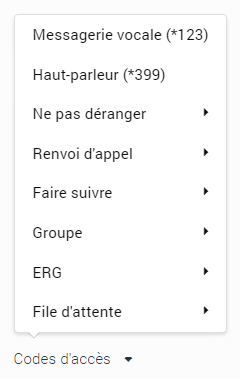
Furthermore, the second part of the dialer is the section Recent calls.
It allows you to see all of their missed or dialed calls as well as their conference calls.
The recent calls section provides information such as:
– Caller's avatar (if applicable)
– Caller name
– Call type (inbound/outbound call)
– The date and time of the call
– Call duration
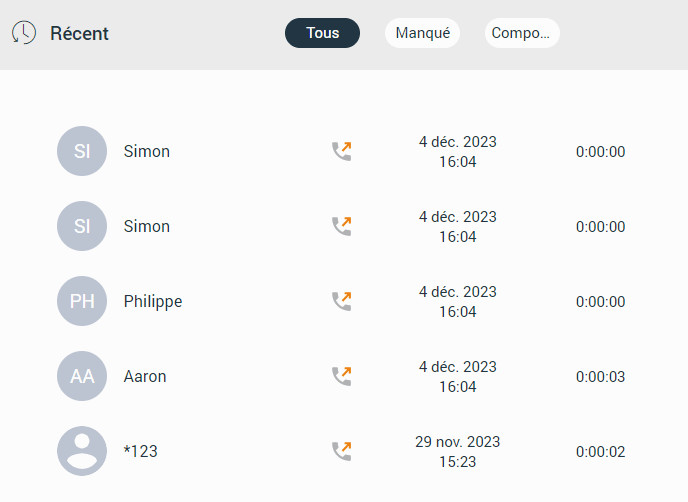
Furthermore, hovering over a call displays additional options (start a call and start a chat conversation).

Make calls
Important information:
Before making a call with Communicator Web, your extension must have the Opus codec as well as the WebRTC option enabled by your PBXware administrator.
Furthermore, the TLS settings must be enabled on the PBXware system. Otherwise, if you attempt to start a call with these three options disabled, a pop-up message will appear displaying the message Call failed and Incompatible SDP
Once these three conditions are met, a call can be made or received without any problem.
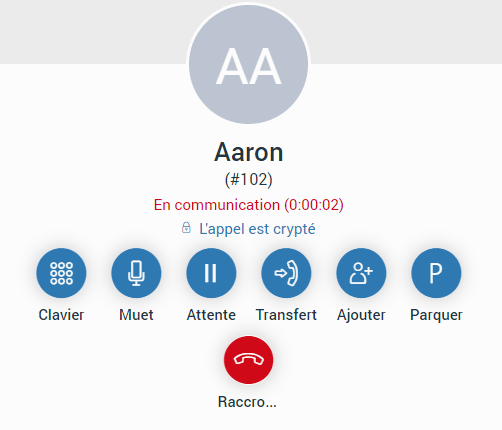
All calls are encrypted, and an indicator during an ongoing call informs you of the encryption.
By hovering over the indicator, a tooltip appears with the following message: "The call is encrypted with TLS/SRTP. TLS encrypts the call signaling and SRTP secures the actual voice media being transferred".
The above rule does not apply to calls made from other devices since it is not possible to determine whether the other device uses TLS encryption.
Here are the different ways to initiate a call from Communicator Web:
Dial by entering the phone number:
– Use the dialer keypad or the keyboard keys to enter the phone number you wish to dial.
– Click the Dial button to make a call.
Dial by drag-and-drop:
– With the mouse, click and hold any contact from the contact list, then drag the contact from the list to the dial area and drop it.
– Click the Dial button to make a call.
Dial from a chat conversation:
– Open the chat conversation. Click the Compose button in the context bar at the top of the chat, or click more options and make a call by selecting one of the two options offered: Call and Call with.
Dial from the contact list:
If you want to make a call from the contact list, you can do so in several ways:
– By hovering over a contact and clicking on the phone image (Grid view only).
– Right-click on the contact and select one of the two options offered: Call and Call with.
– Click the phone icon (list view only).
Dial from the conversation sidebar:
– Click the Dial button in the desired chat conversation while hovering over it.
Call on availability
Call on available represents a kind of callback, so that you do not forget to call your colleagues once they become available. For example, if you try to reach your colleague while they are on a call (one-to-one, conference, conference call) or their presence status is set to Do Not Disturb, after pressing the call button, a modal dialog box appears with four options.
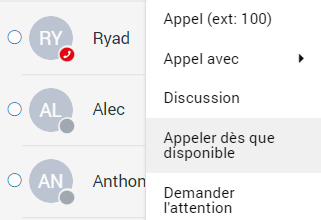
- Call on available : selecting this option will remind you to continue the call once the other party is available.
- Call anyway now : Selecting this option will proceed with a call.
- Call voicemail : Selecting this option will directly call the other party’s voicemail.
- Cancel : Selecting this option will cancel the Call on Availability procedure.
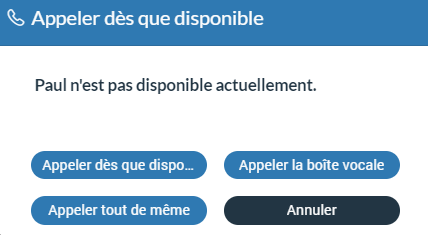
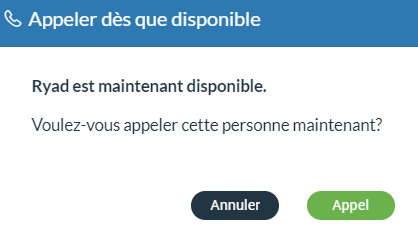
Suppose the Call on Available procedure is enabled.
Once the other party has become available, you will be presented with a dialog box asking whether or not you want to place a call.
Call screen
There are various options you can use during a live call.
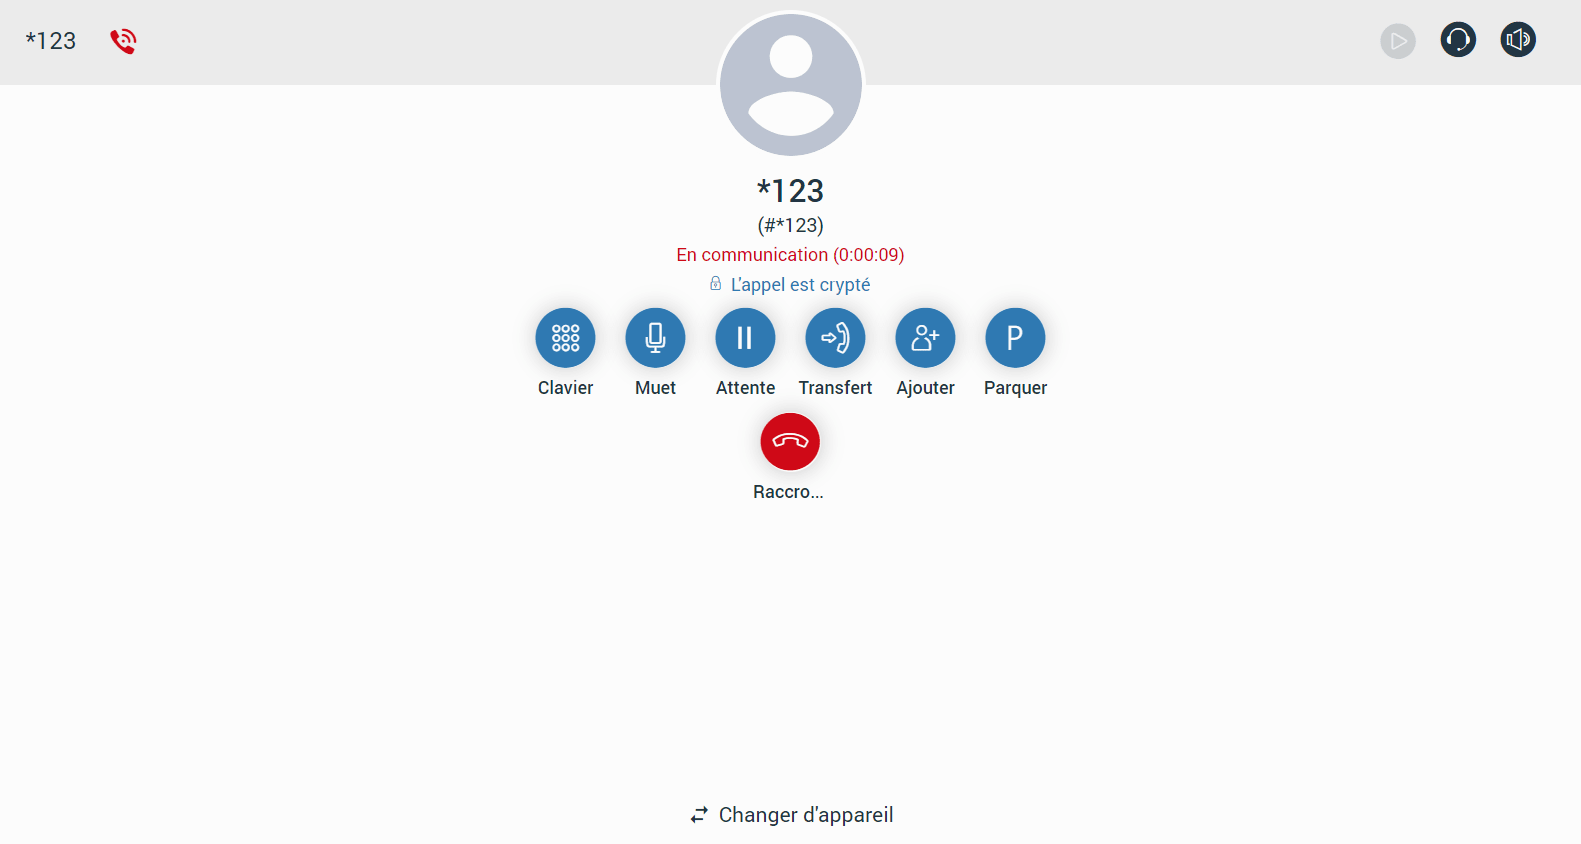
- Keypad : brings up a keypad
- Mute/Unmute : Allows you to put yourself in Mute mode.
- Waiting : allows you to put the other side on hold in case you have another call.
- Transfer : Allows you to transfer the call to someone else in three ways:
– Regular transfer – Transfer without announcement.
– Attended transfer – Transfer with announcement.
– Voicemail transfer – Transfer the call to voicemail. - Add : allows you to switch to a conference call from the normal call by adding more participants to the existing call.
- Park : allows you to park a call so that someone else can pick it up.
- Hang up : Allows you to end a call.
- Switch device : during a live call, you can use the Switch Phone button to start ringing on all your registered devices or on a specific device (softphone, desk phone, and mobile app), so you can continue the call on another device. A perfect example would be switching from the desk phone to the mobile phone when they need to leave the office but want to continue the call. The same applies to conference calls.
- Transfer a call by drag-and-drop : During a live call, you can transfer the call by dropping it onto the desired contact in the contact list. During the drag, a transfer indicator will be displayed. Both types of transfer, blind and supervised, can be used. You can select the one you want to use by hovering over the contact. Drag-and-drop transfer does not apply to conference calls.
Furthermore, you can add the contact to the call by dragging and dropping it, which automatically starts a dynamic conference.
Note for Safari users:
To enable ringtones for incoming and outgoing calls, go to the Safari menu, click Preferences and choose the Websites tab. Then click Auto-Play on the left side of the window. On the right side of the window, you should see the listed websites. Click on the Communicator Web website and change this setting from Never Auto-Play to Allow All Auto-Play.
Receive a call
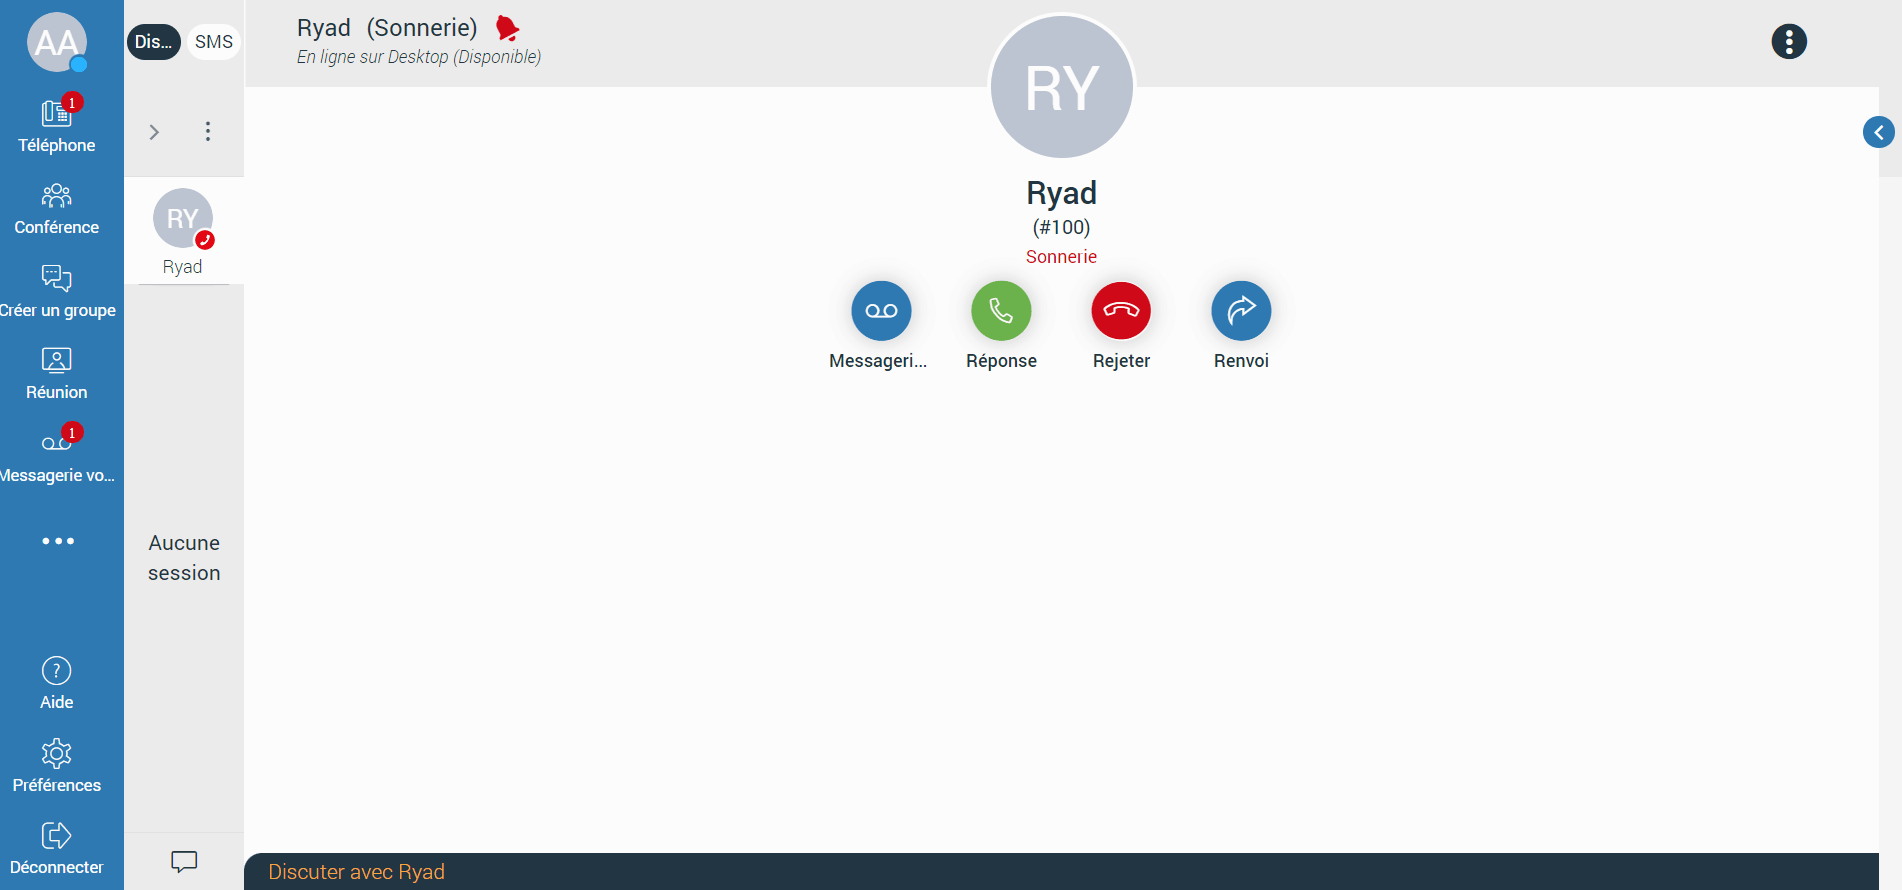
There are several ways to answer an incoming call:
- Click the button Dial inside the ringing conversation in the conversation list of the sidebar to accept the call, or click on the button Reject to reject the call.
- You can also click on the ringing conversation in the sidebar conversation list to display the ringing phone screen with the following options at the front of the application:
- Voicemail : Allows the user to transfer a call to voicemail.
- Reply : Allows the user to accept the call.
- Reject : Allows the user to reject an incoming call, which will be automatically transferred to voicemail.
- Forwarding : Allows the user to transfer the call to someone else.
The call will be transferred to the user's voicemail if the user takes no action within 32 seconds.
Park a call
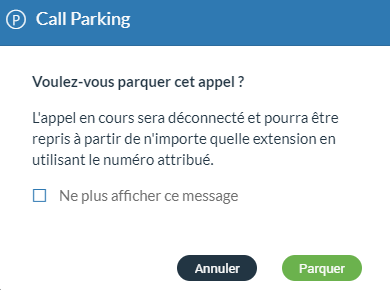
The call parking option allows you to park a call so that someone else can pick it up. You can park a call by clicking the Park button and selecting a parking lot from the list provided.
Once the parking is selected, a confirmation dialog box will appear. This dialog box can be prevented from reappearing by checking the "Do not show this message again" option.
Parked calls
Once a call is parked, it can be retrieved by clicking the additional options in the navigation bar, then selecting Parked calls or by dialing the parked extension.
In the Parked Calls section, you can filter the calls by selecting the My Calls or All Calls buttons.
