



Tenants
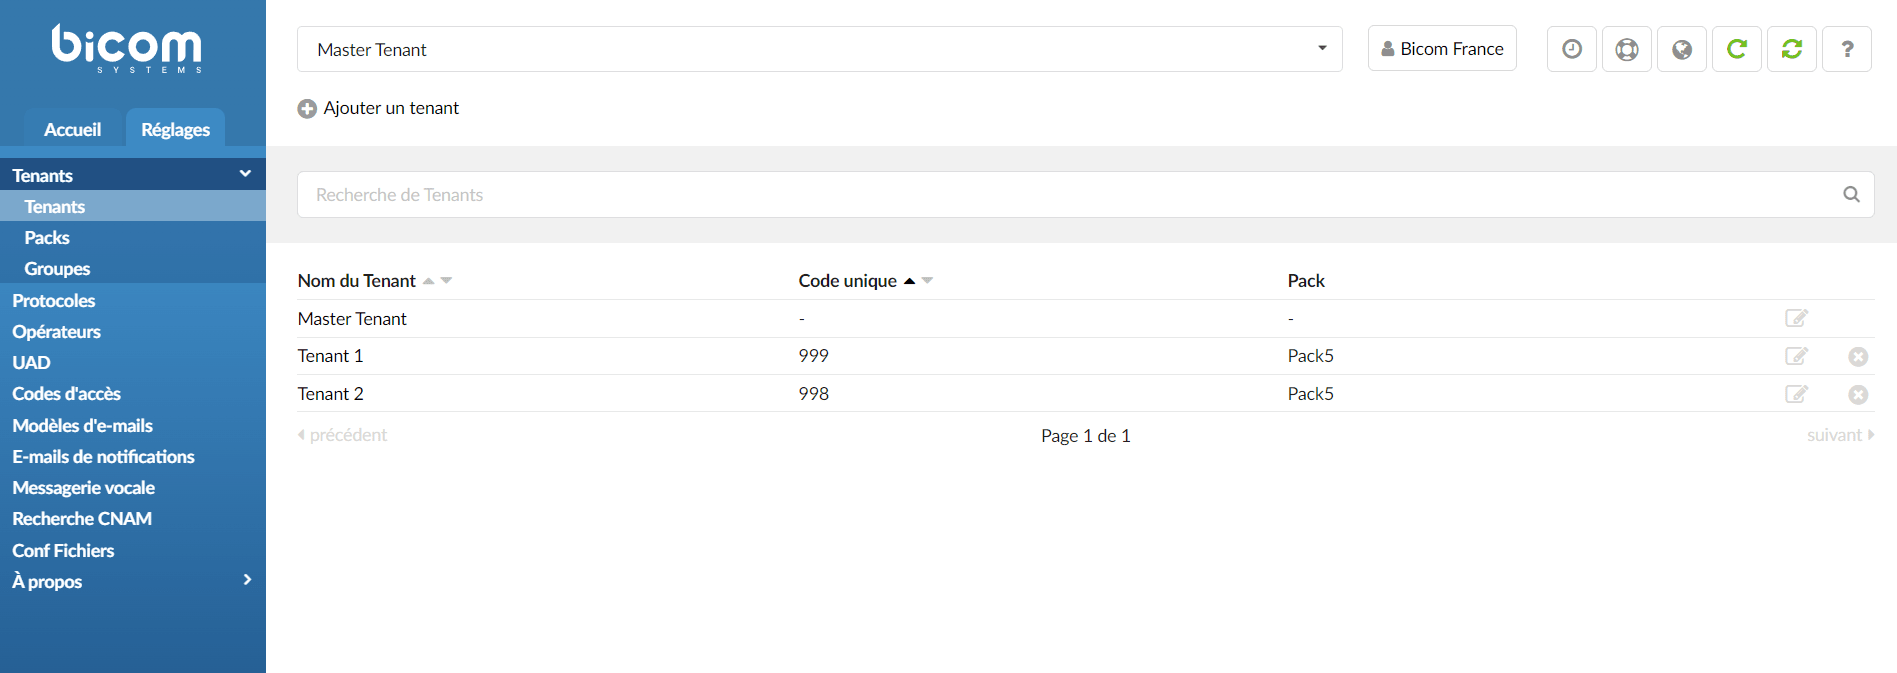
 Edits the server configuration.
 Deletes a tenant from the system.
Network info
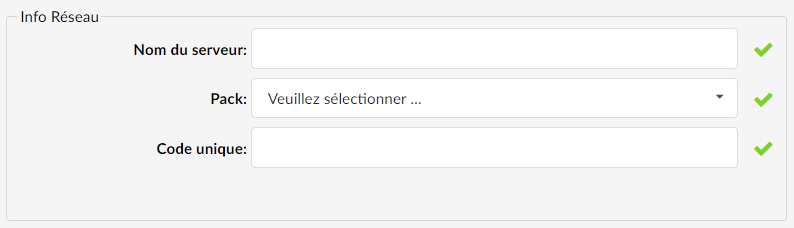
The first step in creating a tenant is to indicate the name of this new tenant, assign a package (plan) as well as a unique tenant code (ranging from 200 to 999).
Auto provisioning

You will then need to define an HTTP username/password pair that will be used to provision the phones on your PBX.
Locality
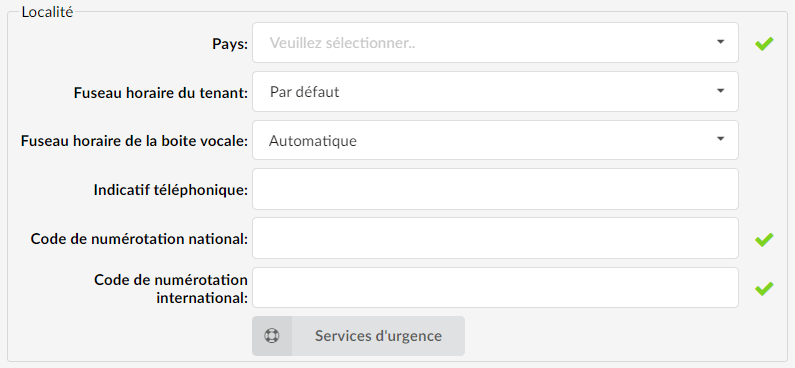
The locality part allows you to define the dialing rules related to the country in which your tenant is located.
There you will be able to define a time zone as well as a dialing code, but also local emergency numbers.
Default dialing

Your tenant's default dialing offers you the ability to define the digit length for extensions, IVRs, voicemails, and other tenant-specific items.
As an example, if you opt for a length of 3 digits, your extensions will be numbered from 100 to 102, whereas if you choose a length of 4 digits, they will follow the sequence 1001, 1002, 1003…
LDAP
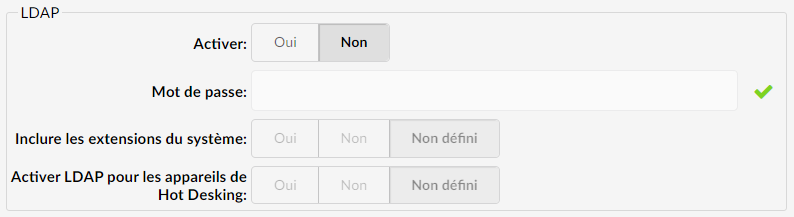
Finally, the tenant's LDAP section enables centralized management of user information and phone extensions, thus simplifying the management of enterprise contact systems. By enabling the LDAP server, phones will be able to retrieve the contact list in their internal directory.
Before you can use it, you will need to enable LDAP and configure a password.
