



Trunks
The SIP trunk acts as a link between PBXware and the VoIP service provider, allowing the routing of incoming and outgoing calls. It provides communication channels that can carry multiple calls simultaneously over an IP connection.
SIP trunks allow you to connect your company's IPPBX to the internet and make phone calls. It is a virtual connection to the PSTN (Public Switched Telephone Network).
The term "trunk" is used in the PSTN network and refers to a set of telephone lines shared by a group of consumers. Since these physical lines do not exist in the context of SIP trunking, the word "trunk" refers to virtual lines.

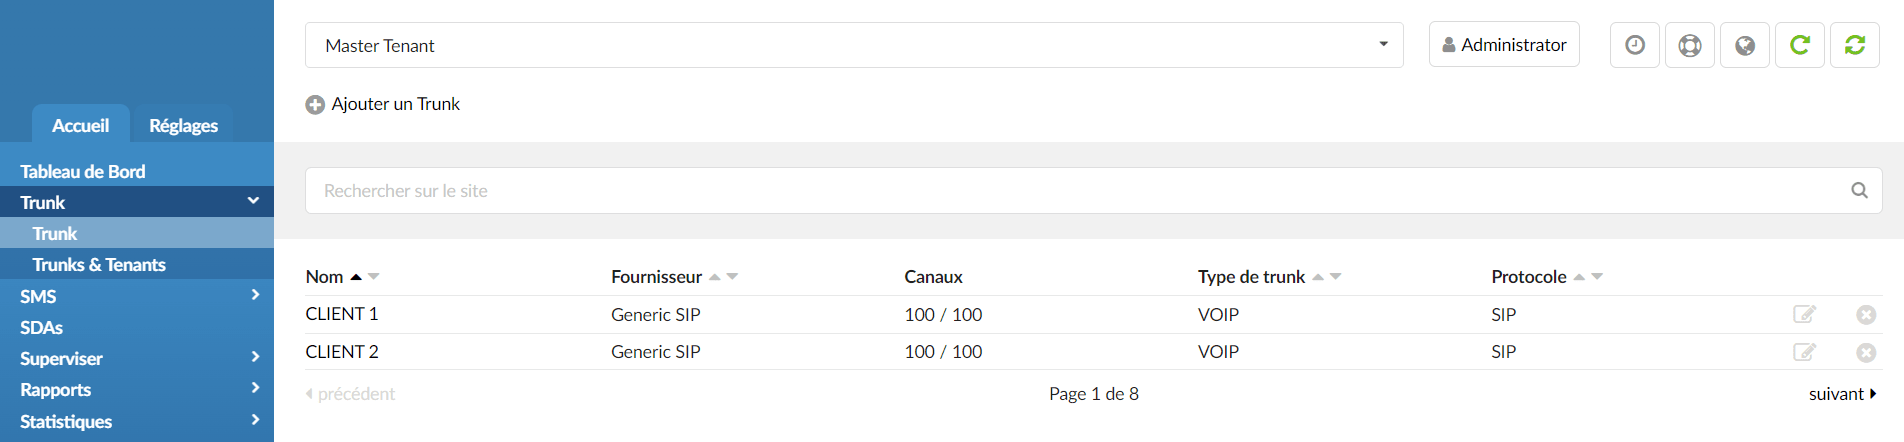
In order to add your first SIP Trunk, please click Home > Trunks. On a Multi-Tenant system, you must be located on the Master-Tenant. Click on Add a Trunk.
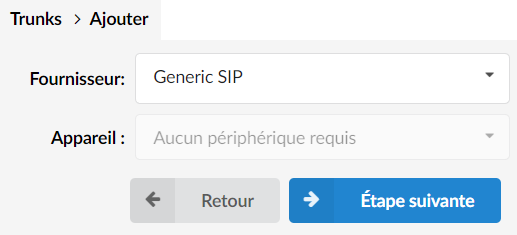
Trunks & Tenants
This page allows you to assign SIP trunks to tenants. Tenants will only be able to use the trunks assigned to them.
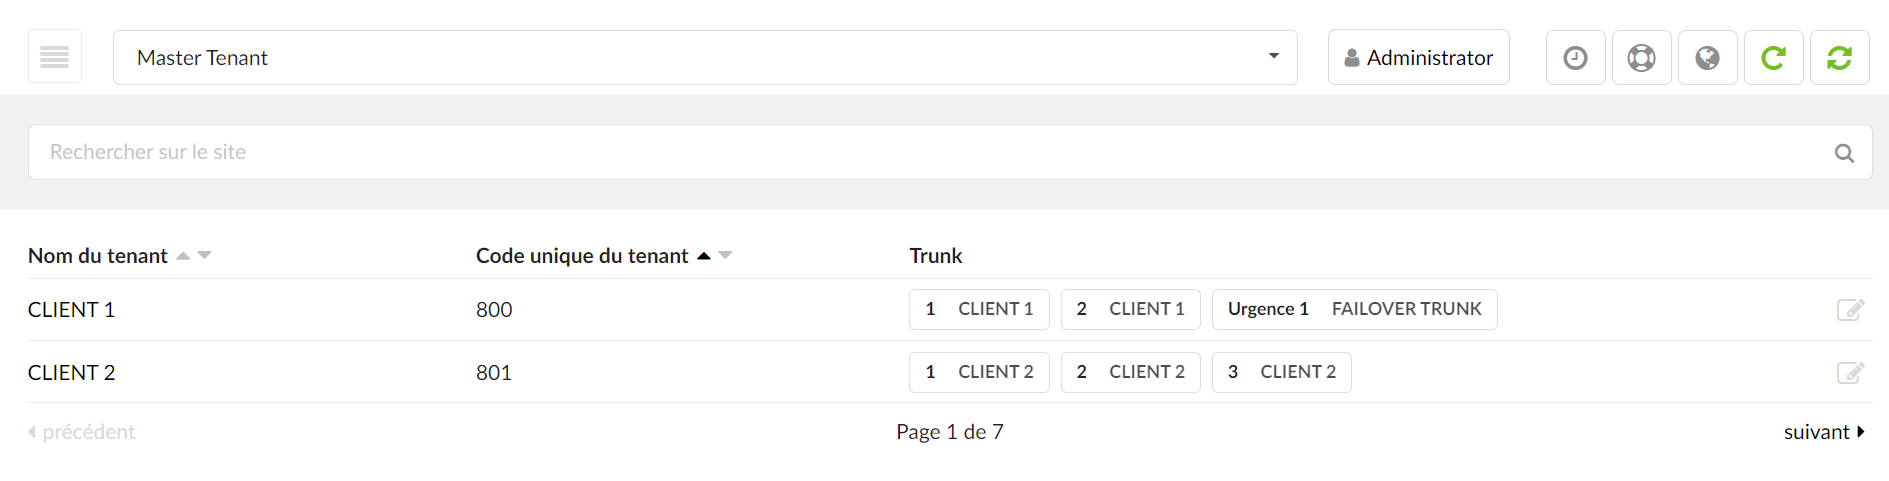
- Tenant name
Provides a list of all tenants that currently exist on the system. Clicking on a tenant's name will open a page where you can assign lines to that tenant.
- Unique tenant code
Provides a list of the tenant codes corresponding to the tenant name in the first column.
- Trunk
displays the SIP trunks which are defined as primary/secondary/tertiary and the emergency trunks which are defined as primary/secondary/tertiary.
Allowed trunks

Choose the trunks among all the created trunks that will be used on this tenant for incoming/outgoing calls. Only the Trunks chosen here will be available in the fields below.
Default trunk
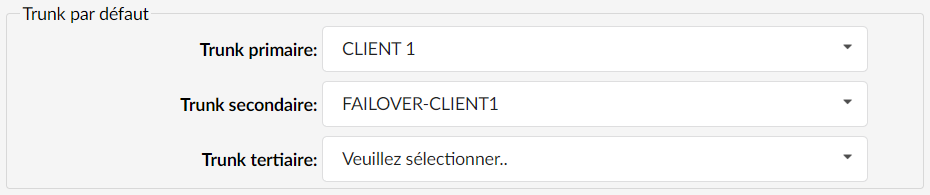
Select the primary, secondary, or tertiary trunk by default. Only the trunks defined in the Allowed trunks can be selected.
Emergency trunks
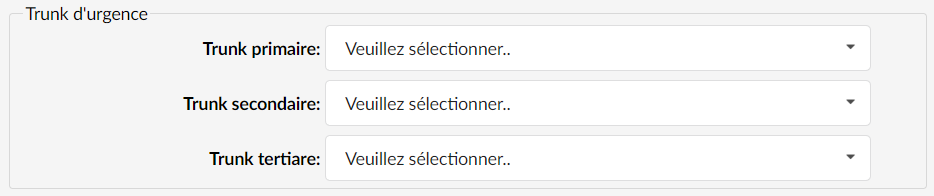 In this section, define which trunk will be set as the primary/secondary or tertiary emergency line.
Through this trunk, emergency service numbers are dialed. Only the trunks defined in the Allowed trunks field can be selected.
Caller identification
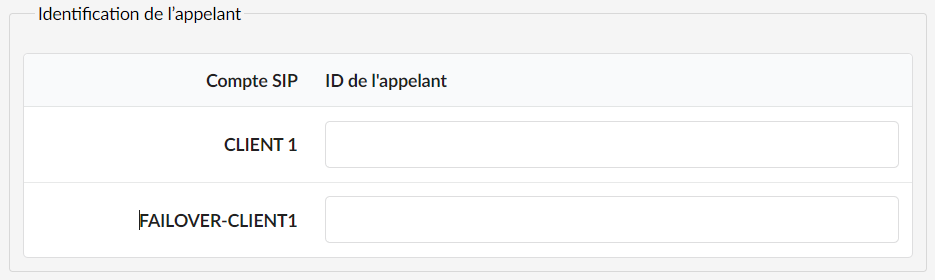
Here, you can define a custom CallerID for each trunk. Only the trunks defined in the Allowed Trunks field are visible in this section.
Adding a trunk to the list of allowed trunks will automatically add a caller ID entry in this section. Removing a trunk from the list of allowed trunks will also remove the caller ID entry for that trunk.
