Installation
Installation
Once the download is complete, click the downloaded file to start the installer.
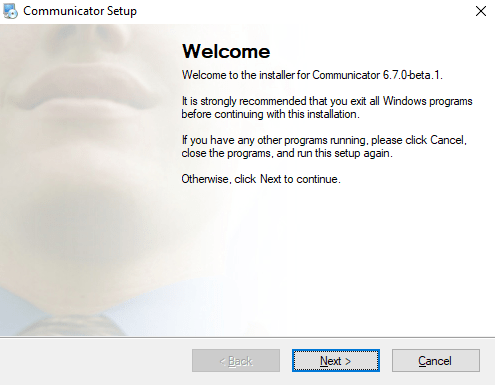
The welcome window starts the installation procedure. Click the Next button to continue the installation or click the Cancel button to exit the installation wizard.
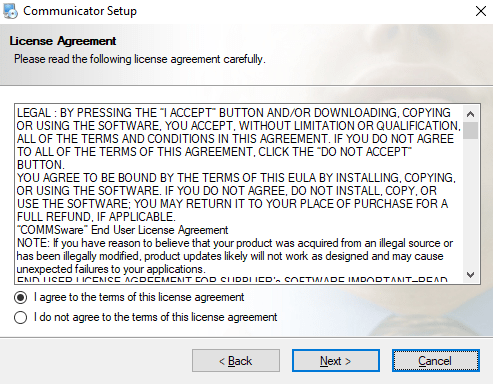
Read the license agreement and select I Accept if you accept the license agreement. Click the Next button to continue the installation or click the Cancel button to exit the installation wizard
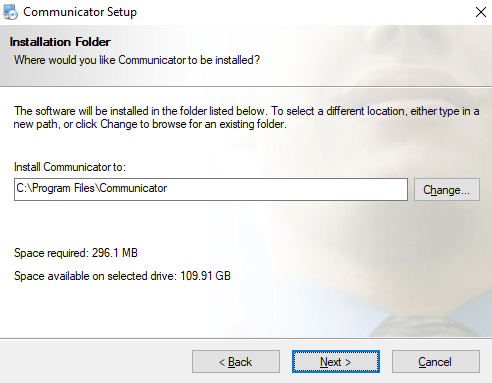
The window Installation folder defines the default installation location of Communicator. By default, C:\Program Files\Communicator is set. To select another location, click the button Change.
When you are finished, click the Next button to continue the installation or click the Cancel button to exit the installation wizard.
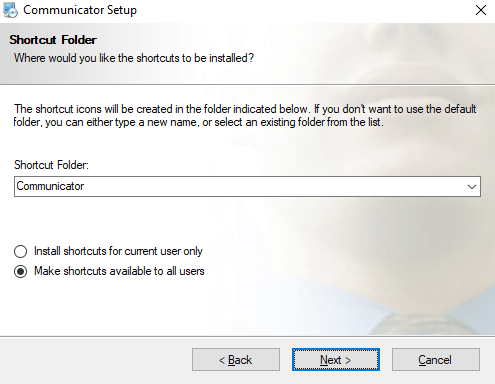
The Shortcut Folder window defines how the Communicator shortcut will be displayed in the Windows Start menu.
Select the desired shortcut in the selection box and click the Next button to continue the installation, or click the Cancel button to exit the installation wizard.
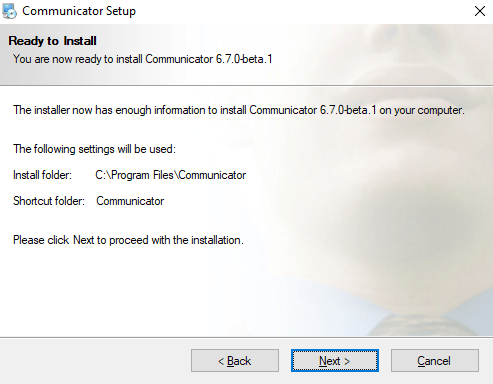
The Ready to Install window summarizes the steps of the installation wizard and displays all the selected options. If you agree with these options, click the Next button to continue the installation or click the Cancel button to exit the installation wizard.
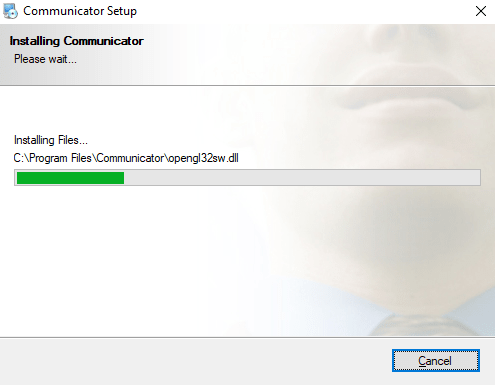
The Communicator installation window shows the installation in progress.
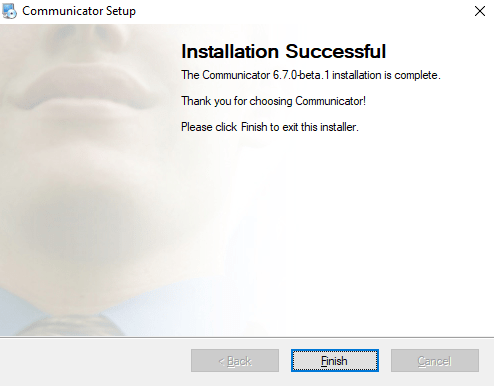
After this step, the Installation successful window is displayed. Click the Finish button to close the window and complete the installation.
Installation as an MSI package
In order to install Communicator from an MSI package, the following prerequisites must be installed before the MSI package:
▸ Microsoft Visual C++ 2015 Redistributable (X86)
▸ Microsoft .NET Framework 4 (or newer)
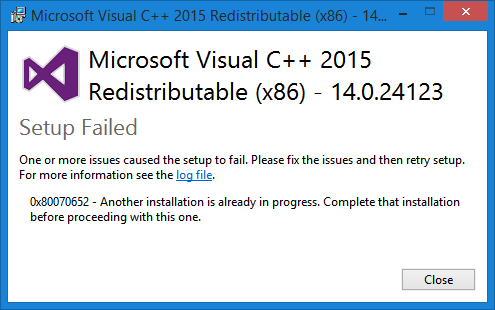
In addition, if Visual C++ is not installed, users may get installation errors.
Configure Communicator
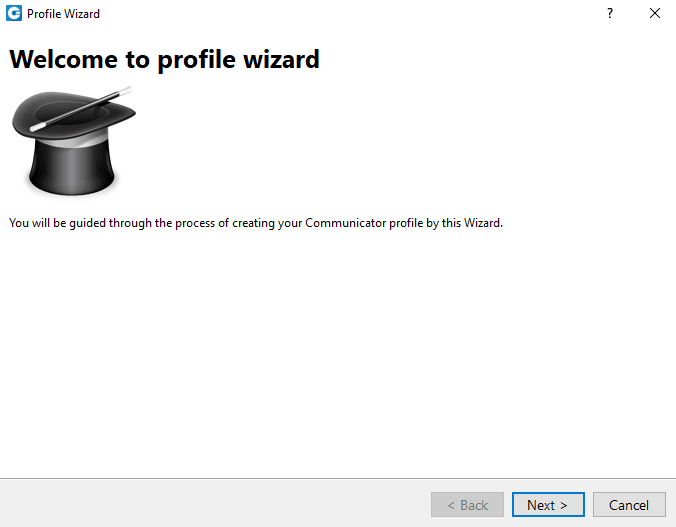
After installation, you must configure Communicator. Click the Communicator icon to open the application and the profile wizard will appear. To continue the configuration, click the Next button.
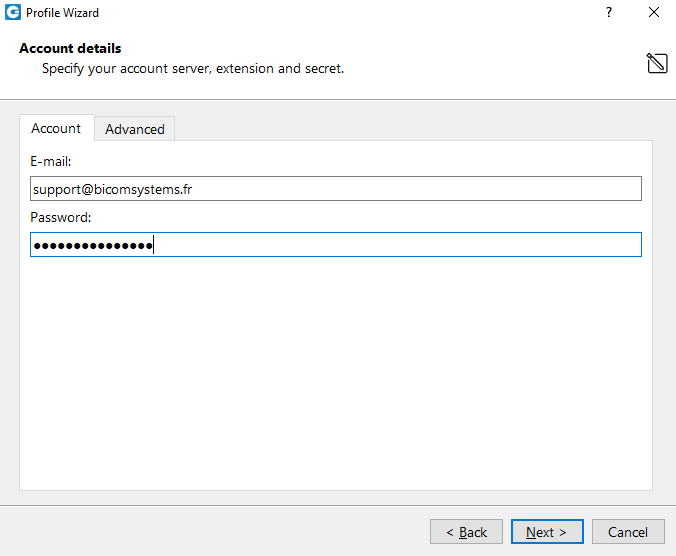
Account details
Make sure you have received your account details from your system administrator or your account manager, which are:
- User password
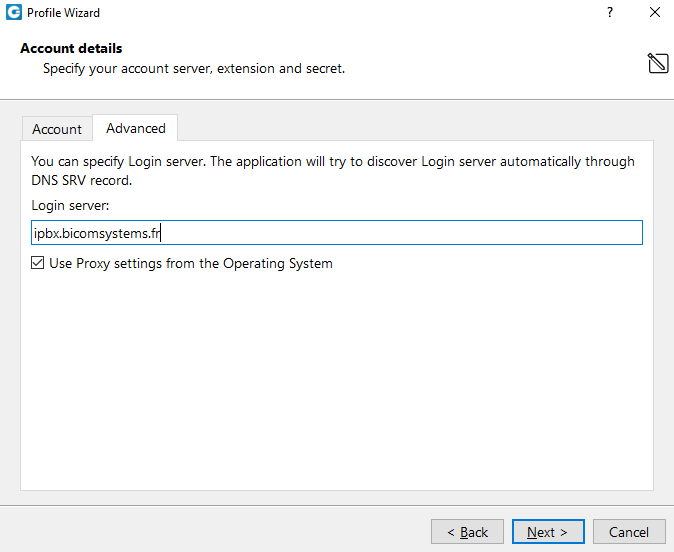
Advanced
In the case of the DNS domain, the application will perform a DNS SRV lookup and try to connect to each server obtained by the application according to their priorities. In the case of the server address, the application will try to connect directly to the given address.
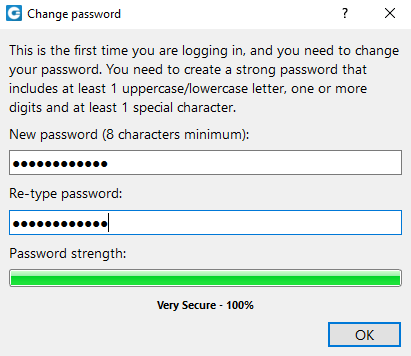
After clicking Next, Communicator will try to connect to the specified server with the user's account details. If the account details are incorrect, a red warning will appear. Otherwise, a password change window will appear to ask you to change your password since this is the first time you are logging in. Your password must be at least 8 characters long. Users are required to change this password upon login and, once changed, it is encrypted and unknown to all administrators of the system.
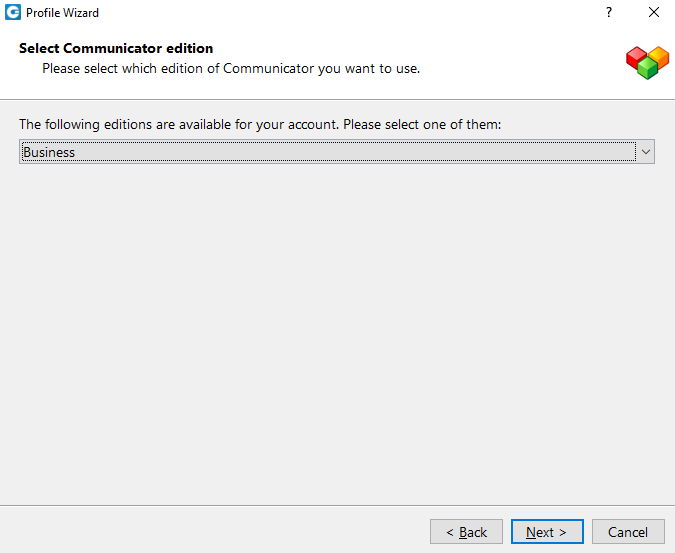
Choice of edition
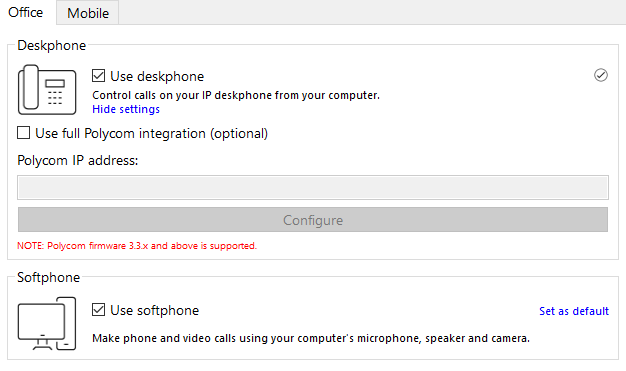
Phone/softphone configuration
NOTE:
If you use Polycom phones, click Edit settings. Enter the IP address of the phone and click Configure. This will help Communicator identify and configure the Polycom phones.
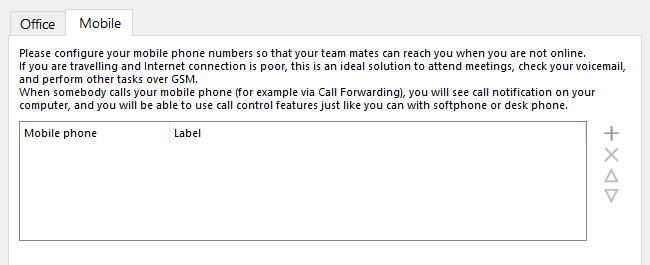
Add a mobile number
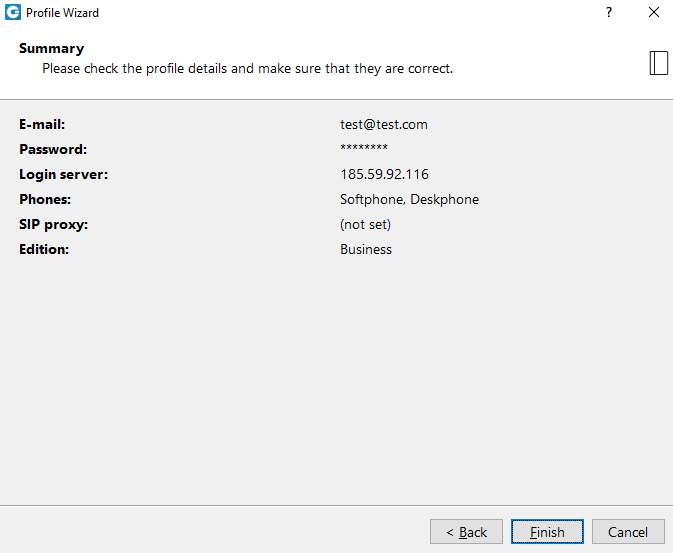
Click Next and a configuration summary window will be displayed. Please check the profile details and make sure they are correct.
Click Finish and you will be automatically logged in with your account. You are now ready to use Communicator with all its features.