2. Installation wizard
Boot the target machine from the USB installation media.
The following welcome screen appears.
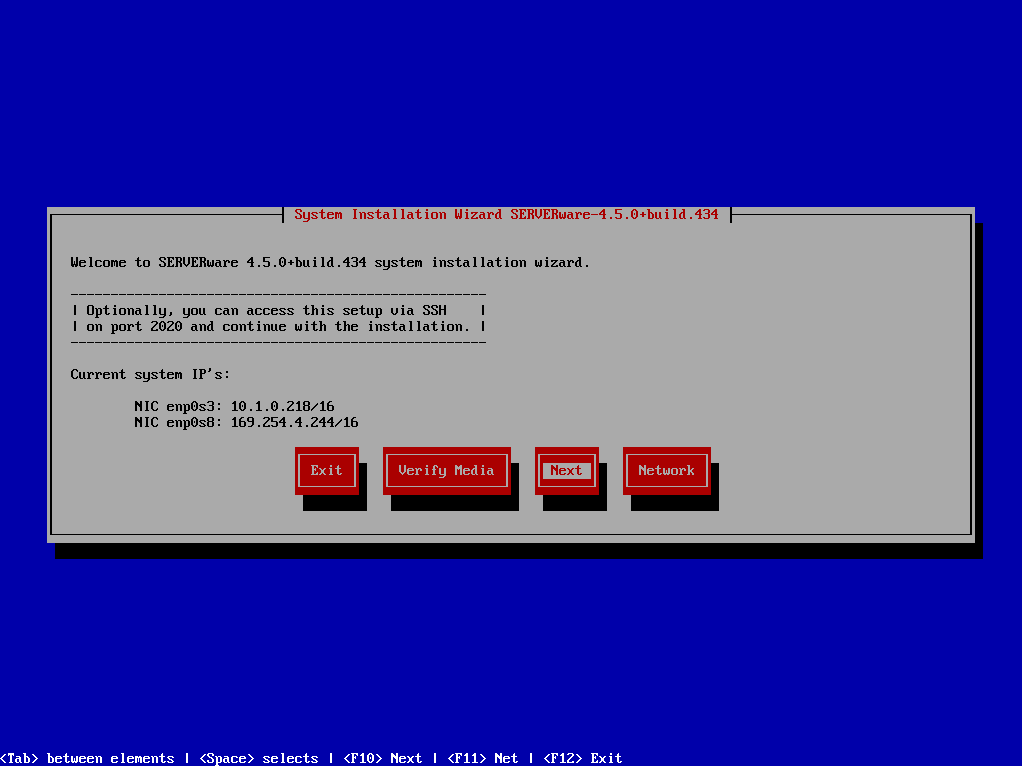
If the live system was able to retrieve the IP address from the DHCP server, it will display it on this screen. You can then access the system remotely via SSH on port 2020 with the username “root” and the password “bicomsystems” to continue the installation. Several options are offered on the home screen:
- Output : Choose this option to exit the installation wizard. This option will open the command-line shell of the live system.
- Check media : This option will scan the installation media files, compare them against the previously stored checksum and check for corruption.
- Next : Proceed to the next step.
- Network : Configure the IP address for remote access to the installation wizard.
1. Installation type
Select the type of installation you want to perform: Storage/Controller or Backup.
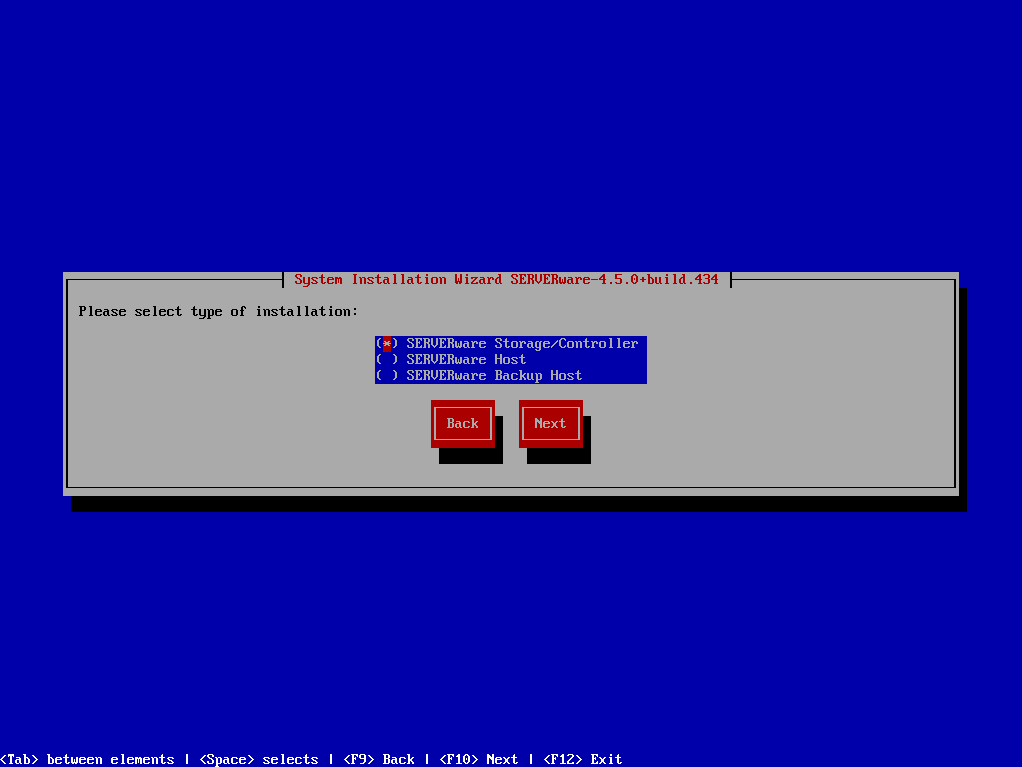
- Storage/Controller : This is the network storage for the VPSs on the SERVERware network.
- Host (Backup) : The Host mode (available in the Cluster edition) is a compute resource that will connect and run VPSs from storage via SAN (Storage Area Network).
2. Searching for available disks
The wizard will then identify the disks available for the SERVERware operating system. Next, it will suggest appropriate ZFS pool configurations based on the number of disks detected.
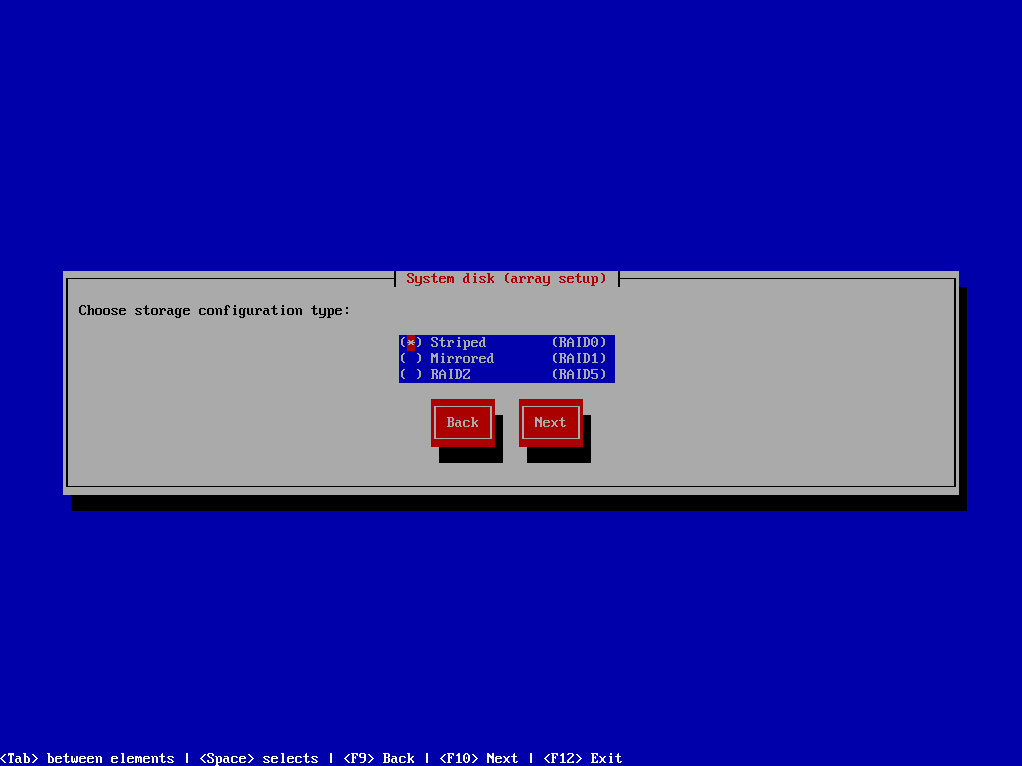
Users will have the following options:
- Stripped : This option optimizes performance by distributing data across multiple disks, improving read and write speeds.
- Mirrored : By selecting this option, a mirrored ZFS pool will be created, improving data redundancy and fault tolerance.
- RAIDZ : This option allows users to configure a ZFS pool using ZRAID (ZFS RAID-Z) technology, offering a balance between performance and data protection.
Users will see the number of disks detected and the corresponding options to create the system pool. They will then be able to select the desired ZFS pool configuration according to their needs. The wizard will guide users throughout the process, making it simple and intuitive.
3. Disk selection
A "NETSTOR" storage volume will be automatically created from the disks that are not selected at this step.
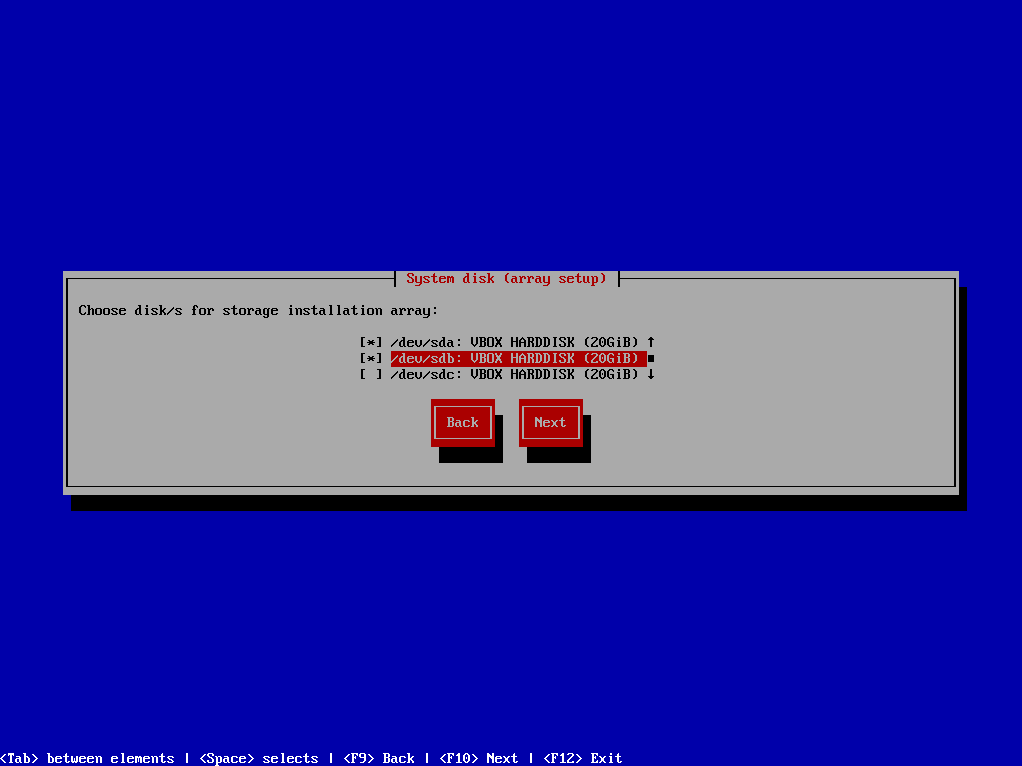
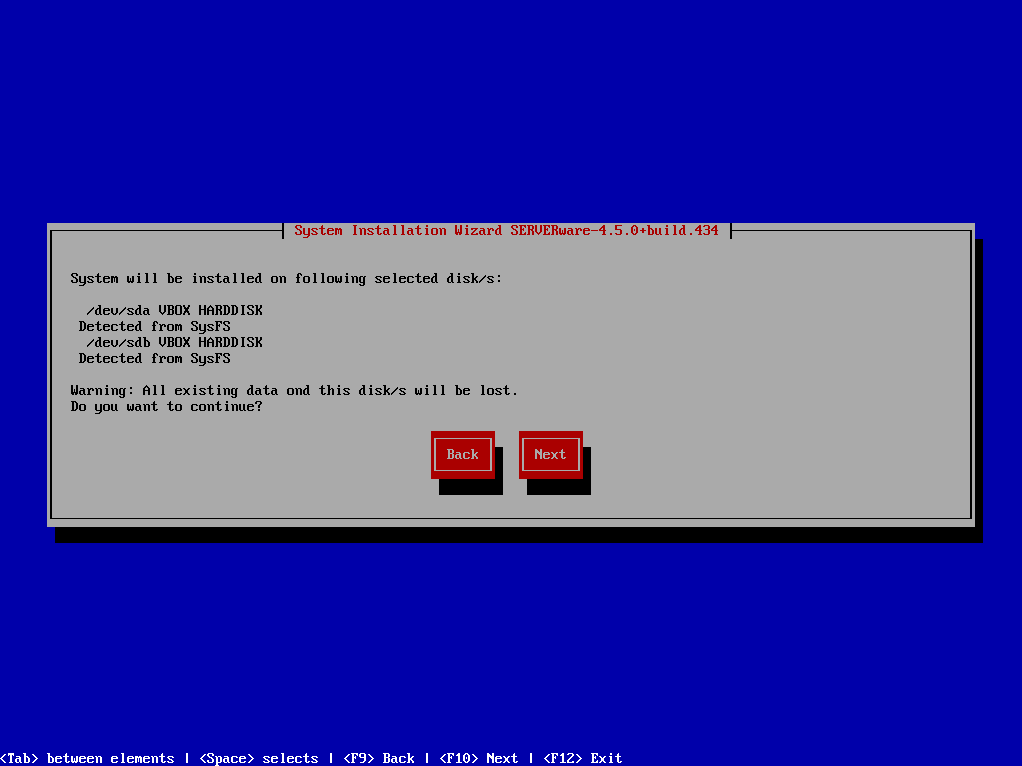
4. Confirmation
A confirmation dialog box appears.
5. Network configuration
A network configuration dialog box appears.
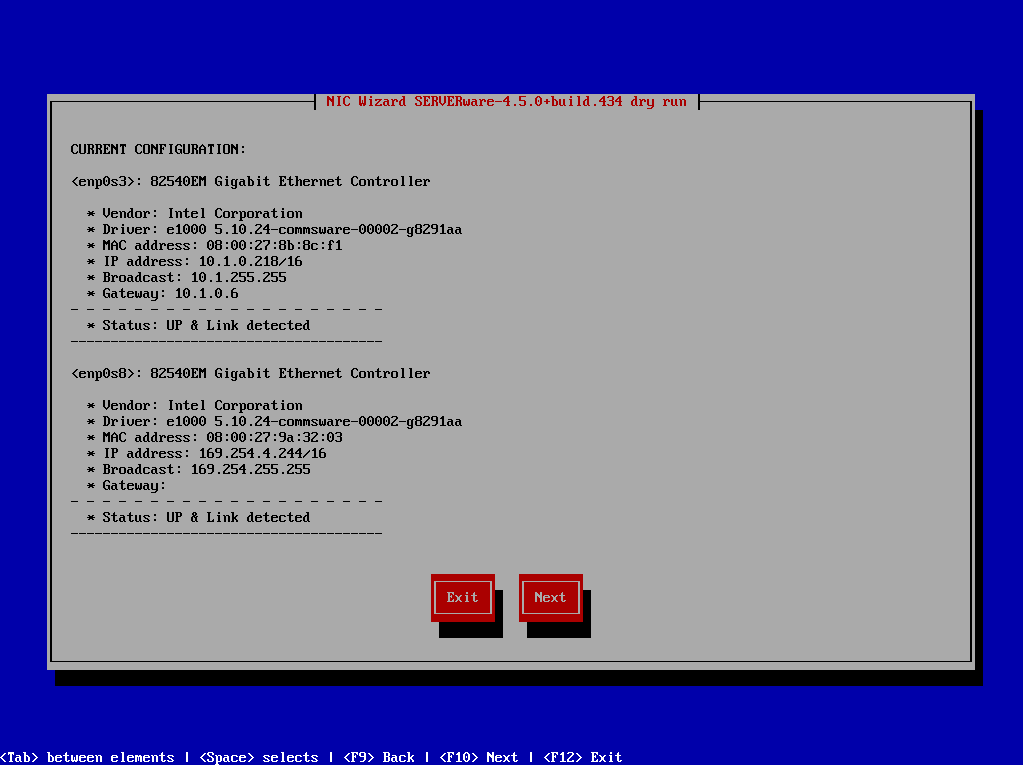
Click on Next to continue, then choose one of the options to configure the network interface.
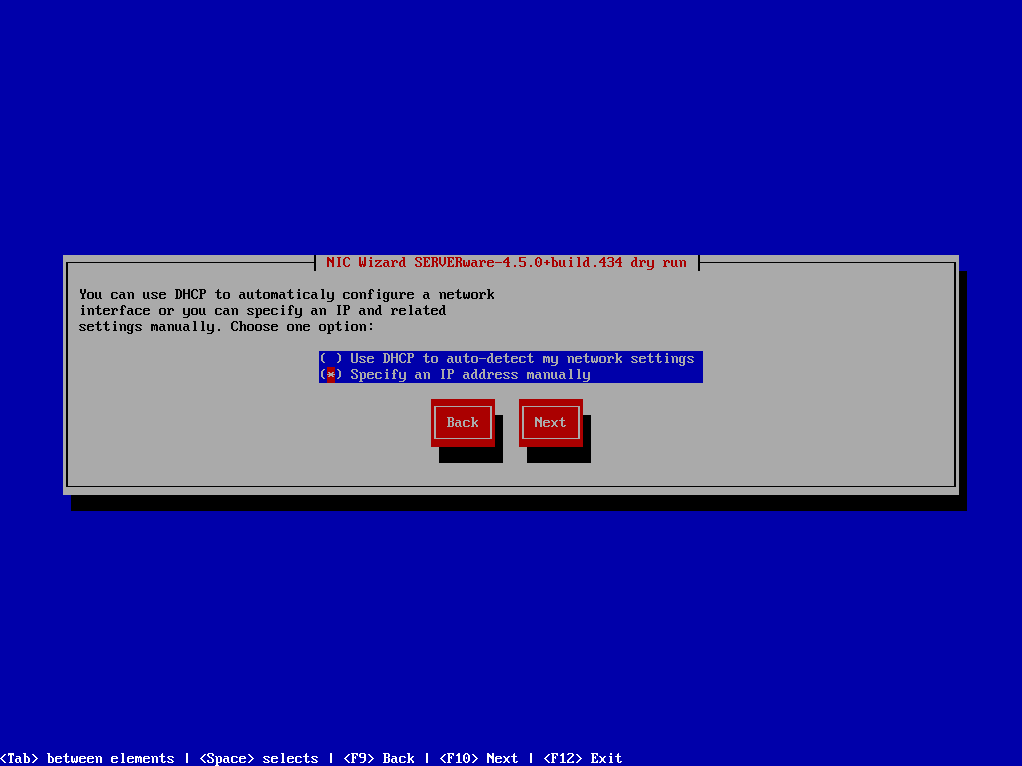
Once the network configuration is complete, click Next to start the installation.
6. Installation
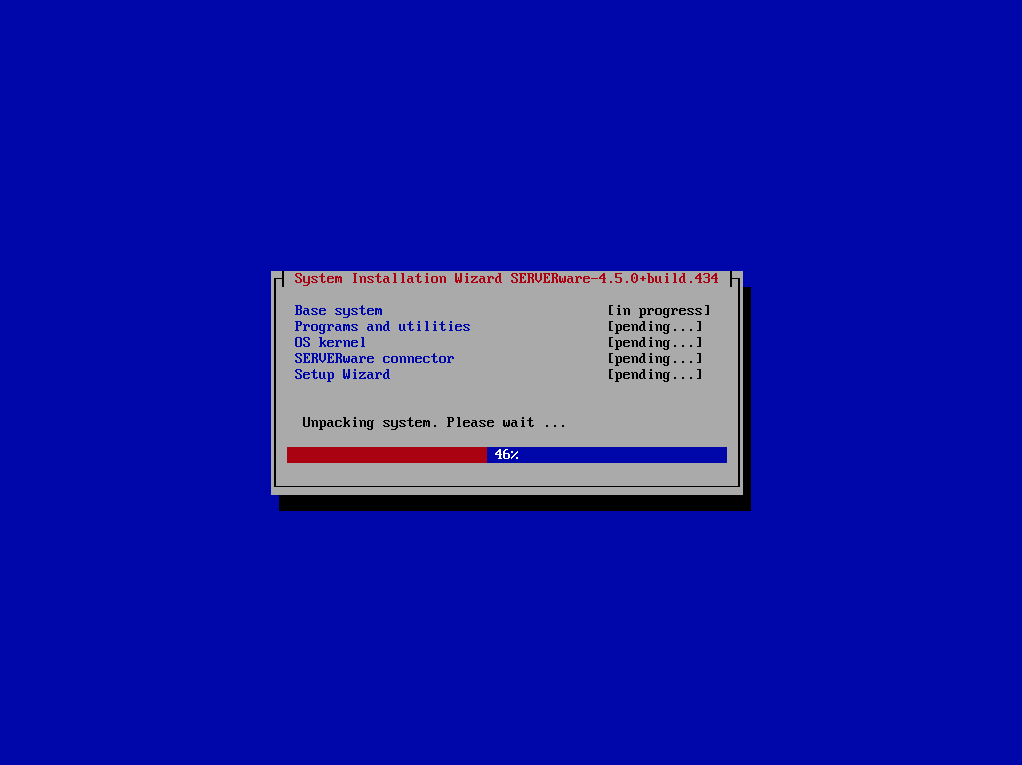
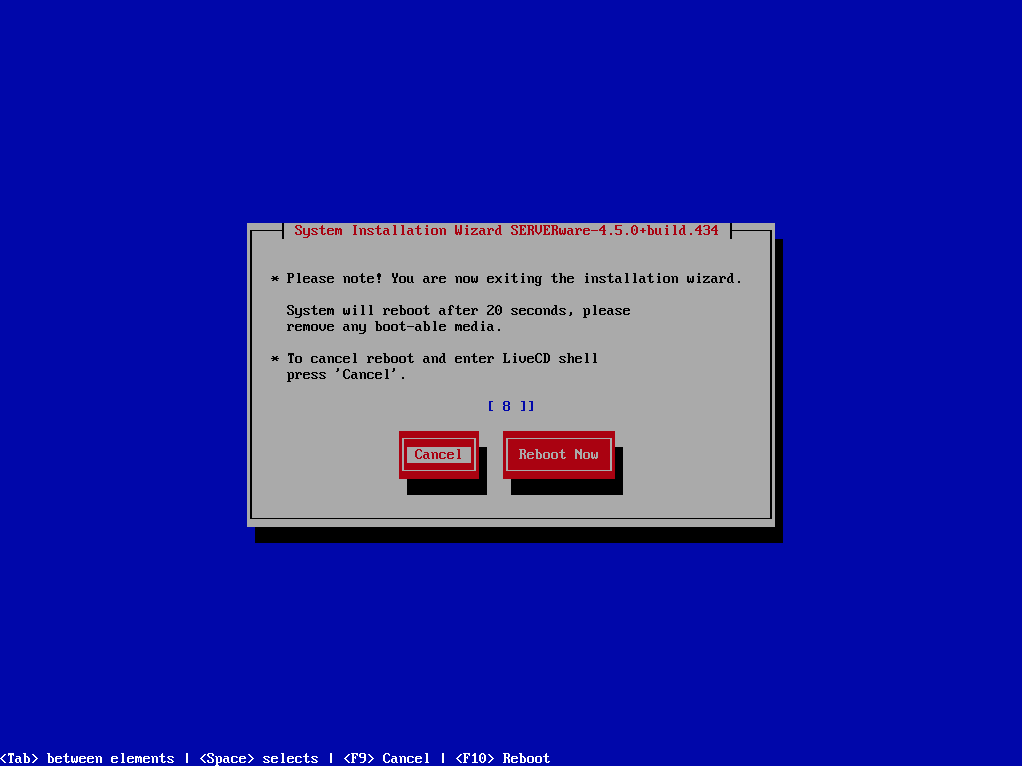
After completing the installation. The wizard will initiate the restart
1. Creating a VLAN
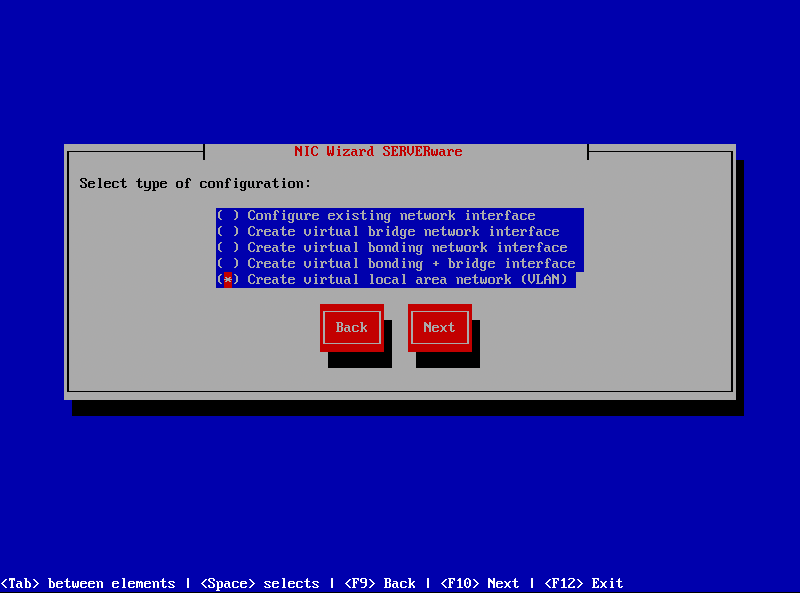
Run the "netsetup" command and select "Create a virtual local area network (VLAN)" then press "Next".
2. Interface configuration
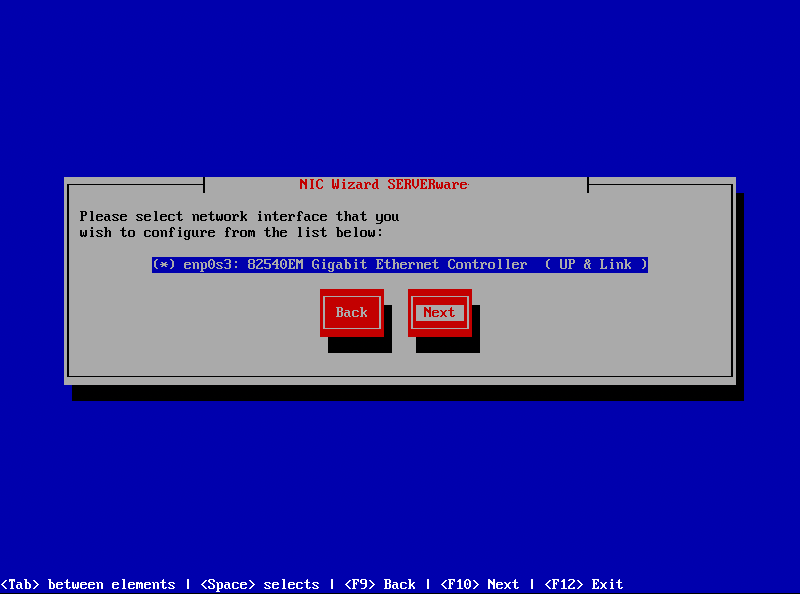
Select the network interface and click “Next”
3. IP address configuration
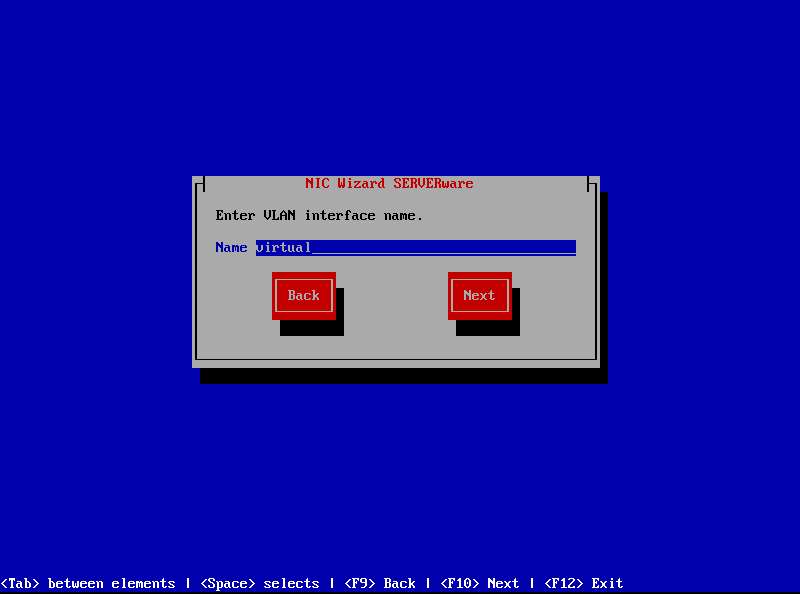
Follow the three steps below to configure the IP address of the new VLAN interface. You will also need to enter the name of the VLAN interface, which must be at least 3 and up to 20 alphanumeric characters without spaces. It is not possible to create VLANs with the same ID.
4. VLAN ID
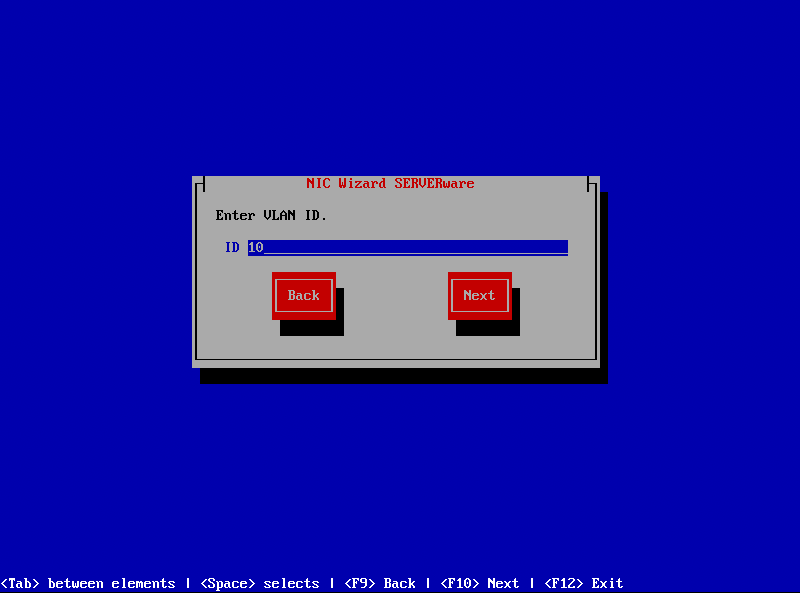
Enter the VLAN ID. Use numbers between 2 and 4096. Numbers 0, 1, 1002-1005 and 4096 are reserved and cannot be used.
5. Confirmation
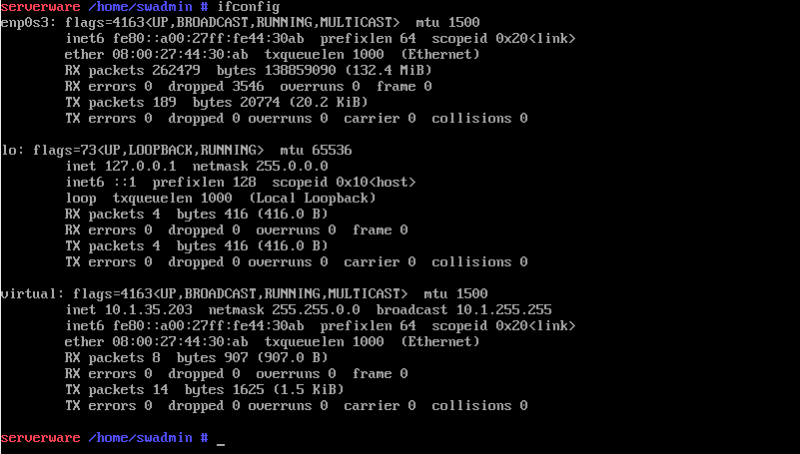
Finish the NIC wizard and run “ifconfig” to confirm that the VLAN interface is present with the assigned IP address. If necessary, you can use the virtual interface to create a bridge interface or another virtual interface. All of this can be done using the “netsetup” NIC wizard.