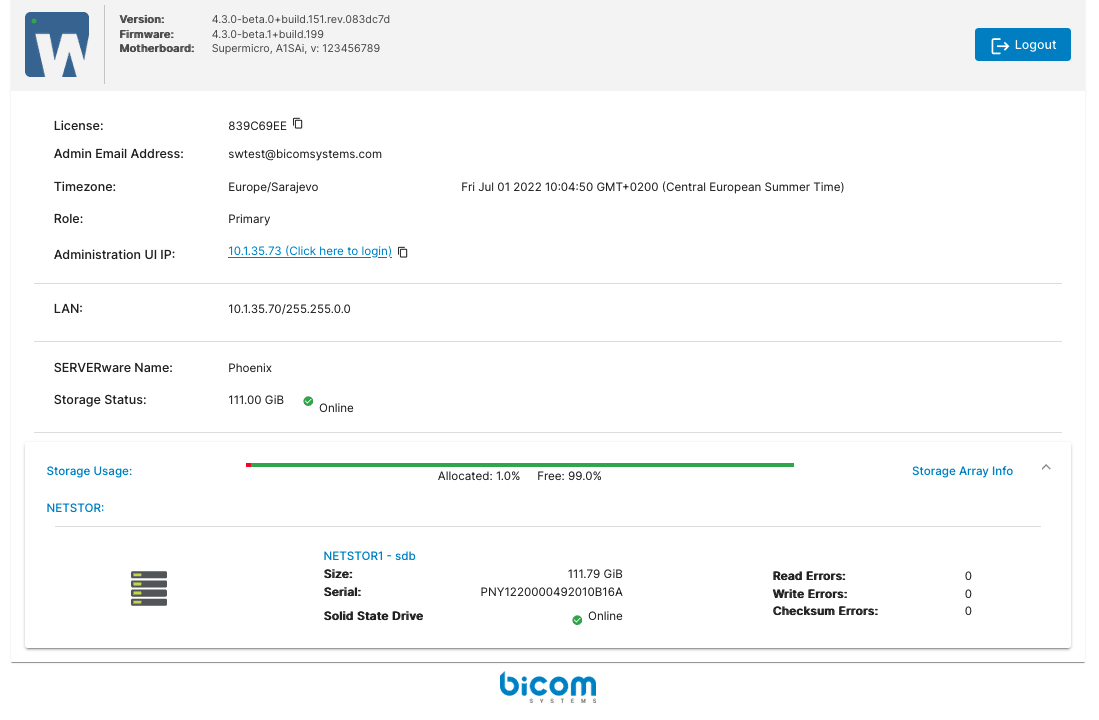
3. Configure the wizard steps
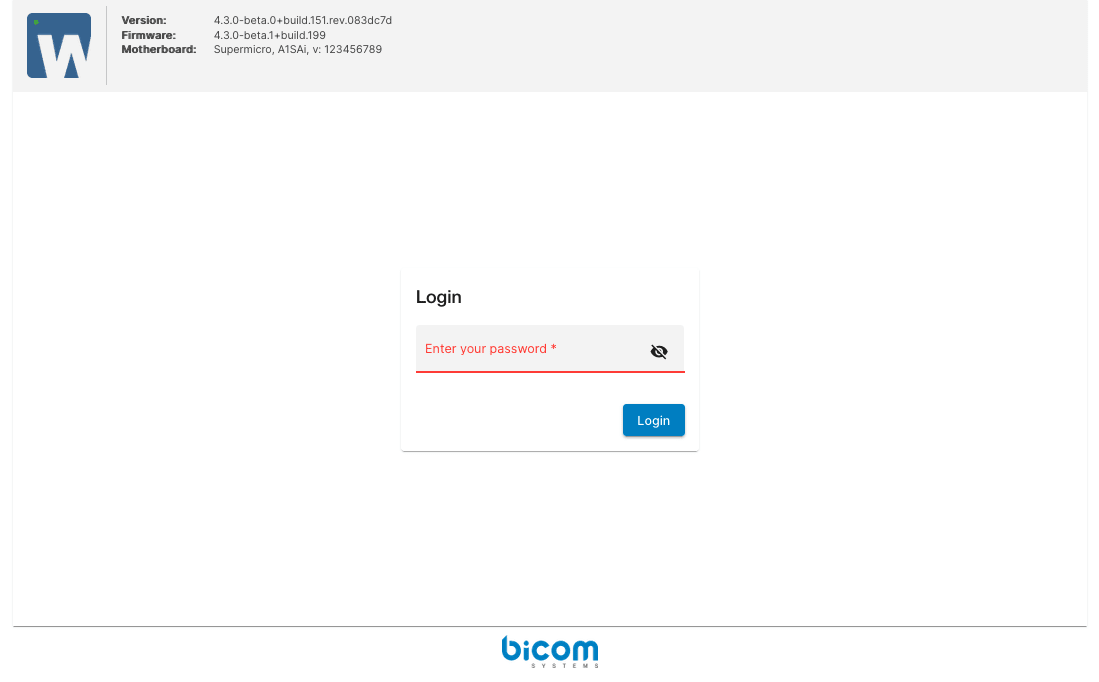
Step 1
Once successfully connected, the SERVERware End User License Agreement (EULA) is displayed. Accepting the EULA takes you to the next step.
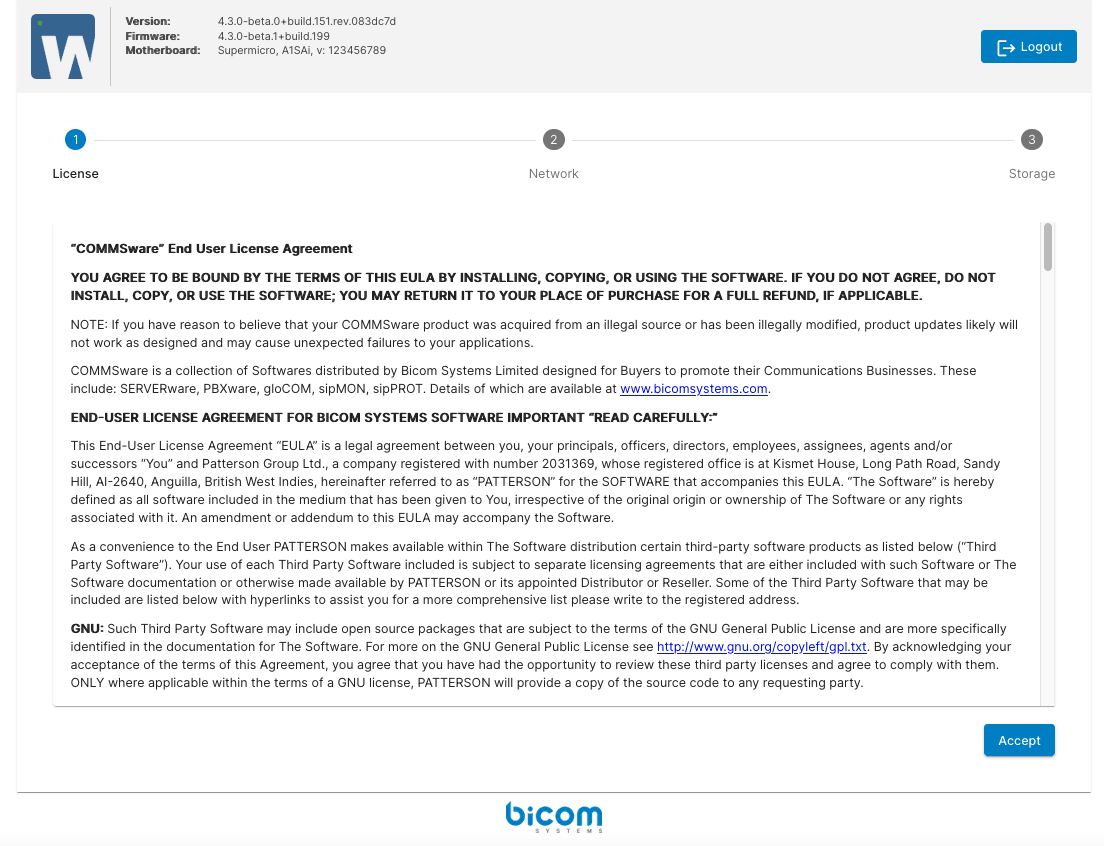
Step 2
In this step, enter your license number, the administrator's email address, and set the SERVERware GUI password for the new administrator. This password will also apply to the shell root account. Select your time zone and click Save and continue to continue.
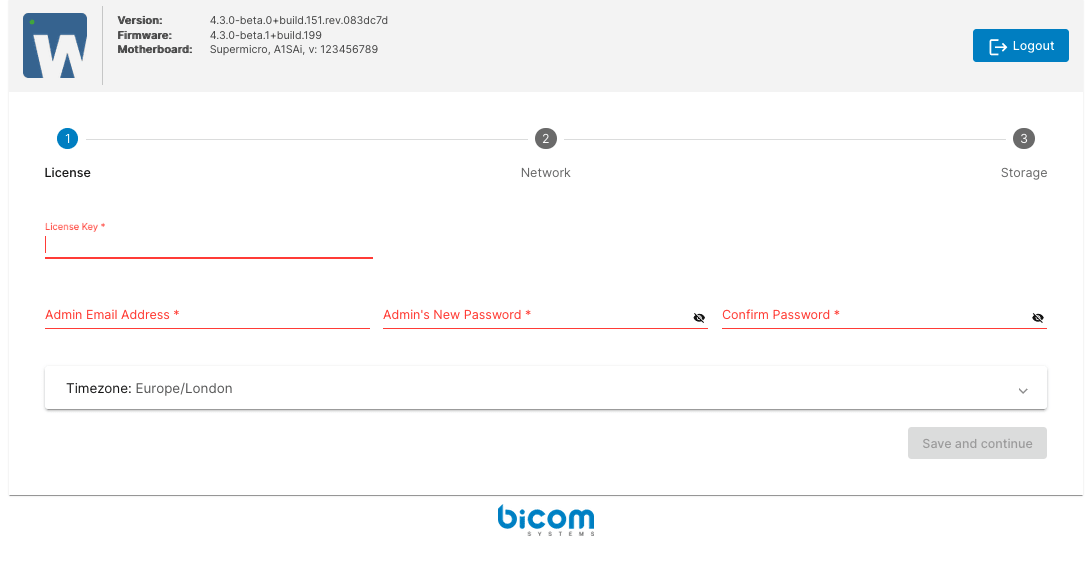
Step 3
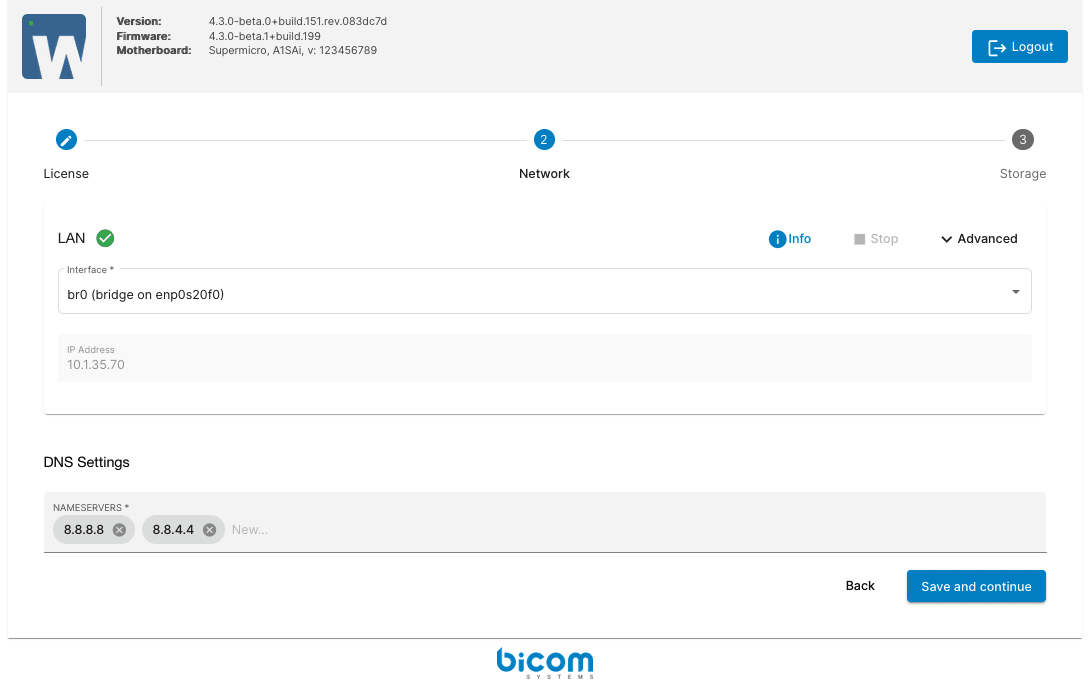
At this step, you can configure the LAN network. The LAN is a local network intended for SERVERware management and service delivery. The installation wizard will suggest a default configuration for the network interfaces. You can modify the network configuration if necessary and click on Save and continue to move on to the next step.
Step 4
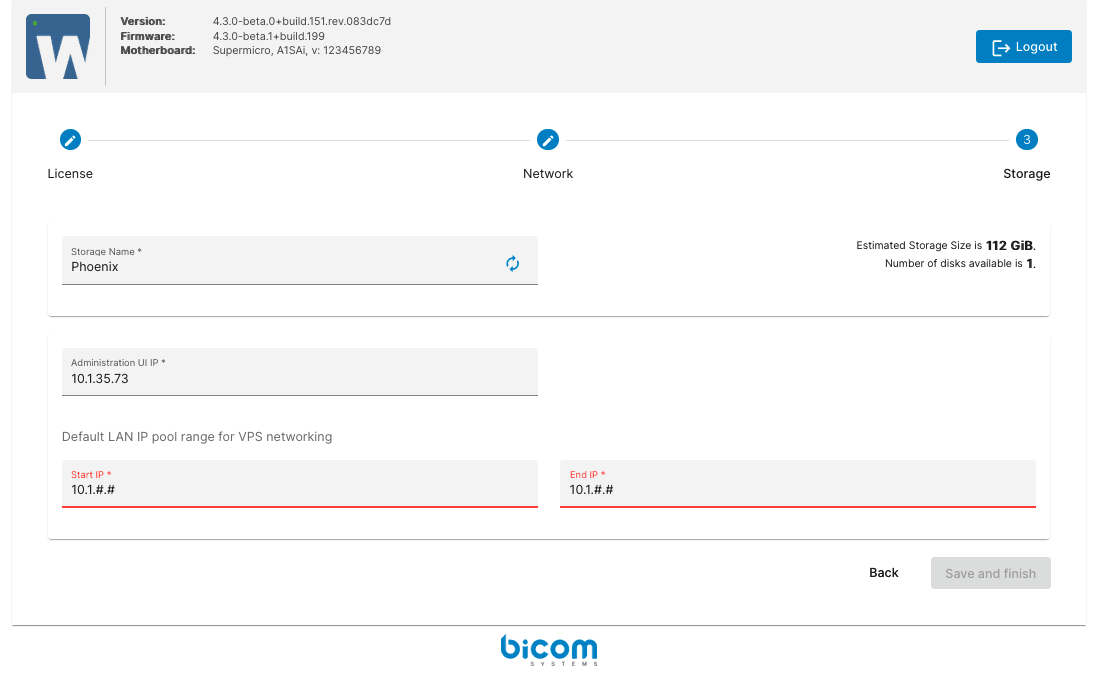
You have the ability to choose the server name if you do not like the one generated by SERVERware (it must be valid according to the hostname constraints).
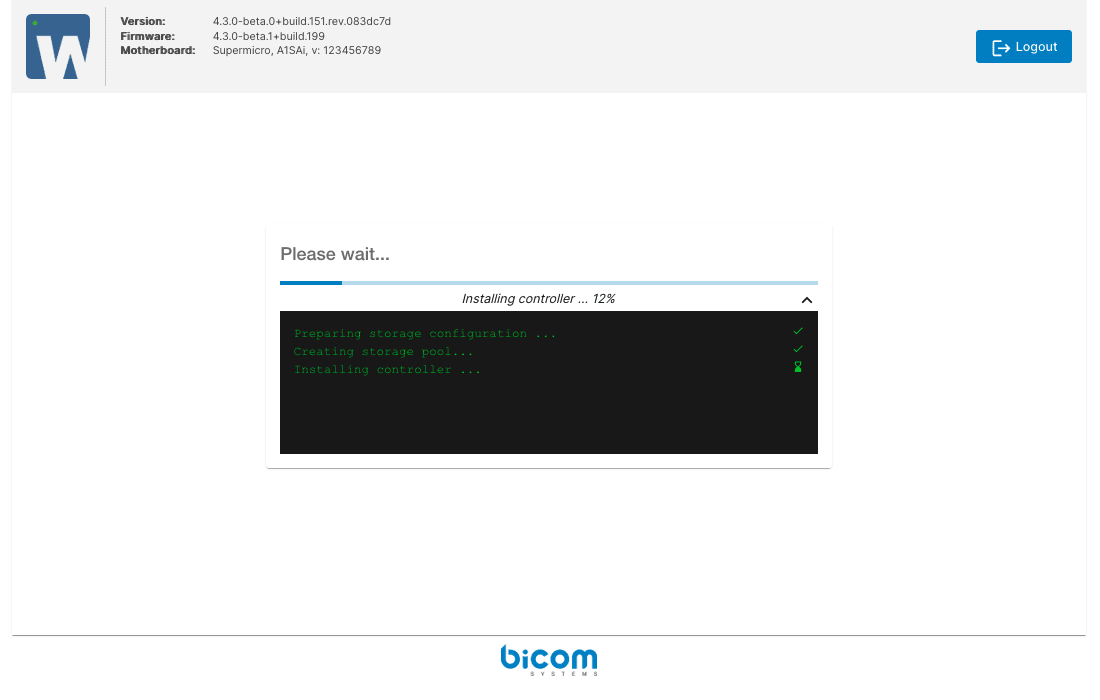
Wait a few seconds for the controller to start, then click the link Administration UI IP : [YOUR IP] (Click here to login) to start using SERVERware and create VPS.