Meetings
Communicator meeting offers the ability to meet multiple users simultaneously while offering:
• Video conferencing (in grid and speaker view)
• Audio conference
• Screen sharing (specific application or full screen sharing)
• Remote control during screen sharing
• Group chat
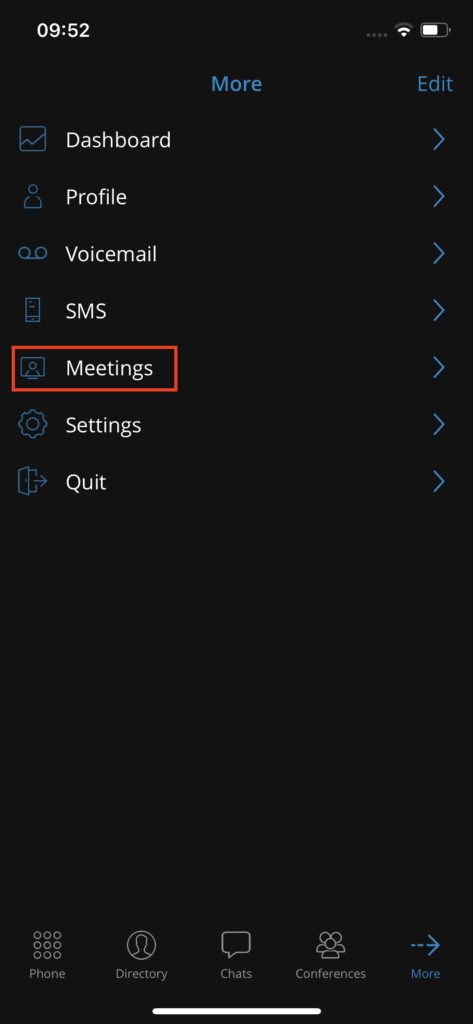
Meeting management in the Communicator GO app gives you the ability to create an instant meeting, schedule a meeting, or join an existing meeting. To access the meeting screen, you must tap the Meetings icon in the navigation bar. When a meeting is started, the Communicator app redirects to the Communicator Meeting GO app.
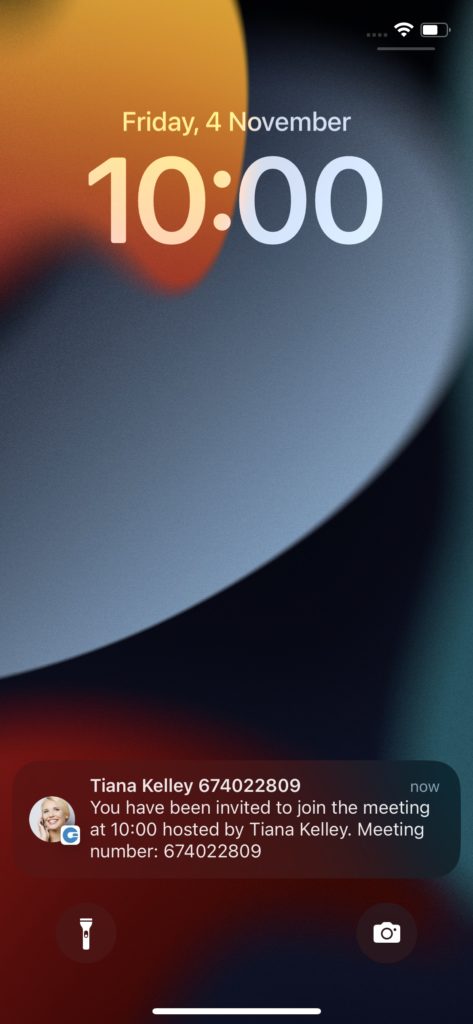
For each meeting invitation, you will receive a notification.
If the meeting is disabled on the license, all screens related to the meeting will be disabled.
Main meeting screen
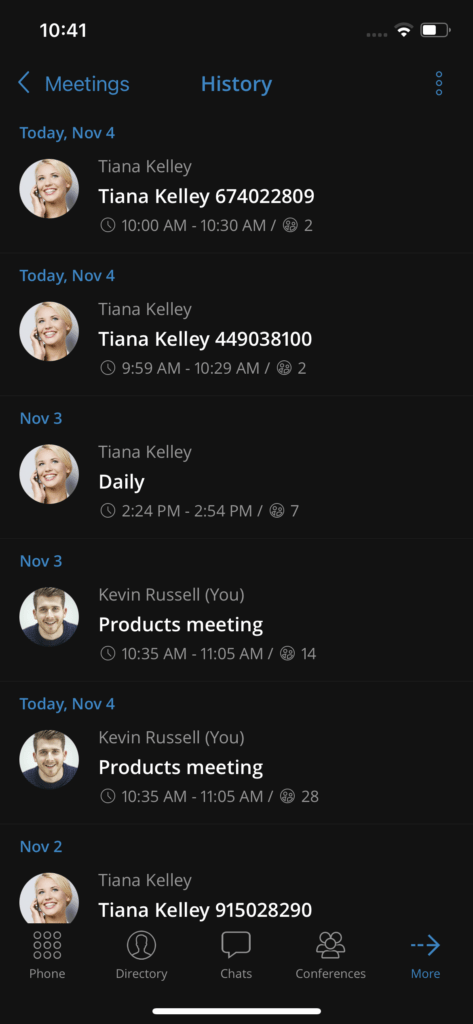
On the main meeting screen, you have an overview of scheduled meetings, neatly sorted by date. An “Ongoing” indicator in the top right corner marks the current meeting. Clicking on a meeting in the list takes you to a screen detailing the specific information for that meeting. To make searching easier, meetings can be filtered by entering the corresponding name or number in the search field located below. Just above this field, a history button provides access to the list of past meetings.
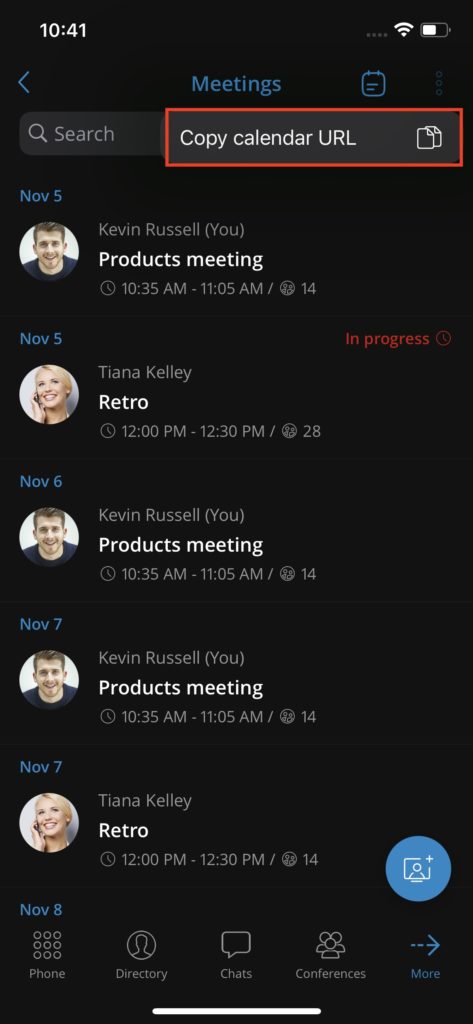
In the advanced options, you will find a feature allowing you to Copy the calendar URL. This option gives you the ability to copy the meeting calendar, thus simplifying its integration into your personal calendar software.
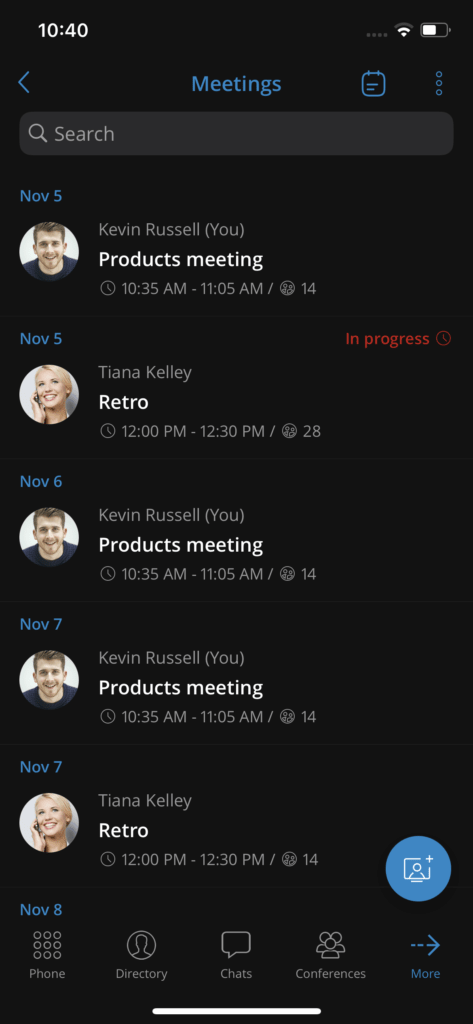
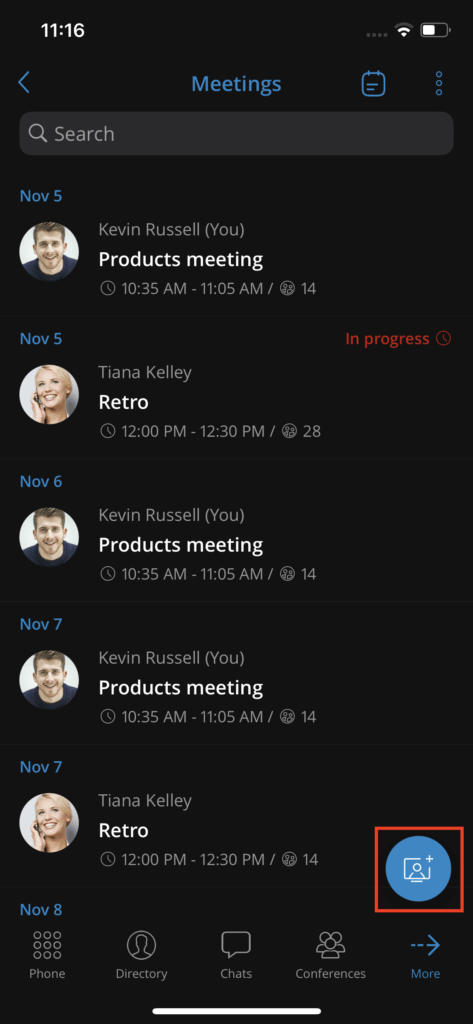
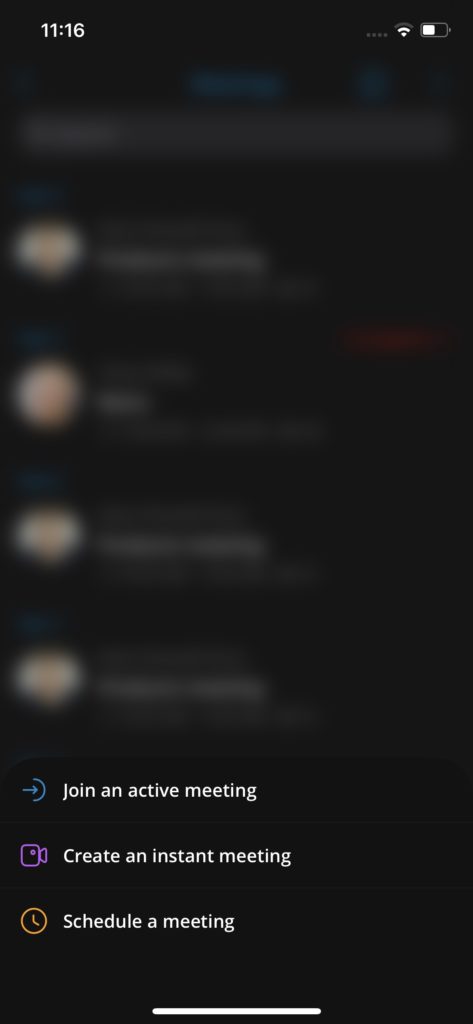
At the bottom of the screen, you will find a floating button that, once activated, offers three options:
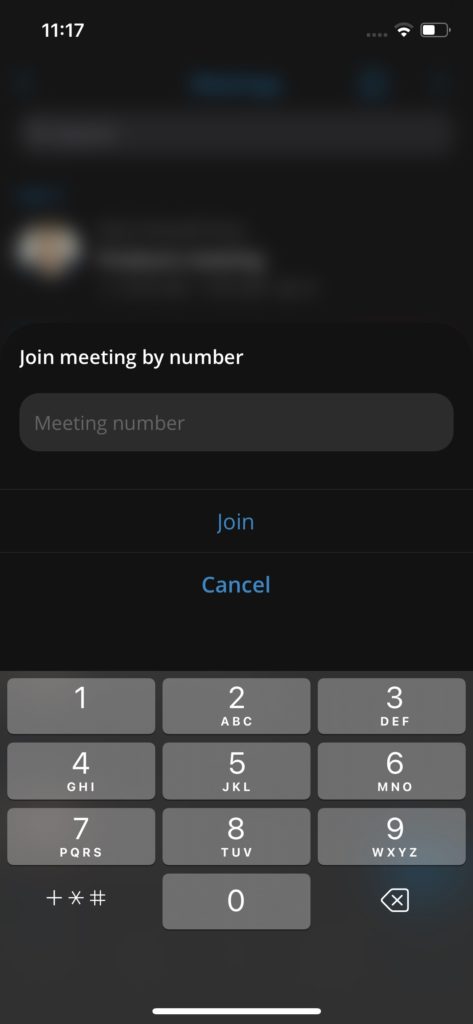
- Join an active meeting : This option allows you to join an existing meeting by entering its number. After entering the meeting number and clicking the “Join” button, you will be redirected to the gloCOM Meeting GO app.
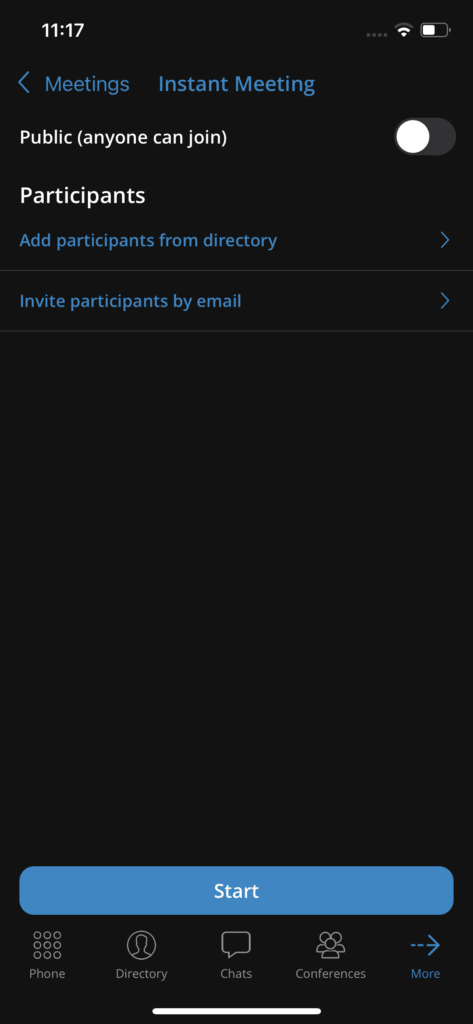
- Create an instant meeting : By selecting this option, you open the instant meeting screen. Here, you can set the meeting as public or private, add participants from the directory, or include external participants by entering their email addresses.
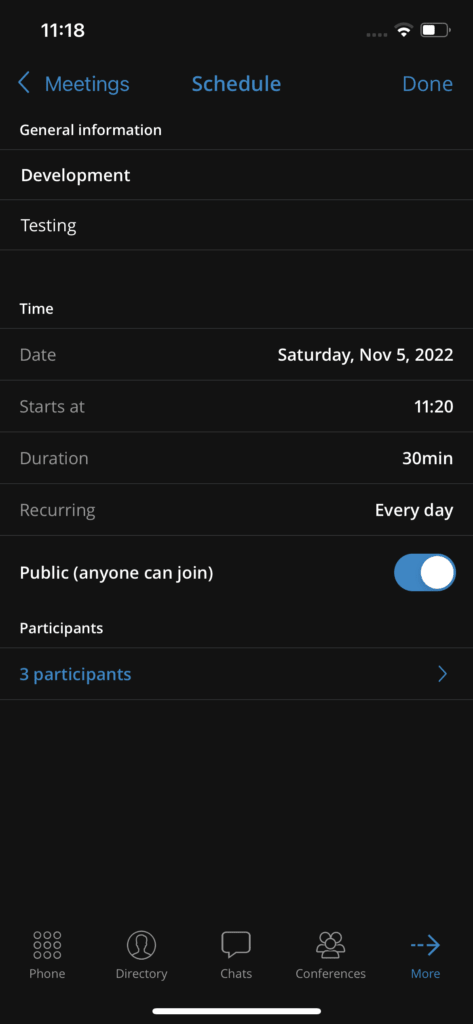
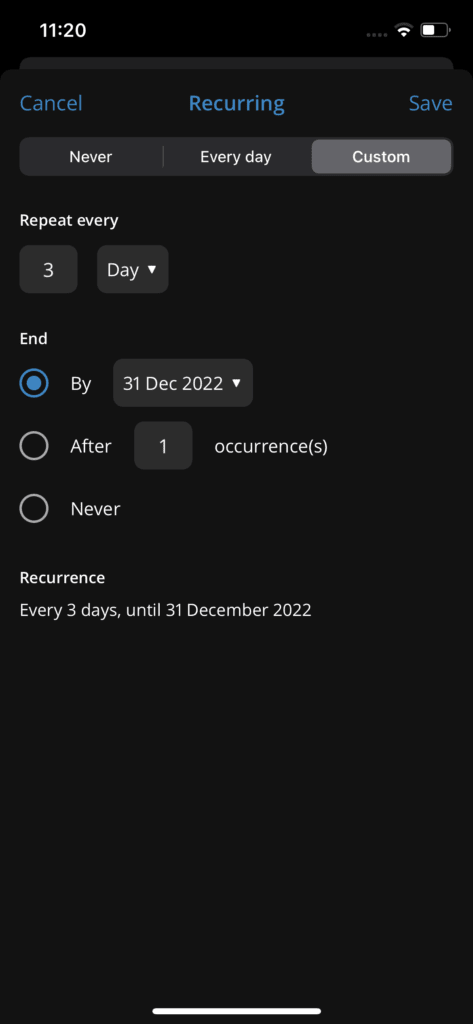
- Schedule a meeting: This option opens the meeting scheduling screen, where you can arrange a meeting in advance. To schedule a meeting, you must fill in certain fields with the necessary data, including the meeting title, description, date, start time, duration, and if it is a recurring meeting, a dialog box appears with options such as "Never", "Every day", or "Custom".
The fields to fill in to schedule a meeting include:
– Title (meeting title)
– Description (meeting description)
– Date (meeting date)
– Starts at (meeting start time)
– Duration (meeting duration)
– Recurring (with options such as “Never”, “Every day”, or “Custom”)
Furthermore, you can specify the participants, the external participants, and toggle between the public/private options.
Organizers
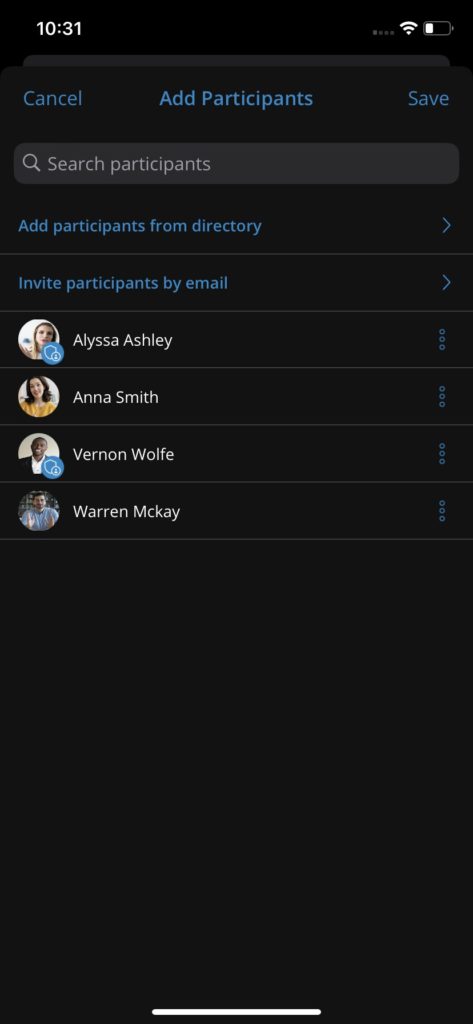
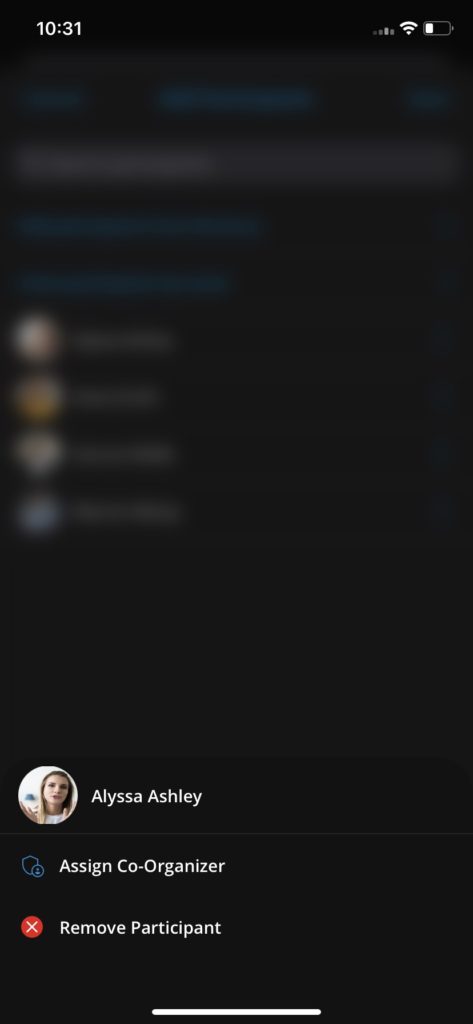
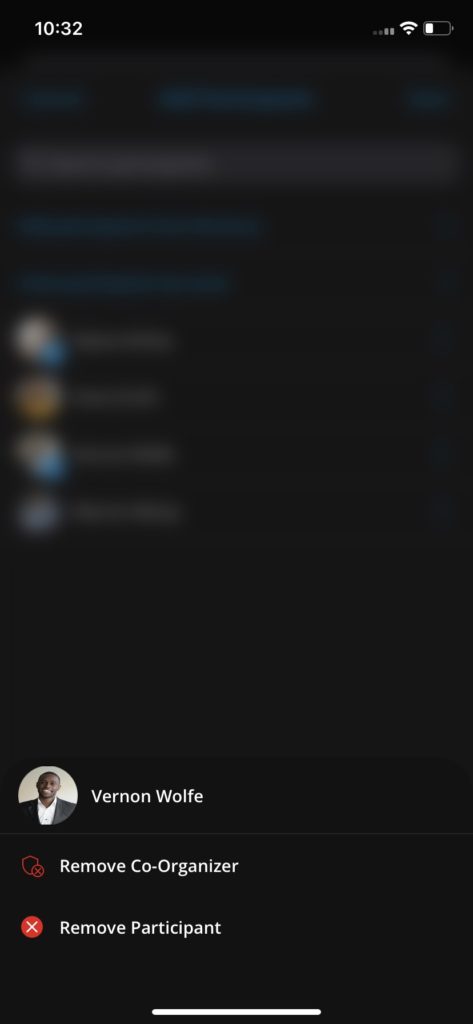
Using the co-organizer role in Meetings ensures that several people can manage the important settings of a meeting. When creating/scheduling a meeting and adding participants, users can assign meeting co-organizers by pressing the additional options next to the participant's name in the participant list.
Participants with the co-host role will have a blue badge in the bottom right corner of their avatar.
Information about the meeting
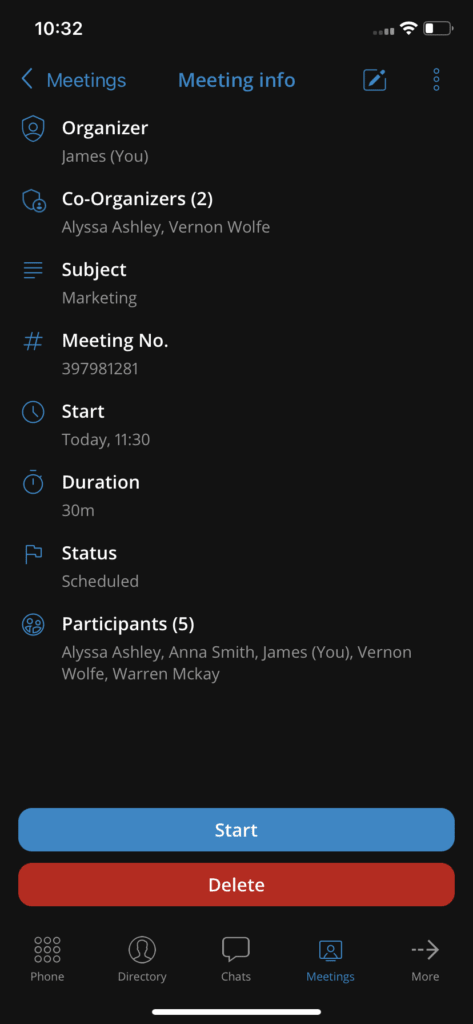
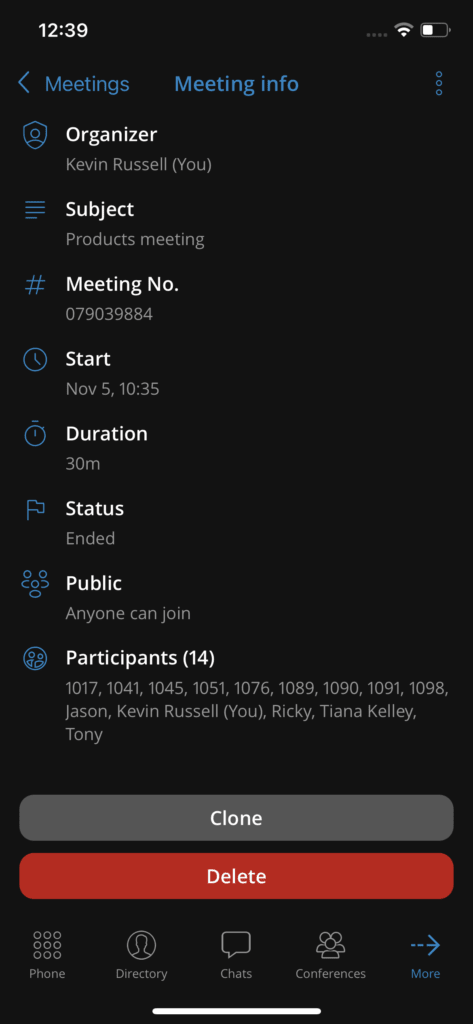
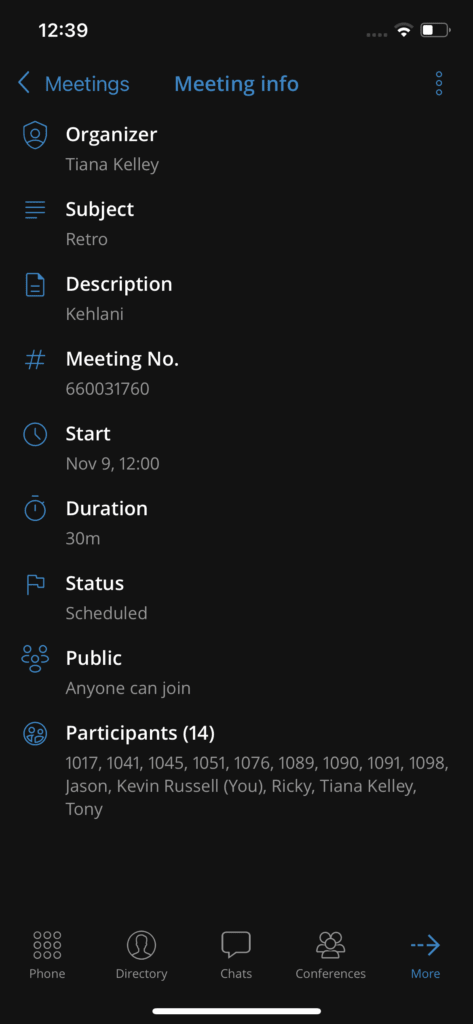
By selecting one of the meetings in the list of scheduled meetings or in the history, the meeting information screen opens and displays the details of the selected meeting:
- Organizer
- Subject
- Description
- Meeting number
- Start time
- Duration
- Status
- Public/private
- List of participants
Participants with the co-host role will have a blue badge in the bottom right corner of their avatar.
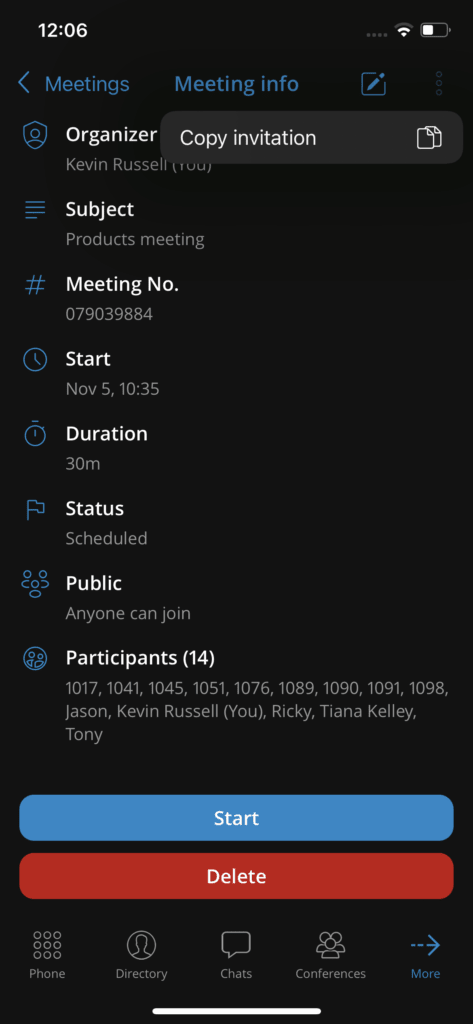
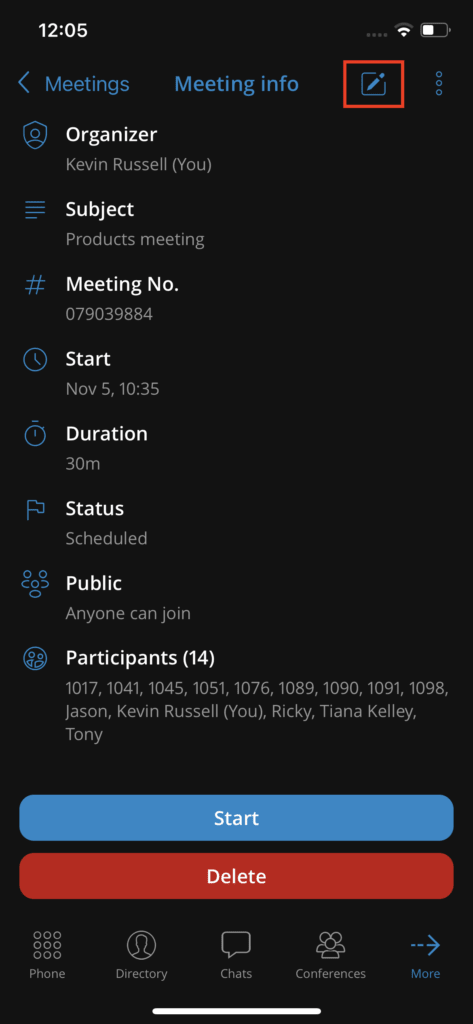
For a meeting that is scheduled but not yet started, an organizer has the ability to update the meeting details by clicking the Edit button in the top right corner.
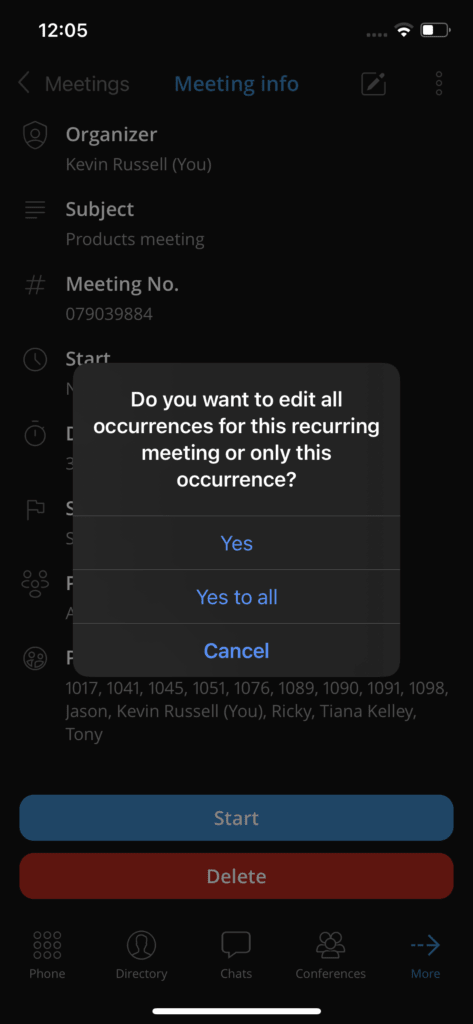
In the case where the selected meeting is recurring, the user will receive a confirmation message: "Do you want to modify all occurrences of this recurring meeting or only this occurrence?" with three options offered:
• Cancel (to cancel the change)
• Yes (to modify only a selected instance of a meeting)
• Yes to all (to modify all occurrences of the selected meeting)
For scheduled or ongoing meetings, there is an option to copy the meeting invitation to the clipboard by clicking additional options in the top bar.
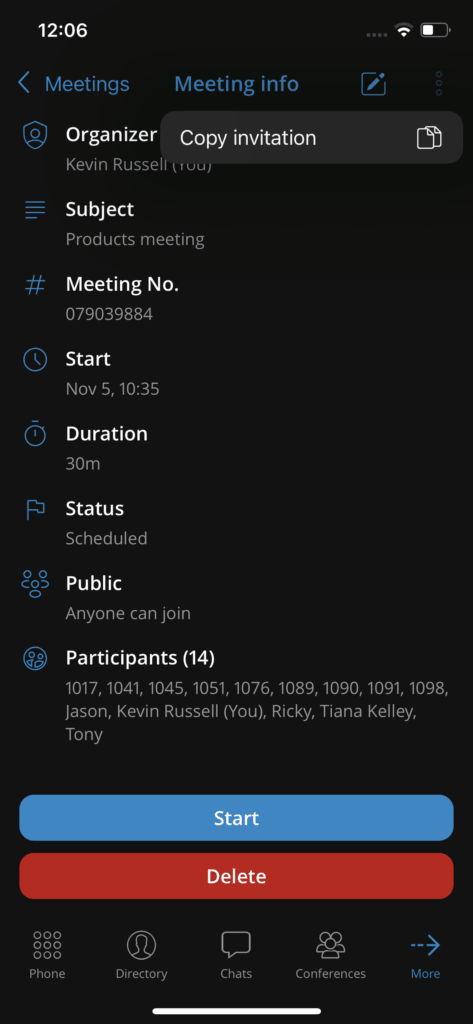
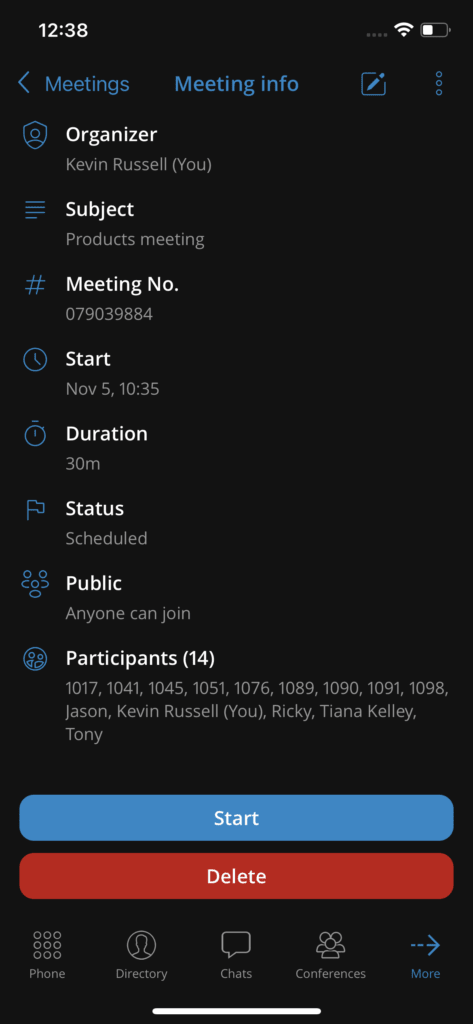
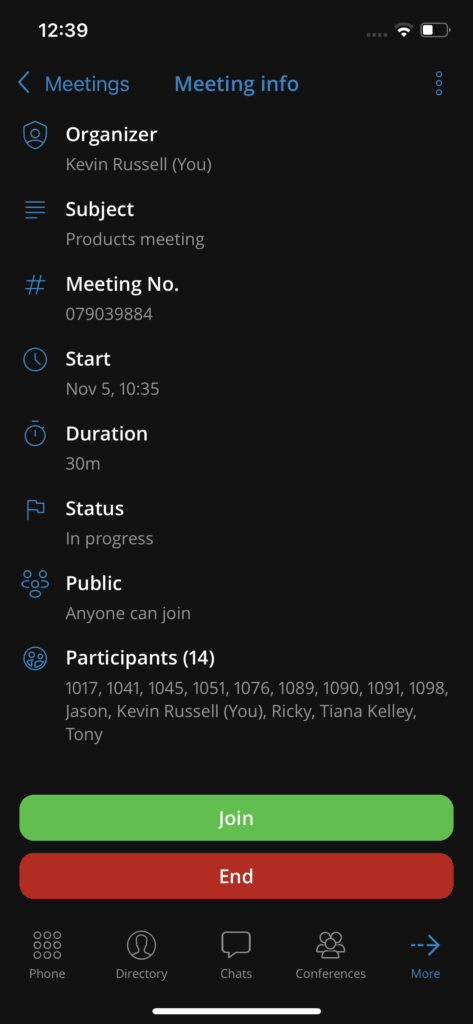
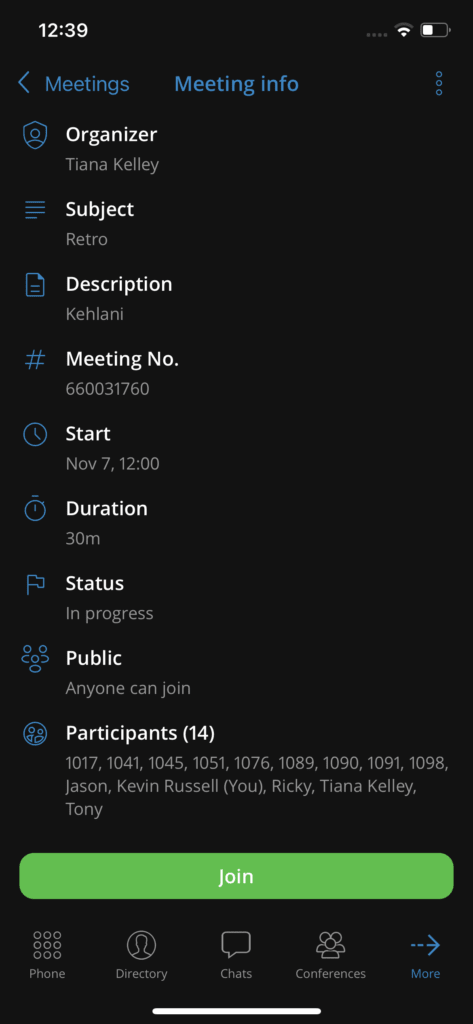
Depending on the different scenarios, the user will have different buttons at the bottom of the screen:
If a meeting is scheduled and the user is the organizer:
- Start (starts a scheduled meeting)
- Delete (deletes a scheduled meeting)
If a meeting is in progress and the user is the organizer:
- Join (join the ongoing meeting)
- End (end the current meeting)
If a meeting is in progress and the user is not the organizer
- Join (join the ongoing meeting) )
If a meeting is finished and the user is the organizer:
- Clone (opens a “schedule a meeting” window with the name, description and participants pre-filled)
- Delete (deletes the ended meeting)
If a meeting is finished and the user is not the organizer, no options will be available.
Dashboard
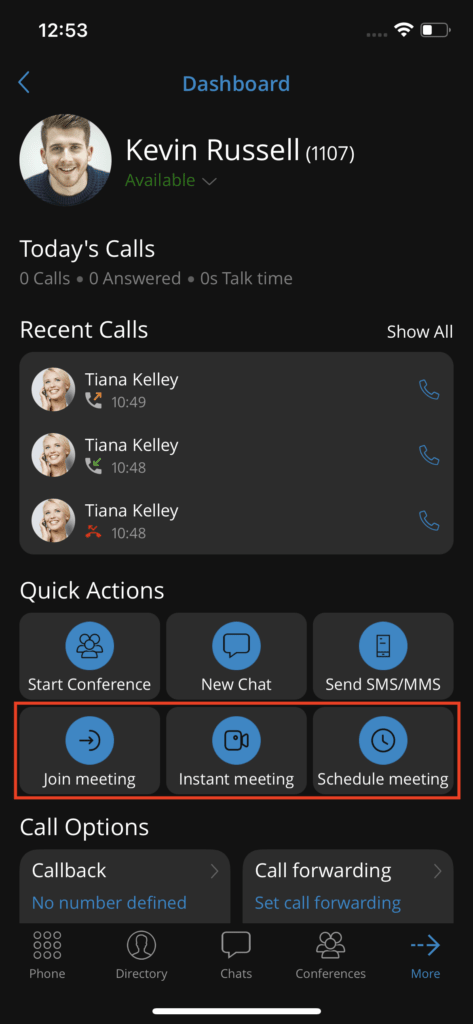
You have the ability to start/join/schedule a meeting from the dashboard. In the quick actions panel, 3 options are available:
- Join the meeting
- Instant meeting
- Schedule a meeting
Meeting settings
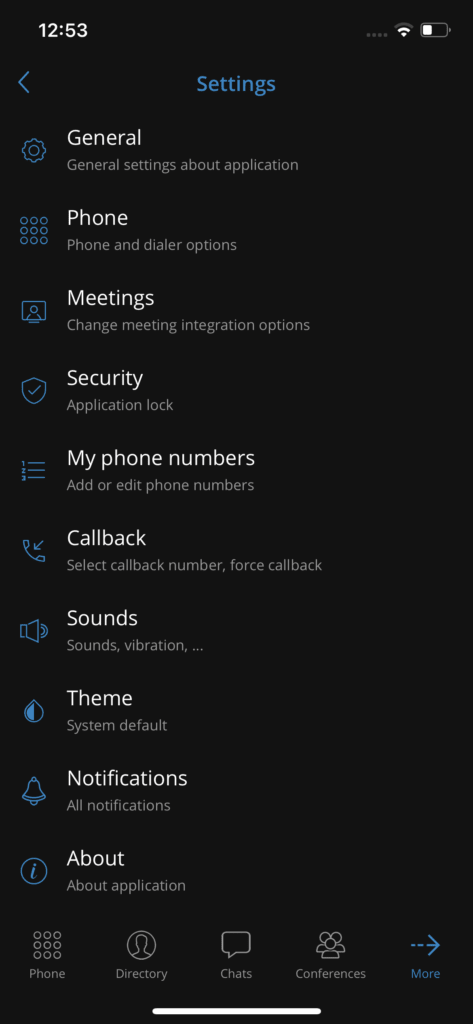
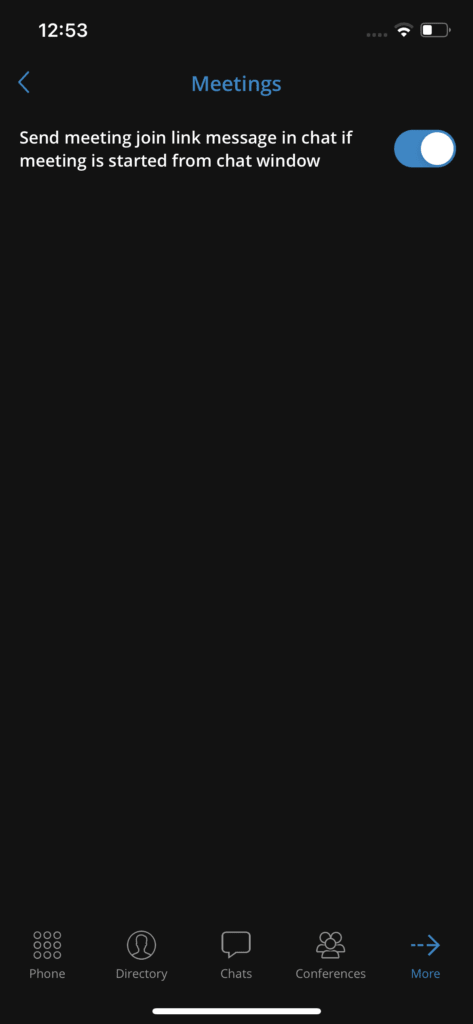
You can modify the meeting integration options by tapping on the meeting screen in the settings. It is possible to enable/disable sending the meeting link as a chat message if a meeting is started from the chat window.