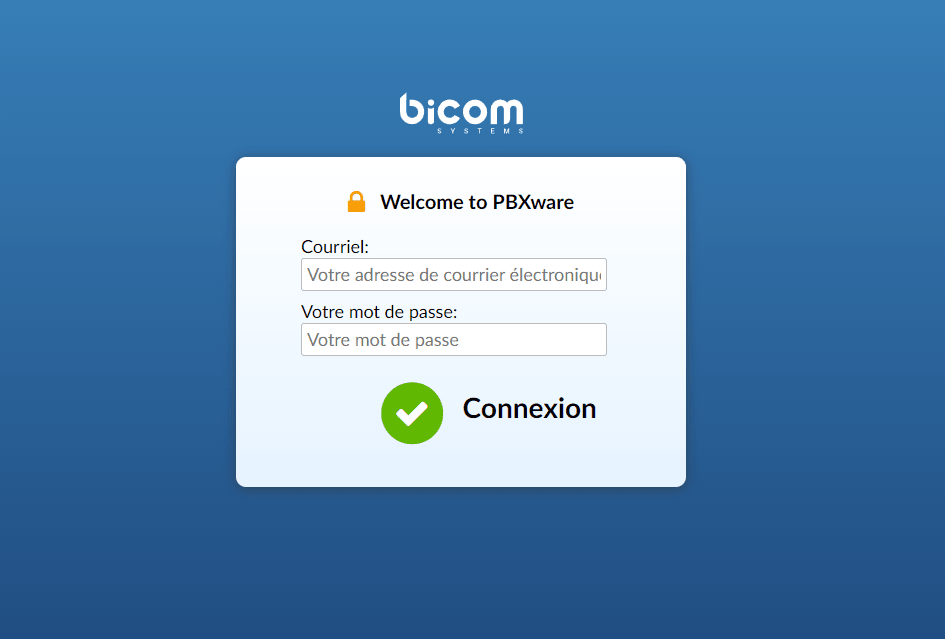
Installation wizard
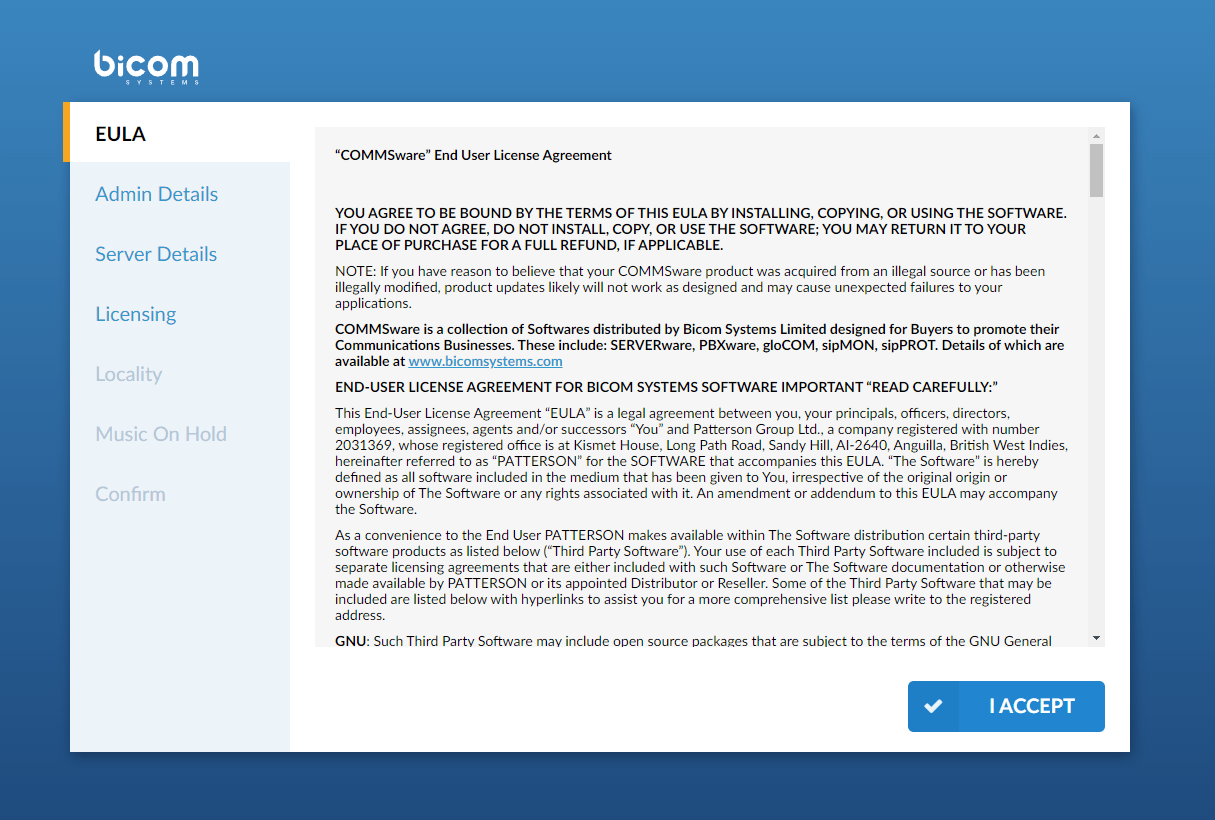
EULA
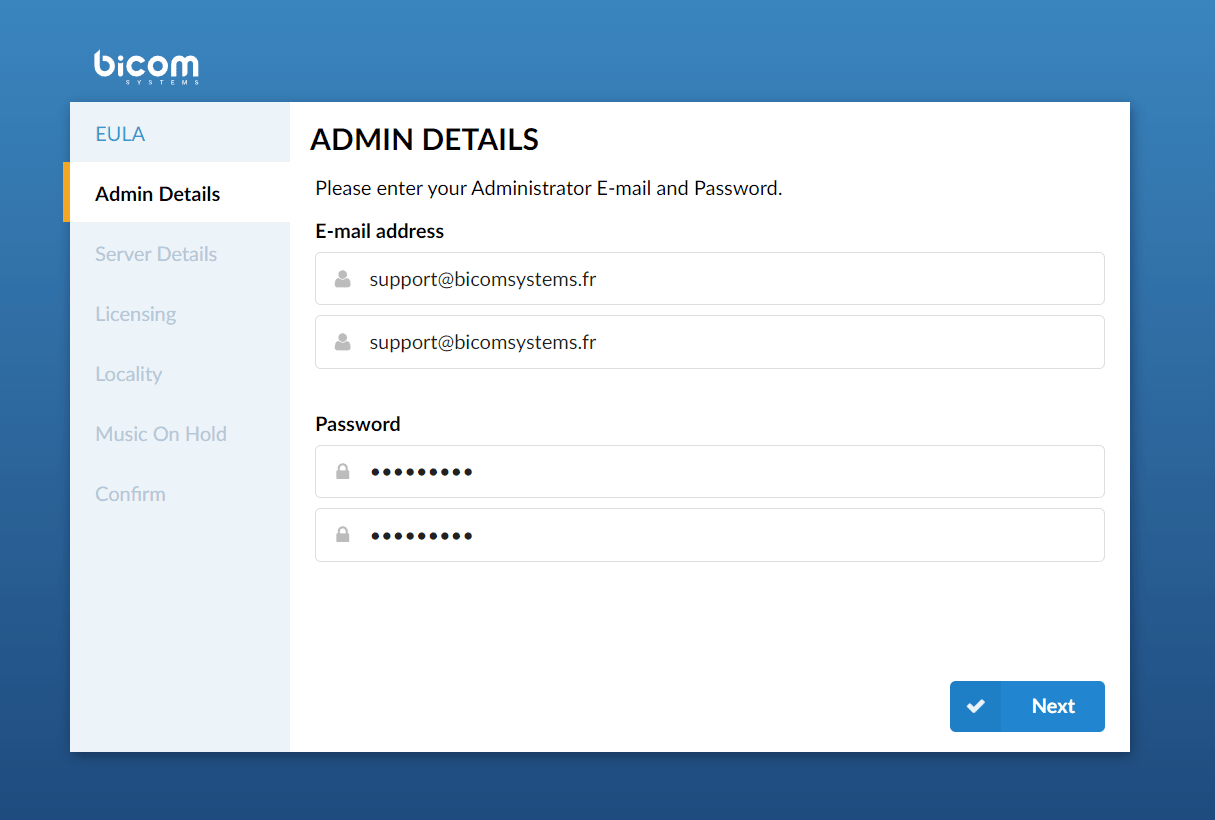
Administrator details
- Email/Confirm the Email
The provided email address is used as the username to log in.
- Password/Confirm password
The provided password is used to log in
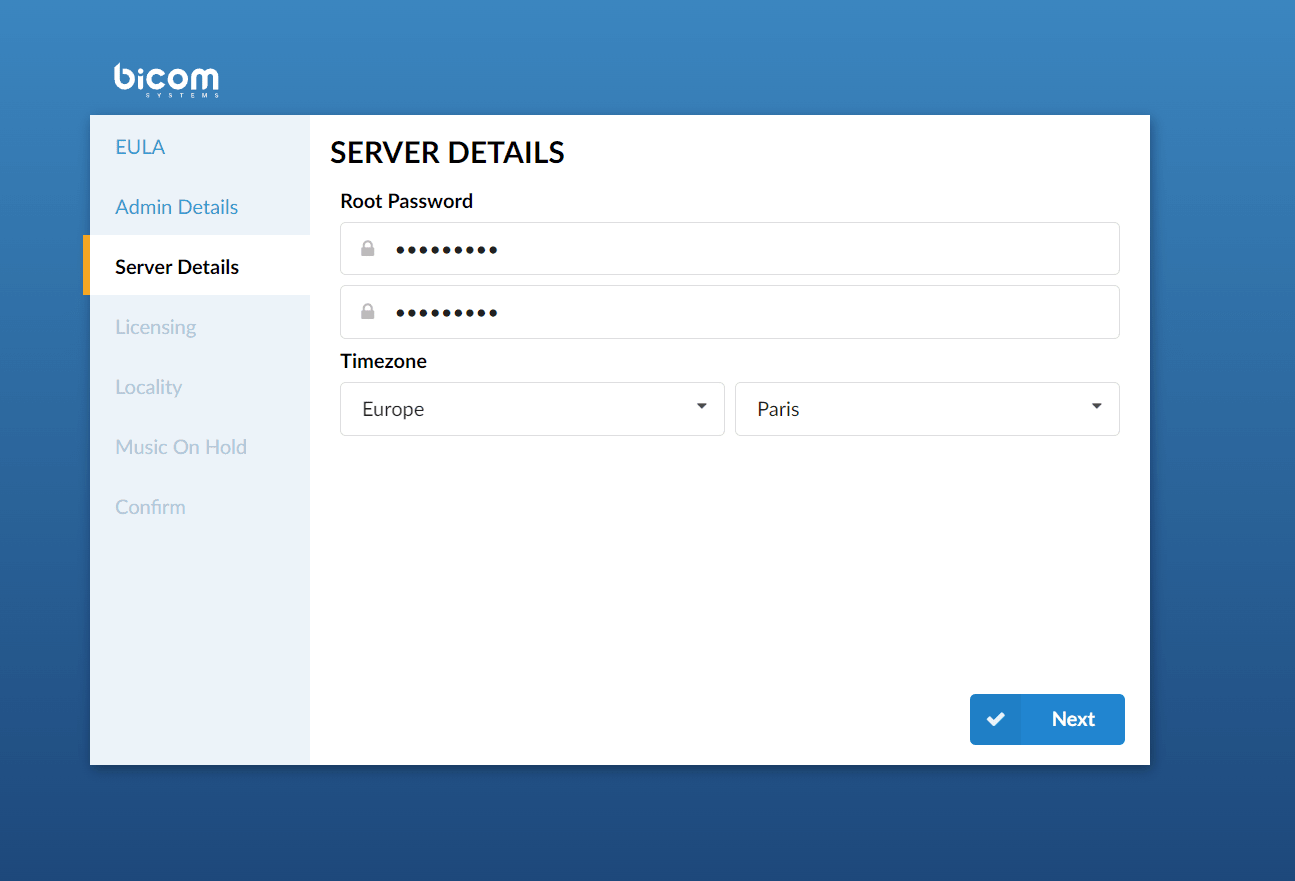
Server details
- Root password
PBXware requests this password when connecting to the system/SSH and when accessing system services through the web interface.
- Confirm the password
Retype the root password entered in the field above.
- Time zone
Select the time zone in which PBXware is located.
License
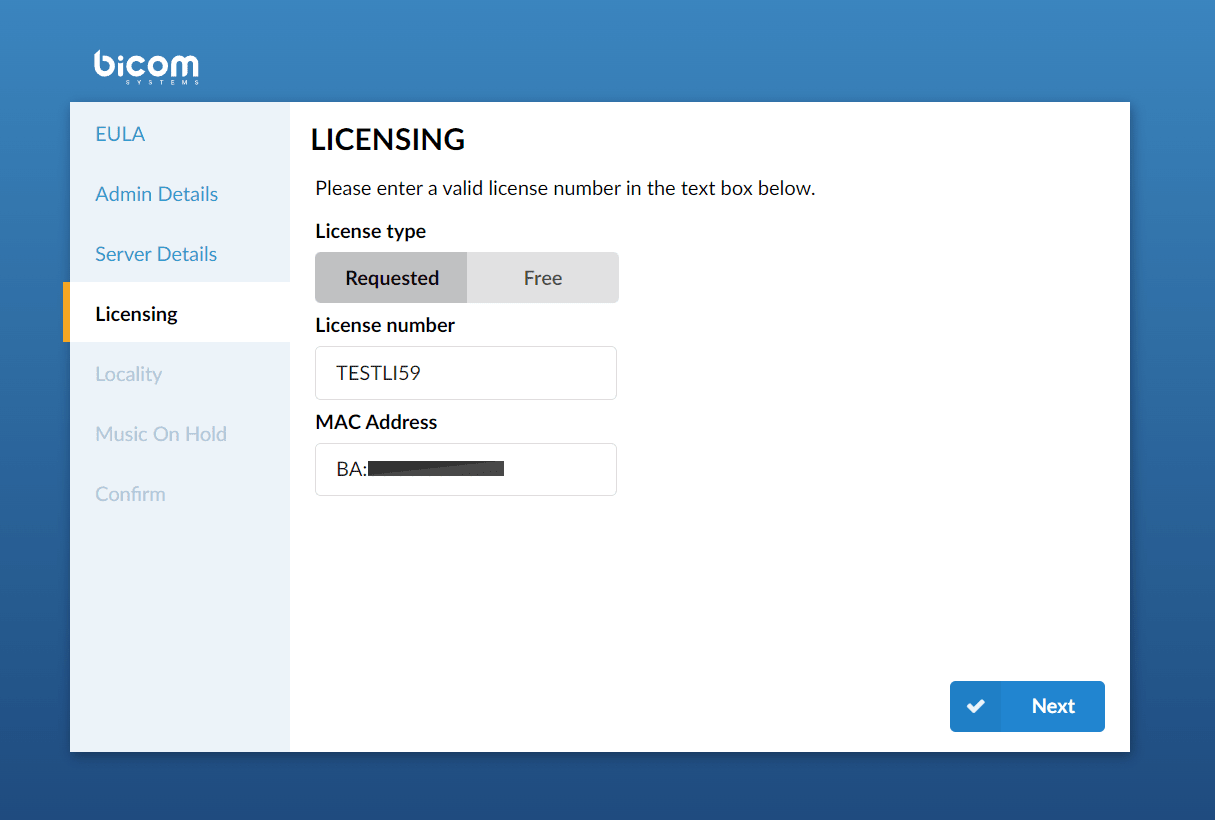
The license part allows you to enter a valid (non-active) license. If the system has more than one network card, all found MAC addresses will be displayed.
- License type
Select a license type for the system. The system comes with two license types: Free License and Requested (paid).
- License number
Enter the PBXware license number, select the MAC address if there are several, and click 'Next' to save.
- The MAC address associated with PBXware.
NOTE: The machine must have access to an Internet connection in order to retrieve the license. If more than one MAC address is present, select the one you want to associate with PBXware and click 'Next'.
Locality
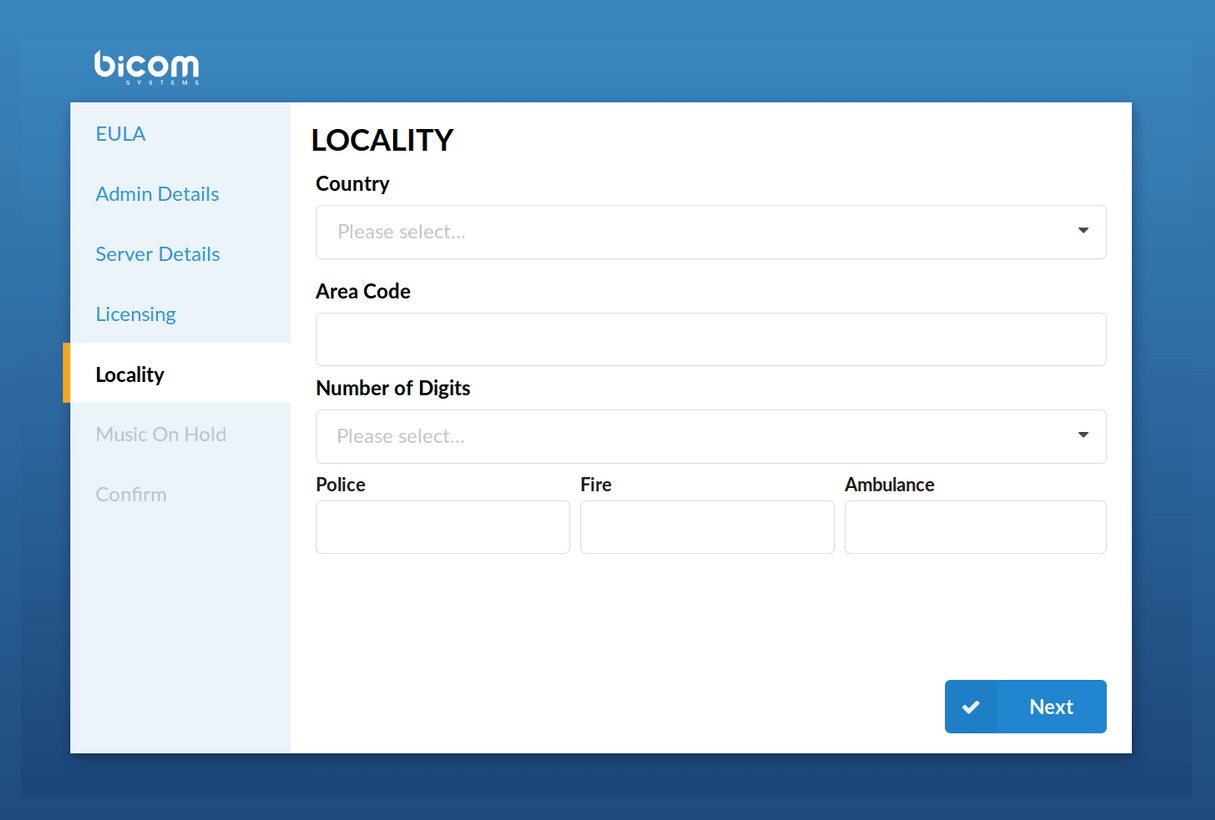
Locality allows you to enter the system's "local" values in order to define all the values needed for the system's normal operation.
- Country
Select the country in which PBXware is located.
- Prefix
The dialing code where PBXware is located; for example, if PBXware is located in France, you will need to set '33'.
- Extension length
The number of digits that PBXware will match to local extensions.
If this field is set to ‘3’, all local extensions will have a range of 100-999.
If this field is set to ‘4’, all local extensions will have a range of 1000-9999...
- Police / Fire / Ambulance
The phone number of the emergency services in the region where PBXware is located (e.g. Police: 17, Fire: 18, Ambulance: 15)
PBXware has an option to call these emergency services through certain trunks. If all channels are busy, an active call will be interrupted in order to dial these emergency numbers.
Music on hold
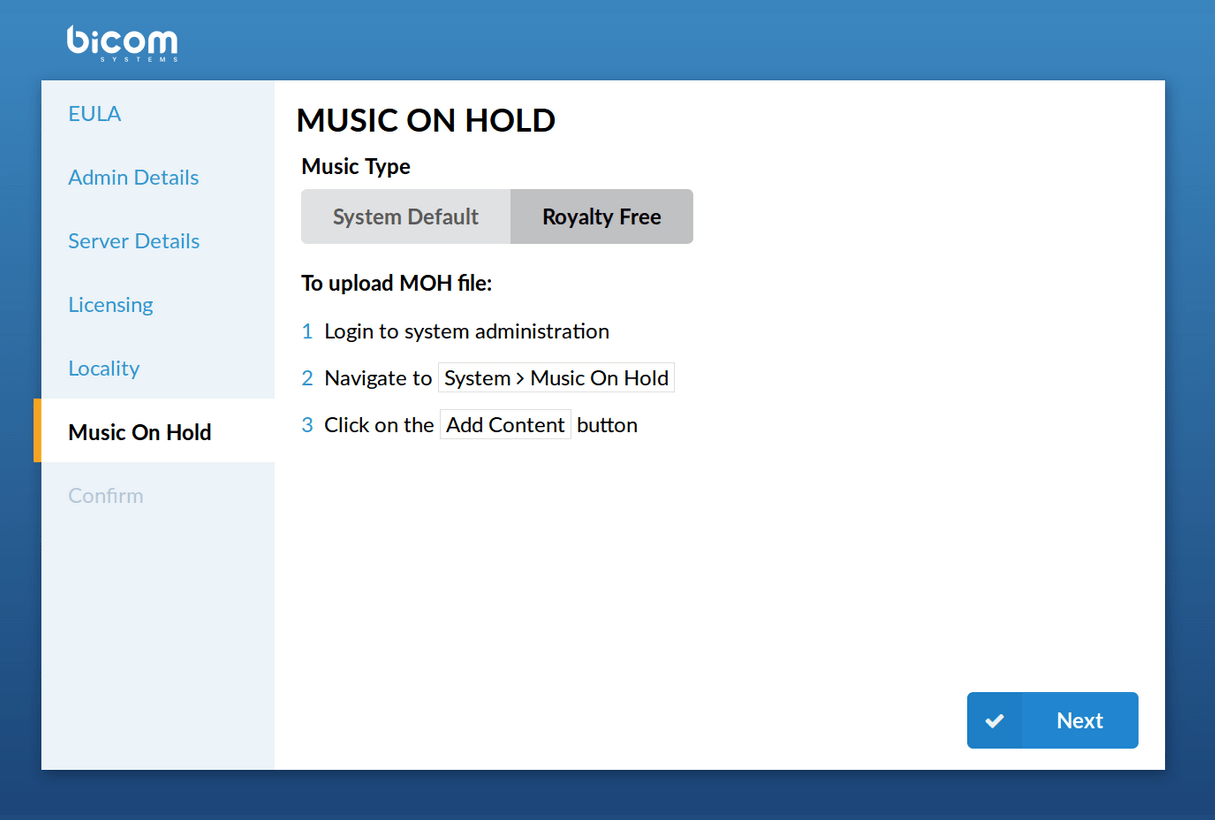
- Royalty Free music on hold
This operation downloads royalty-free music that can be used as the default music on hold. It can be changed later.
Confirmation
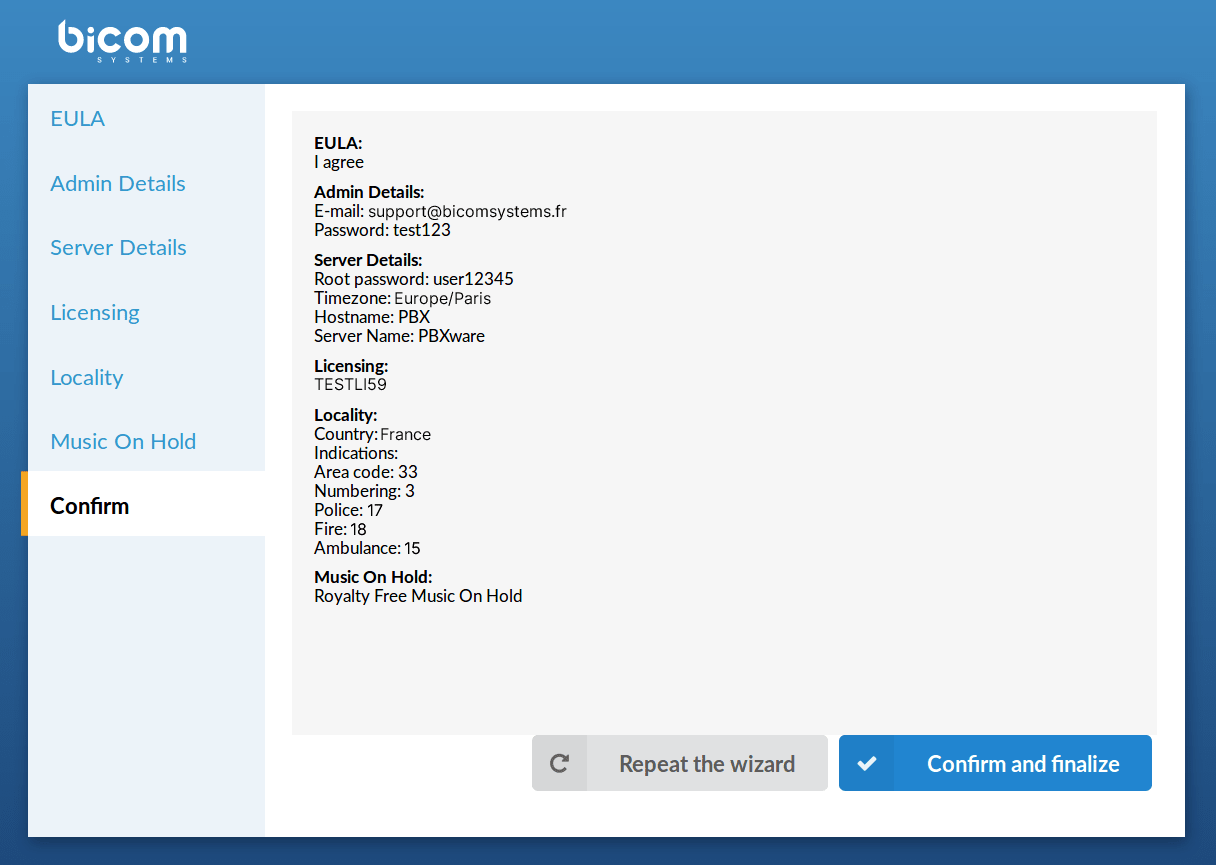
Finally, the confirmation step allows you to recheck all the values and finish the wizard or start over from the beginning. If you click "Confirm and finalize“, the configuration wizard ends and the browser is redirected to the system's login screen.
If you click this button, all the details provided will be reset and you will return to the first step.
Click this button to confirm the data provided in the installation wizard and finalize the installation. All the details provided will be applied and the installation wizard will redirect you to the PBXware login screen.
System login
- Login screen
In order to connect to the system, please point your browser to: http://IP_ADDRESS/ (For example: http://192.168.1.2/)
- Email address
This is the administrator's email address that you set in the initial setup wizard.
- Password
This is the administrator password that you set in the initial setup wizard