First settings

Go to the page Settings > Servers and click your PBX.
Go to the page Settings > Tenants and click Master Tenant within a Multi-Tenant edition.
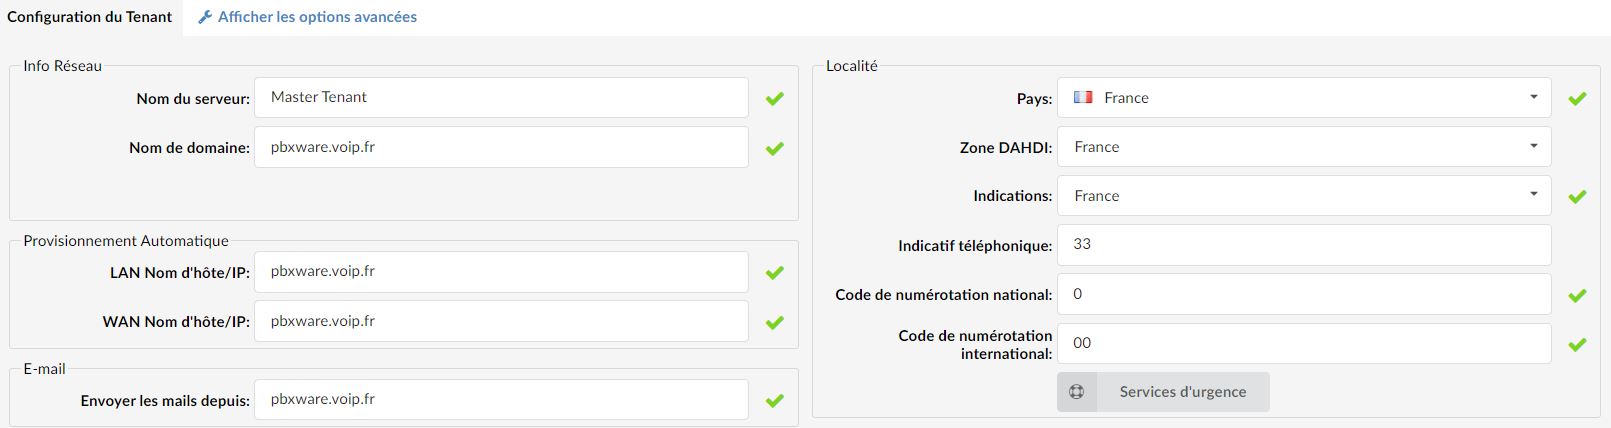
Server name:
Enter the custom server name (sometimes used in system notifications).
Locality
The locality defines where the system operates.
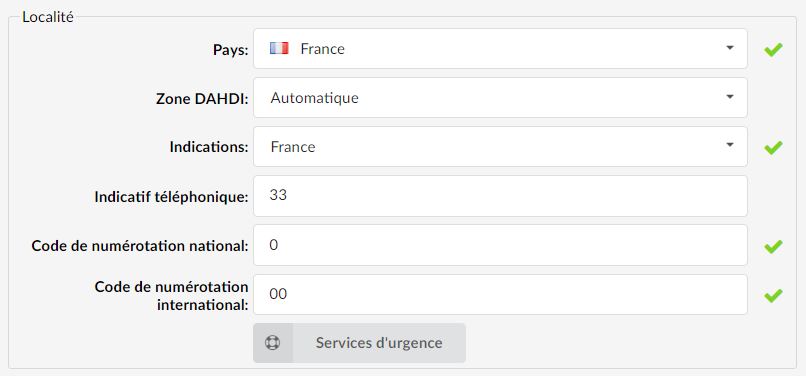
Country
Country from which the server operates.
DAHDI zone
Overrides automatic country detection
It is recommended to keep this setting on "Automatic".Indications
Indicates which country-related indications (ringing, busy, etc.) should be used by PBXware.
Phone code
Area code in which the system is located or from which it operates.
(For example, if the system is located in France, indicate the code 33 here).National dialing code
Code required to dial national destinations.
International dialing code
Code required to dial international destinations.
Emergency services
By clicking on the “Emergency services” button, a pop-up window appears in which users can enter the emergency numbers for the police, fire department, and ambulance.
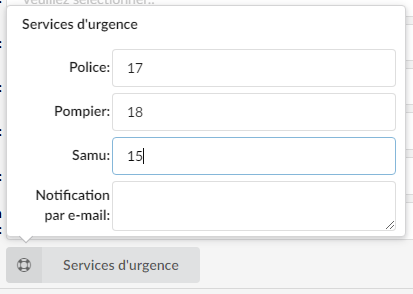
Email notification:
After dialing one of the emergency numbers, an email will be sent to the address specified in this field. Users can enter one or more email addresses according to their preferences and needs.
If several addresses are added, they can be separated by a new line or a semicolon ';'.
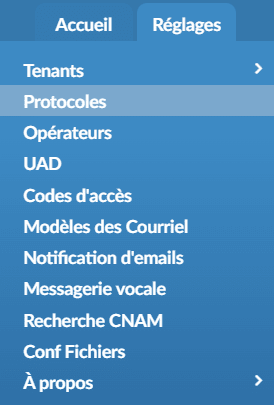
Still on the master tenant, the section Settings > Protocols will allow you to define a set of rules that lets extensions communicate using a defined standard.
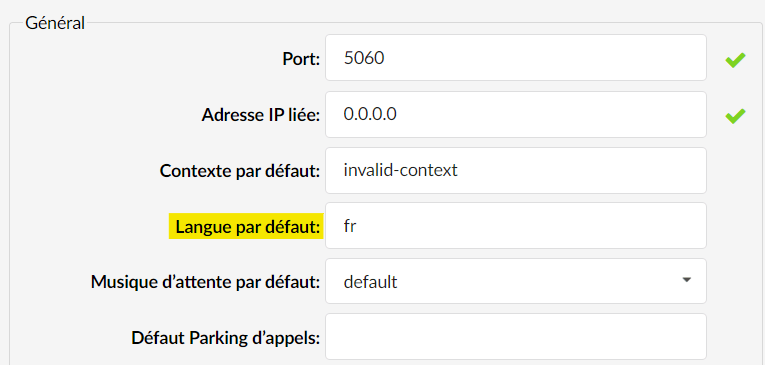
If you want to change the SIP port (example 5070 instead of 5060), the port field can be modified for this purpose:
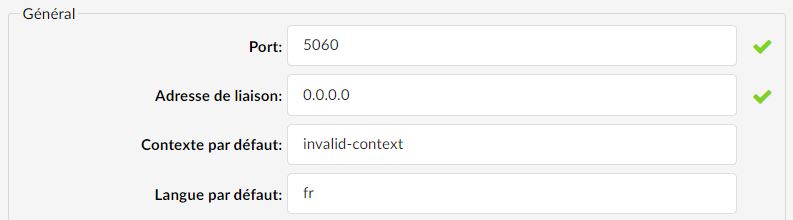
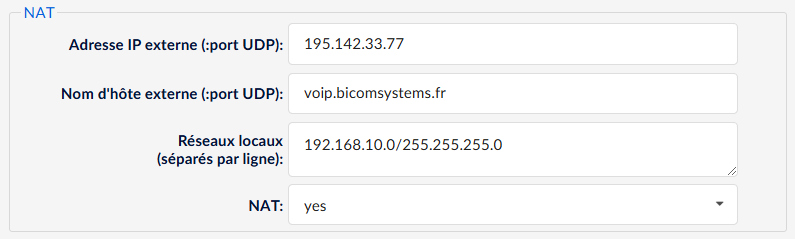
If your PBXware instance is located behind a router (NAT rule), you will need to indicate it in the protocol settings by specifying the local network as well as the subnet mask.