


FR | EN
Wiki Bicom Systems EnglishWiki Bicom Systems English
  • Home
  • Documentation
    • PBXware
      • Installation
      • Getting started
      • Editions
        • PBXware Multi-Tenant
        • PBXware Business
        • PBXware Contact Center
        • PBXware Service Provider
      • Advanced services
      • Supported phones
      • Autoprovisioning
    • Communicator
      • Communicator Desktop
      • Communicator GO
      • Communicator Web
    • SERVERware
      • Standalone
      • Mirror
      • Cluster
    • sipPROT
    • Tutorials
  • Videos
    • Communicator Desktop
  • Operators
  • Downloads
  • FAQ
Support
leafleaf
Most popular:
  • PBXware
  • Communicator
  • SIP
  1. Home
  2. PBXware: Getting Started
  3. Add a trunk
Updated on March 17, 2025
PBXware: Getting Started
  • Folder icon closedFolder open iconInstallation wizard
  • Folder icon closedFolder open iconGlobal view
  • Folder icon closedFolder open iconDashboard
  • Folder icon closedFolder open iconFirst settings
  • Folder icon closedFolder open iconInstall an SSL certificate
  • Folder icon closedFolder open iconAdd a pack
  • Folder icon closedFolder open iconAdd a tenant
  • Folder icon closedFolder open iconAdd a trunk
  • Folder icon closedFolder open iconDIDs
  • Folder icon closedFolder open iconOrder licenses
  • Folder icon closedFolder open iconAdd extensions
  • Folder icon closedFolder open iconSoftphone applications
    • Communicator Desktop
    • Communicator Web
    • Communicator Mobile
  • Folder icon closedFolder open iconPhones/UADs
  • Folder icon closedFolder open iconConnect a phone
  • Folder icon closedFolder open iconCreate an extension group
  • Folder icon closedFolder open iconCreate an enhanced extension group
  • Folder icon closedFolder open iconSMTP configuration
  • Folder icon closedFolder open iconsipPROT
  • Folder icon closedFolder open iconSwitch the voices to French

Add a trunk

Estimated reading: 4 minutes

Introduction

On this page, you will discover the main elements to configure for your trunk. If you need more information, please consult the supported providers page by clicking here

The SIP trunk acts as a link between PBXware and the VoIP service provider, allowing the routing of incoming and outgoing calls. It provides communication channels that can carry multiple calls simultaneously over an IP connection.

SIP trunks allow you to connect your company's IPPBX to the internet and make phone calls. It is a virtual connection to the PSTN (Public Switched Telephone Network).

The term "trunk" is used in the PSTN network and refers to a set of telephone lines shared by a group of consumers. Since these physical lines do not exist in the context of SIP trunking, the word "trunk" refers to virtual lines.

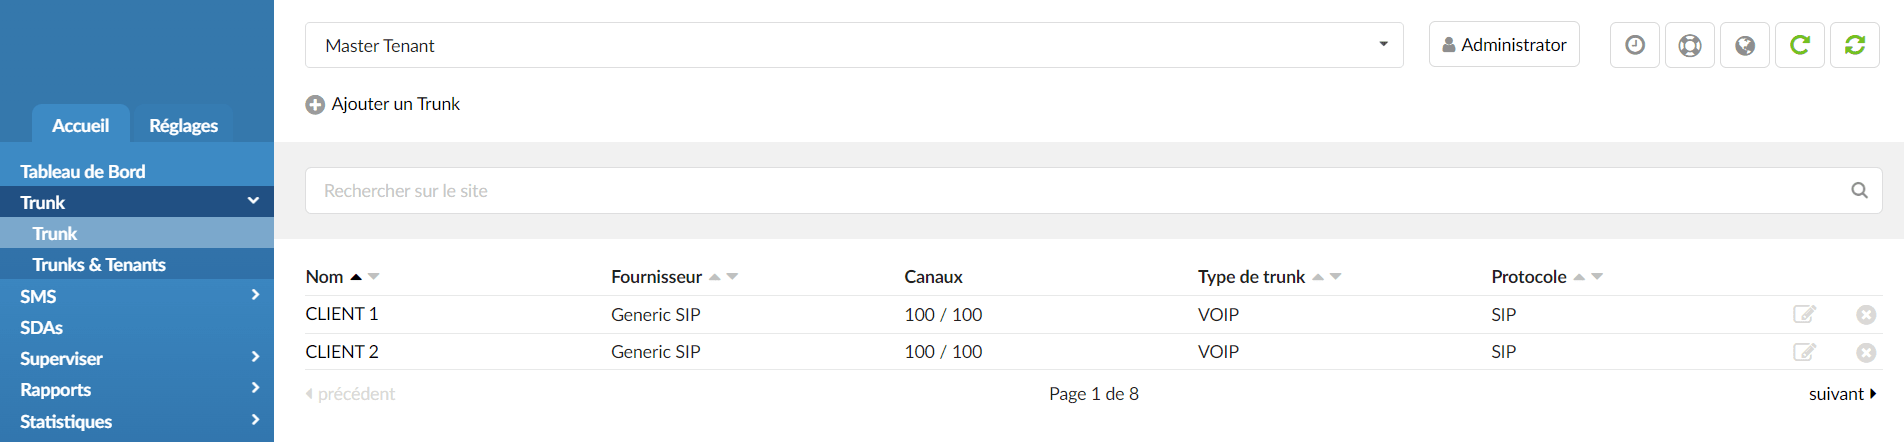
In order to add your first SIP Trunk, please click Home > Trunks. On a Multi-Tenant system, you must be located on the Master-Tenant. Click on Add a Trunk.
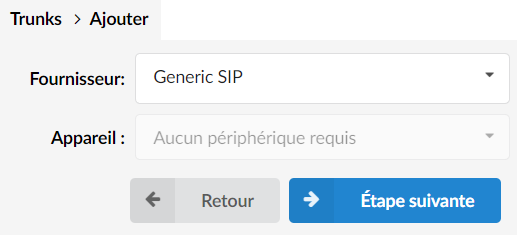

Choose a provider (generally Generic SIP). You will be able to create providers later in order to import predefined settings. 

Click on Next step.

Each trunk provider has its specific configurations. You will be able to find a tutorial gathering some of these providers and their required configurations from the following table: 

Trunks & Tenants

This page allows you to assign SIP trunks to tenants. Tenants will only be able to use the trunks assigned to them.
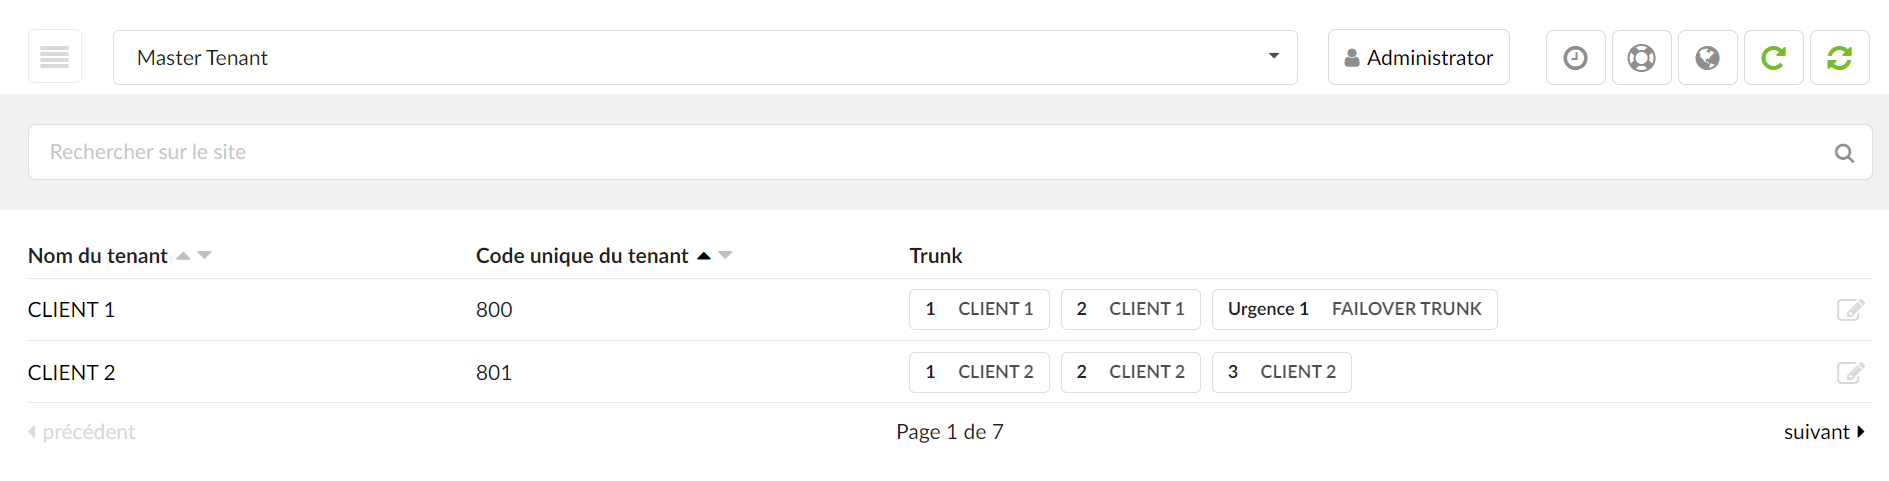
  • Tenant name

Provides a list of all tenants that currently exist on the system. Clicking on a tenant's name will open a page where you can assign lines to that tenant.

  • Unique tenant code

Provides a list of the tenant codes corresponding to the tenant name in the first column.

  • Trunk

displays the SIP trunks which are defined as primary/secondary/tertiary and the emergency trunks which are defined as primary/secondary/tertiary.

Edit

Click the edit button if you want to modify the trunk configuration for a specific tenant.

By clicking on this button, it is possible to assign trunks/emergency trunks to your tenant or to remove them. In addition, it is possible to set the priorities of the trunks/emergency trunks and the Caller IDs for each trunk.

Allowed trunks

Choose the trunks among all the created trunks that will be used on this tenant for incoming/outgoing calls. Only the Trunks chosen here will be available in the fields below.

Default trunk
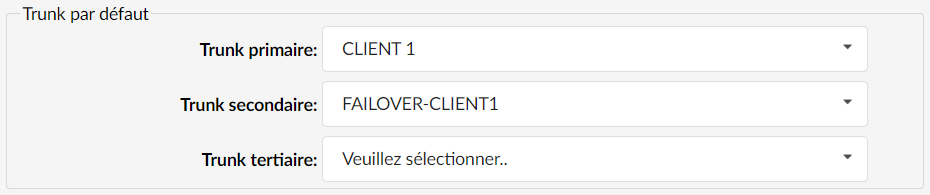
Select the primary, secondary, or tertiary trunk by default. Only the trunks defined in the Allowed trunks can be selected.

If the primary trunk is working correctly, the tenant will not be able to use the secondary or tertiary trunk, so make sure to set the desired trunk as primary.

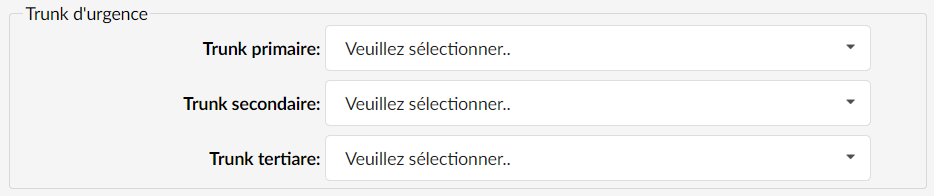
Emergency trunks

In this section, define which trunk will be set as the primary/secondary or tertiary emergency line.

Through this trunk, emergency service numbers are dialed. Only the trunks defined in the Allowed trunks field can be selected.

Caller identification
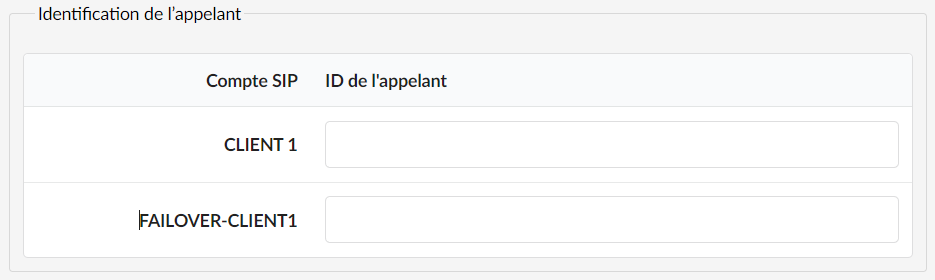
Here, you can define a custom CallerID for each trunk. Only the trunks defined in the Allowed Trunks field are visible in this section.

Adding a trunk to the list of allowed trunks will automatically add a caller ID entry in this section. Removing a trunk from the list of allowed trunks will also remove the caller ID entry for that trunk.

Go to the previous step

 |

Go to the next step
Share

Add a trunk

Or copy the link below

Clipboard Icon
CONTENT
Leaf Illustration

© Bicom Systems France

Last updated: 4 July 2026 Legal noticePrivacyCookiesTerms © 2026 Bicom Systems