



Add a backup host
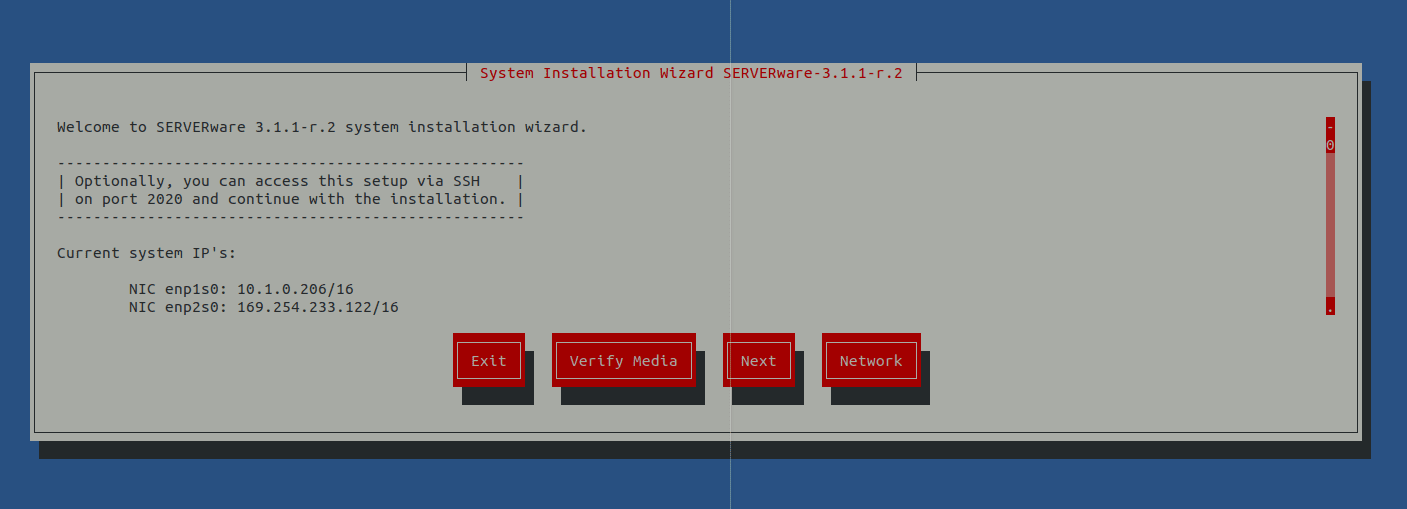
If the live system was able to retrieve the IP address from the DHCP server, it will display it on this screen. You can then access the system remotely via ssh on port 2020 with the username root and the password bicomsystems and continue the installation.
Several options are offered on the home screen:
Exit – Choose this option to exit the installation wizard. This option will open the command-line shell of the live system.
Verify media – This option will scan the files on the installation media, compare them to the previously stored checksum, and check for corruption.
Next – Move to the next step.
Network – Configure the IP address for remote access to the installation wizard.
Step 1: Select SERVERware Backup Host as the installation type
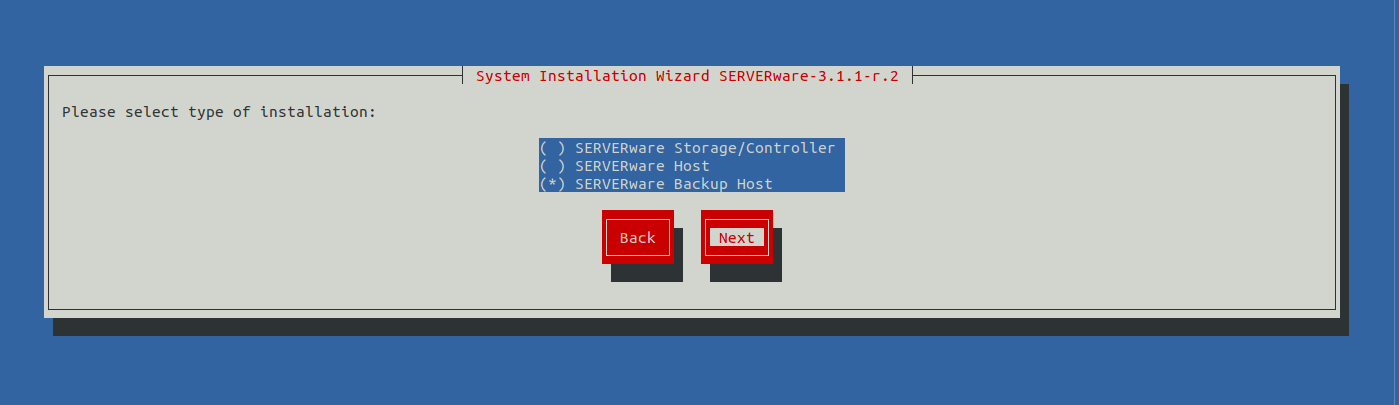
The fraction of the 8G bay will be allocated to the operating system, everything else must be available for machine storage.
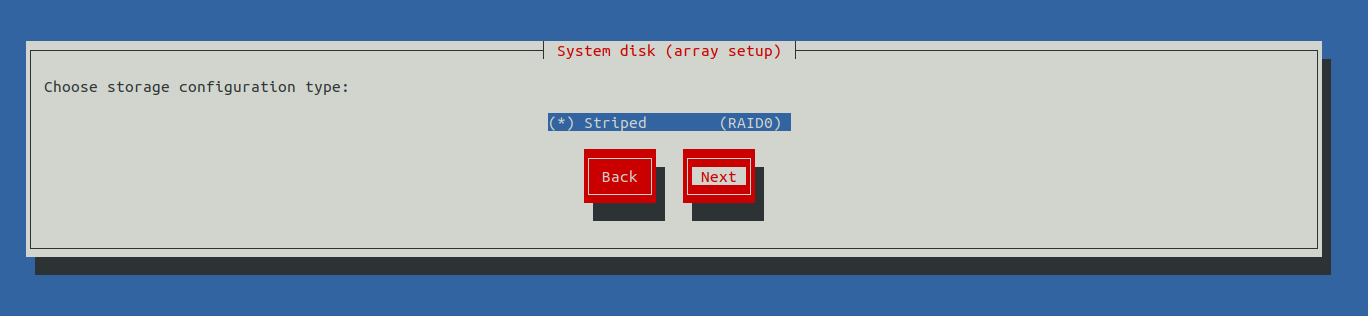
Step 2: Select the physical disk for the system installation
Select the physical disk for the system installation.
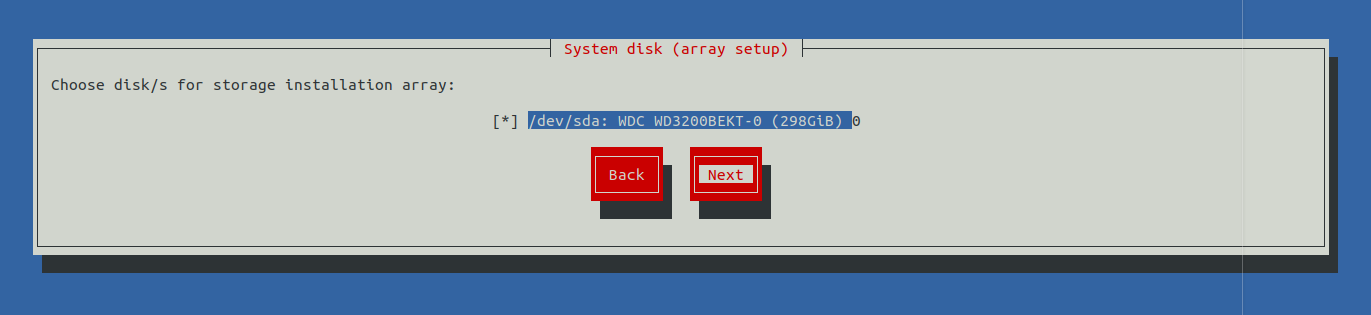
The backup host will use all available disk space for the backup pool (the system and the backup pool will be on the same hard drive). This will not install the system on a separate hard drive.
Step 3: The confirmation dialog box appears
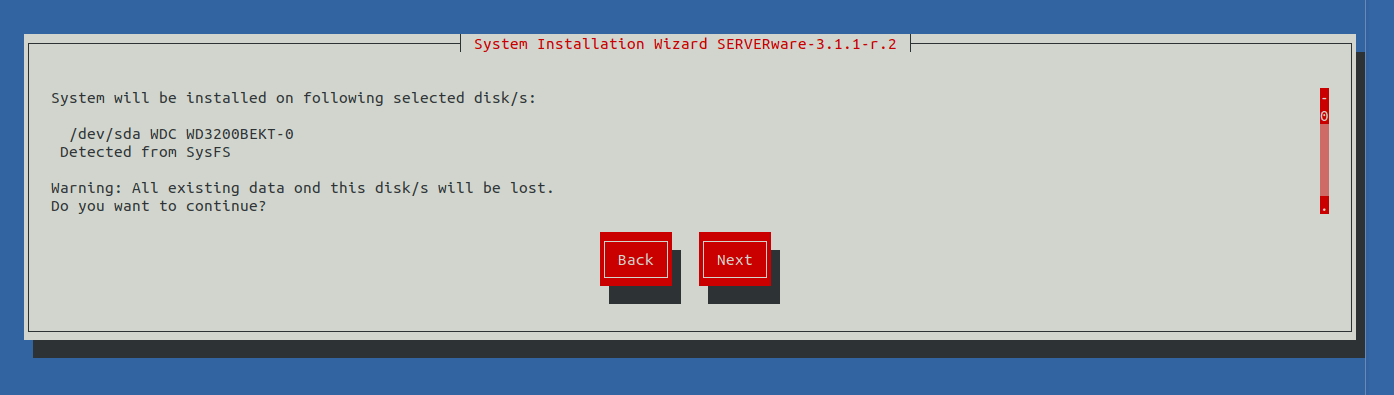
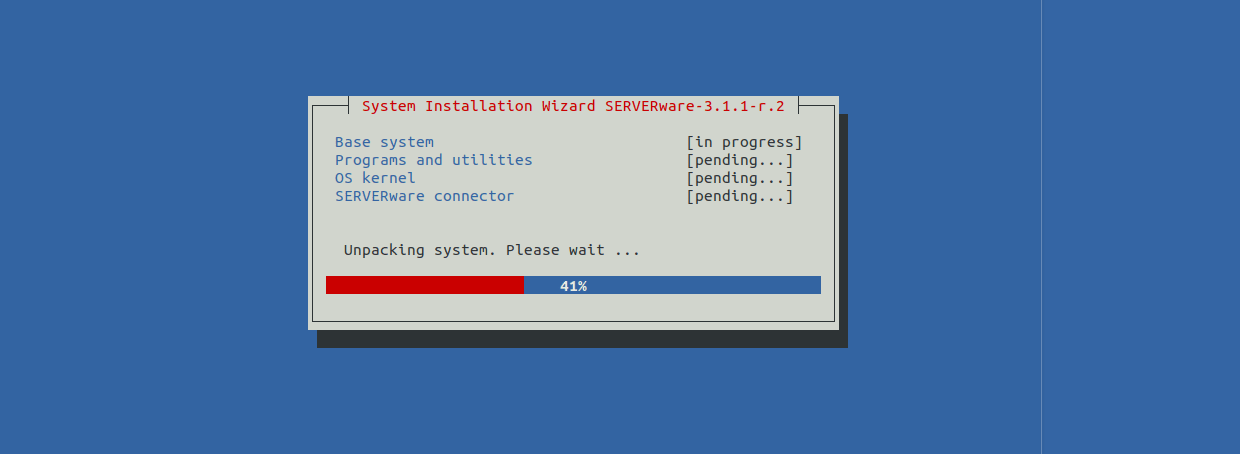
Step 4: The installation wizard will now proceed to install the SERVERware operating system
Step 5: Once the operating system is installed, the network configuration dialog box appears
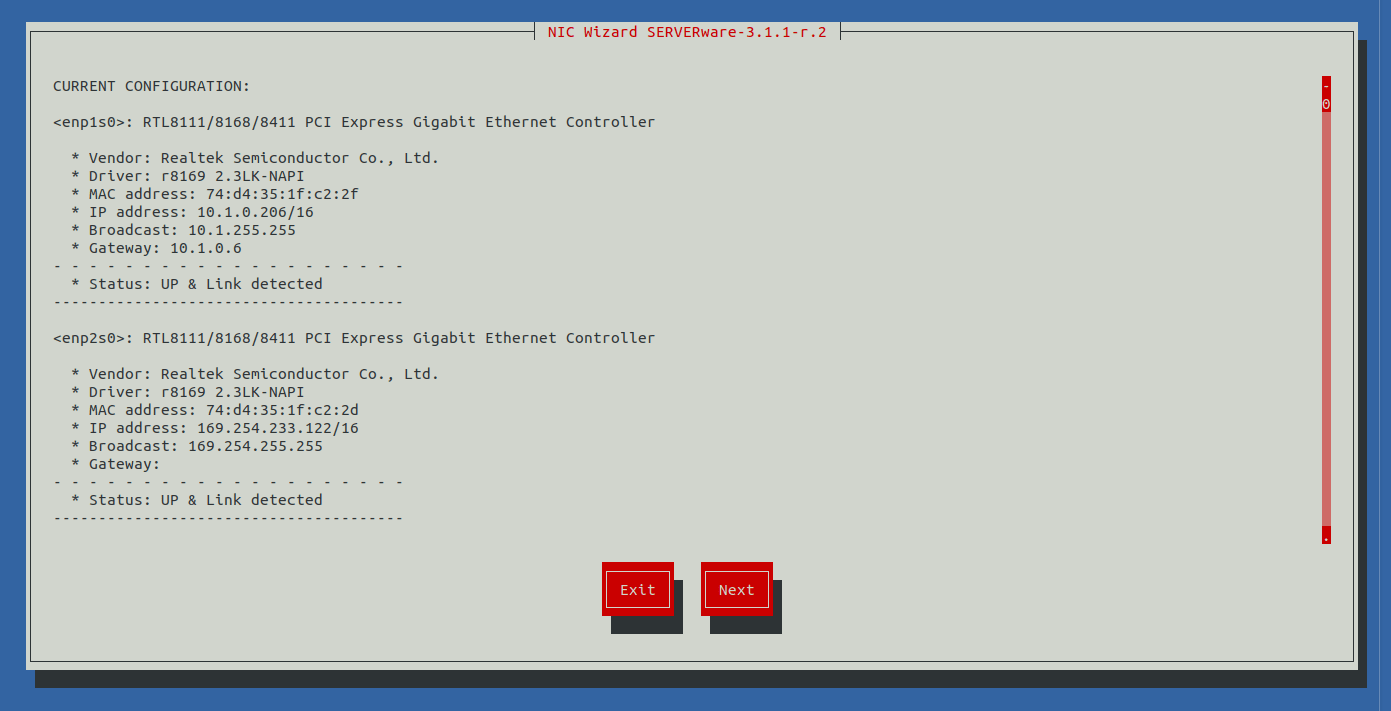
Click on Next to continue, then choose one of the options to configure the network interface.
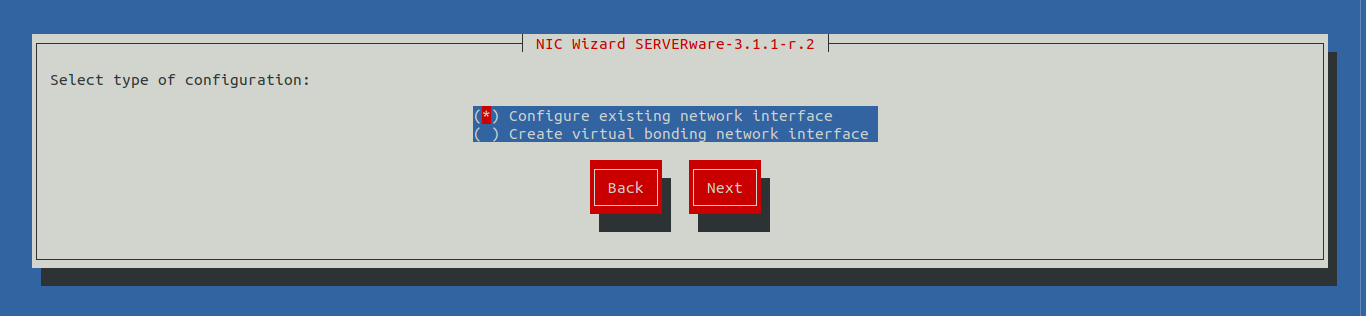
After completing the network configuration, click next to complete the installation. The wizard will initiate the reboot.
