



Visitor application
The Visitor application is an interactive interface that connects customers to your customer support team directly from your website. When you integrate our chat widget into your web page, it appears as a clickable blue bubble-shaped icon. This serves as an inviting gateway for your users to engage in real-time conversations with your agents or interact with a Chatbot for automated assistance.
- Start
By clicking on the blue widget icon, users are presented with a login screen. This initial step is designed to capture essential information about the user before proceeding to a designated queue or chatbot.
- Integration
When interacting with the Visitor application, users encounter two potential paths depending on the channel established within PBXware:
For the live chat , once users have submitted their name and email address, they are seamlessly transferred to a specific queue where they can start a dialogue with an agent.
With the integration of Chatbot , after registration, users are presented with a personalized list of options. Selecting an option directs them to an appropriate queue, then connecting them to an agent for further assistance.
Configuration
Administrators can configure the visitor application to determine its behavior and interaction flow. Customize the Chatbot's dialog options and direct the flow of conversations.
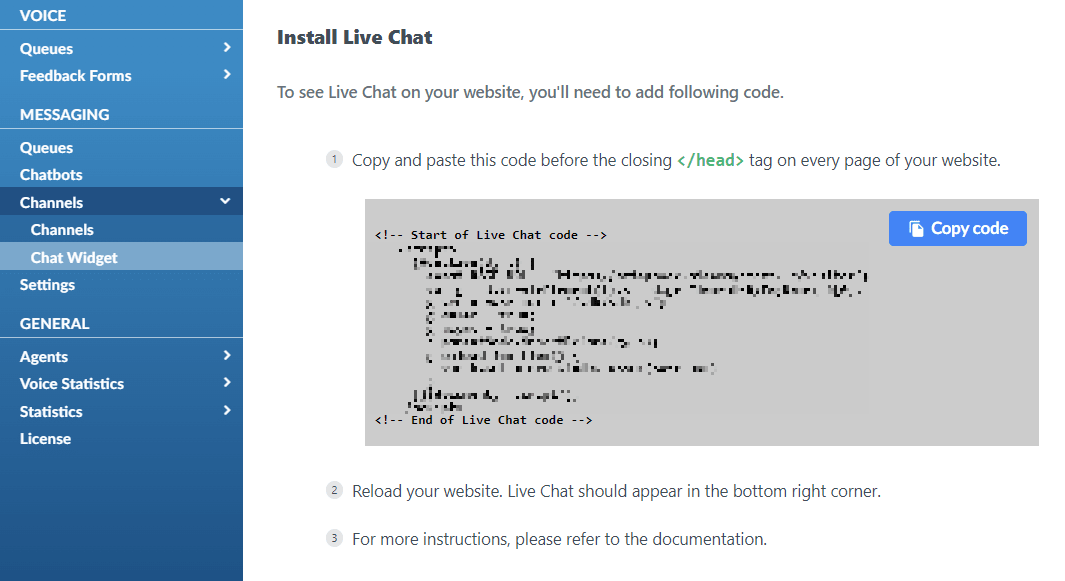
- To integrate a chatbot on a website, go to the Messaging > Channels > Chat Widget section
- Copy and paste the displayed code before the closing </head> tag on every page of your website.
- Reload your website. The chat should appear in the bottom right corner.
User interaction
Once connected, users can participate in a chat session that is either moderated by a live agent or automated via a Chatbot. The intuitive interface is designed to offer a seamless user experience, encouraging efficient communication and quick resolution of queries.
Visitor app login screen
- Click the blue bubble icon displayed on the web page.
- A login screen will appear, asking for your name and email address.
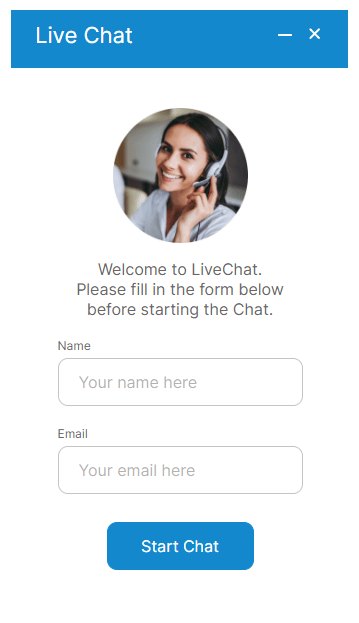
- If one of the fields is left empty and you try to continue, a warning message will indicate that the fields cannot be empty.
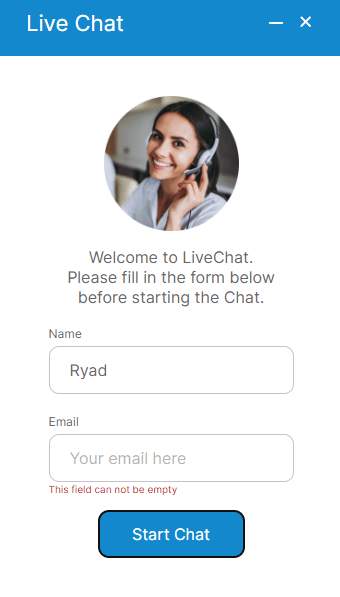
Once you have filled in the name and email address fields, click the “Start Chat” button.
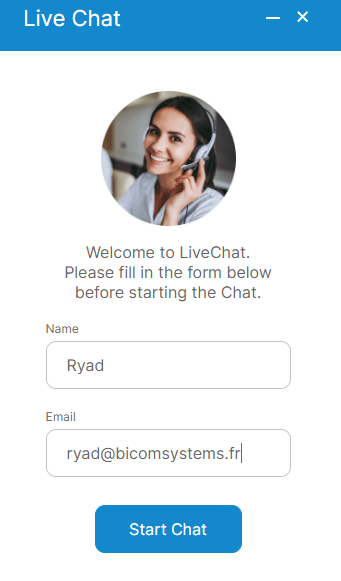
- You will be directed to a queue where an agent will greet you and start the chat.
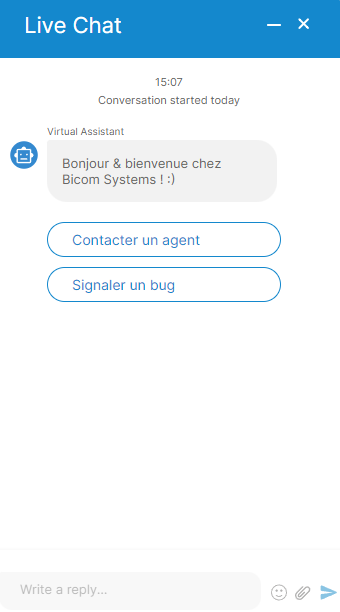
Start a conversation
- Starting the conversation : once a user enters a live chat, they are ready to start a dialogue. Simply type a message in the chat window and press "Enter" to send the message to the connected agent.
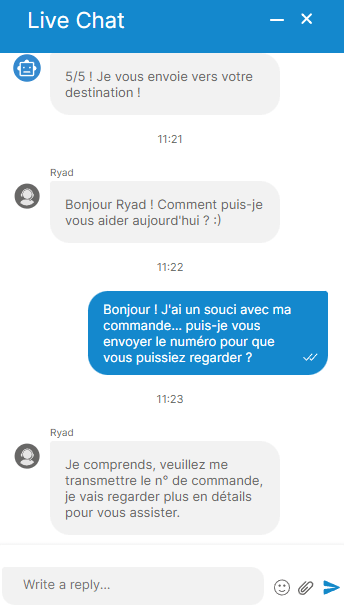
Sending files : To send files, click the ‘Attach a file’ icon, select the desired files, and confirm. Users can attach various types of files, thereby enhancing the chat experience.
Editing the file selection : users can review and modify their selection, ensuring that only the intended files are sent.
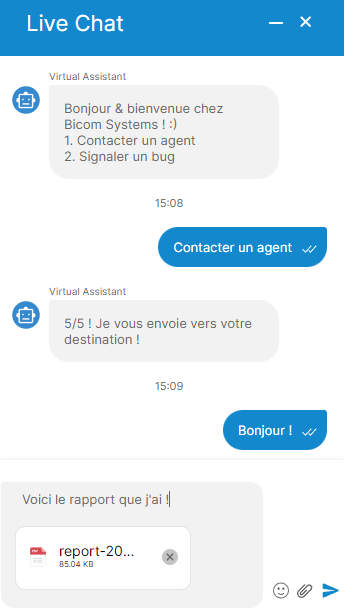
- File download monitoring : as the files are downloaded, a progress indicator will display the download status. If necessary, users can cancel the download before it is complete.
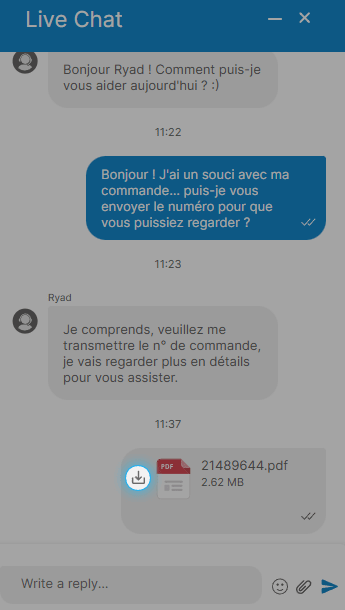
- File download : once the files are sent, the user and the agent can download them directly from the chat window, indicated by a "Download" icon next to the file.
Access outside business hours
- Initial attempt : when a user attempts to start a live chat session outside of the designated operating hours, a notification will automatically be presented to them.
- Message reception : The system will display a message informing the user that they have accessed the chat outside of operating hours. This message is designed to immediately set the right expectations.
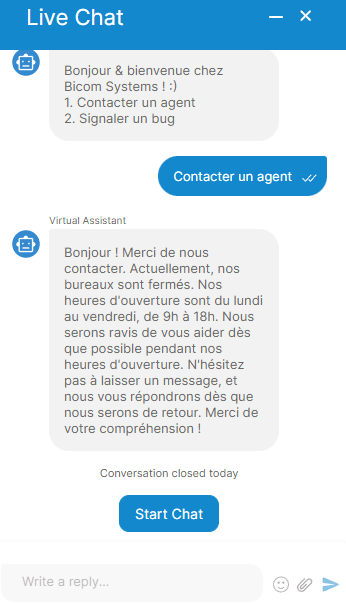
Propose alternatives : alongside the notification, the user will be offered other ways to get in touch, for example by using other contact methods suggested by the system.
Encourage reconnection : the message can also inform users of the next available time for live chat, encouraging them to return during business hours for direct assistance.
Customization options : administrators have the ability to customize this after-hours message, tailoring the communication to the company’s voice and providing specific instructions based on their business model.
Error messages & alerts
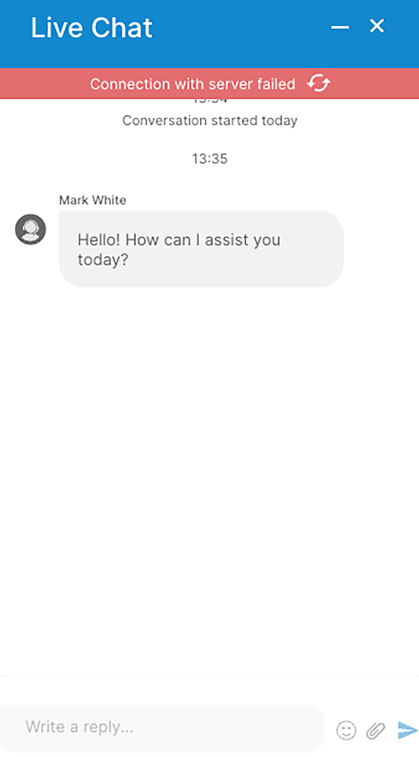
- Chat error notifications : a red band will appear at the top of the chat window to alert users of any error occurring during the chat session, thus providing immediate feedback and guidance on how to proceed.
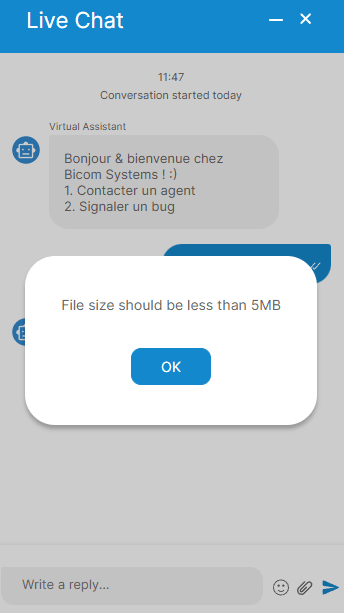
- File size limitations : if a user attempts to send a file larger than the 5 MB limit, an alert will inform them of the size restriction, prompting them to choose a smaller file to ensure a successful transmission.
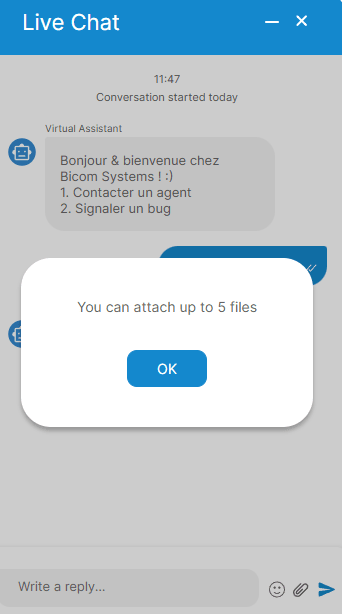
- Multiple file upload limit : when attempting to send more than five files at once, the user will receive an alert indicating that only five files can be sent in a single batch, asking them to reduce the number of files before continuing.
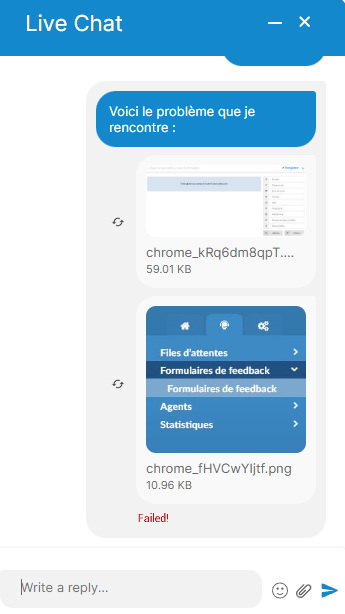
- Failed to send the message : if sending a message or file fails, the user will be informed that the sending process failed, allowing them to attempt to resend the message or file.
End and restart a conversation
Steps to end a chat:
- Click the “X” button in the chat window to start the closing process.
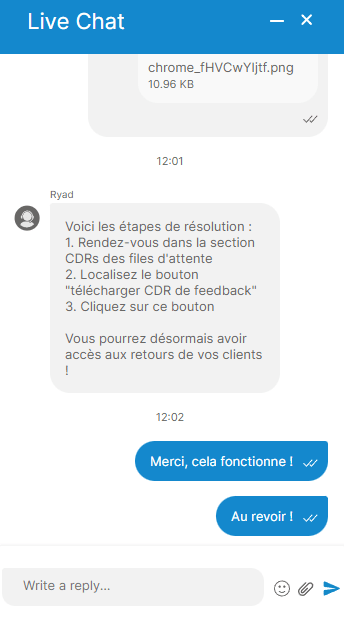
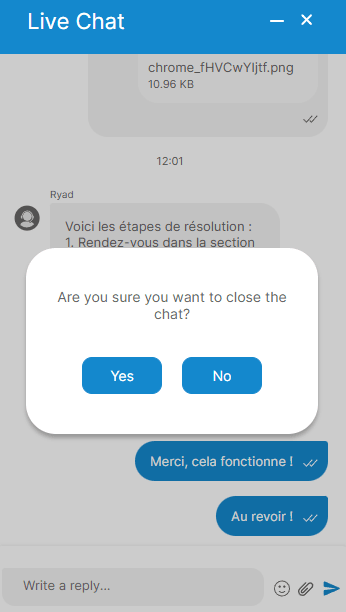
- Read the confirmation prompt to make sure you want to end the conversation.
- Select “Yes” to confirm and close the chat.
Steps to re-engage a chat:
- After closing the chat, locate and click the «Start chat» button in the chat interface.
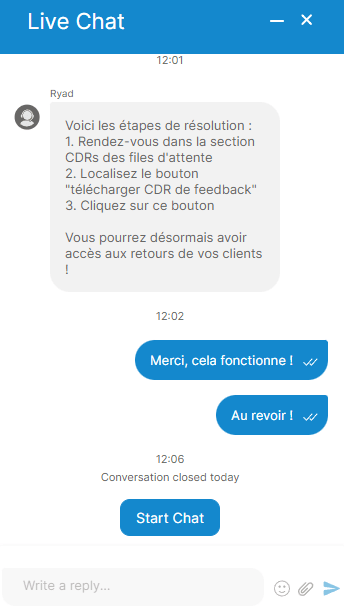
- The chat window will open again, ready for a new conversation.
- Start interacting with the chatbot or wait for a connection with an available agent.
Interact with a chatbot
Steps to interact with a chatbot:
- Enter the visitor application and enter your name and email address in the provided fields; after entering your details, click Start Chat.
- Browse the Chatbot options presented to you.
- Select the option that best matches your request.
Transition to agent:
- After making a selection, receive a welcome message specific to the chosen option.
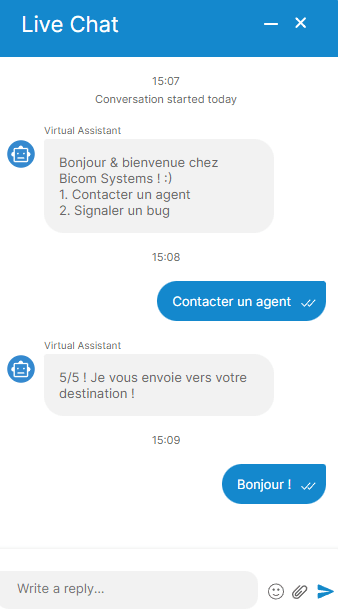
- Wait briefly while you are directed to the appropriate queue.
- Begin your conversation with the live agent who will assist you further.
