



20. System
The “System” section administers the main components of PBXware such as the file system, system services, server details, licenses, sound files, music on hold, as well as the data located on the system.
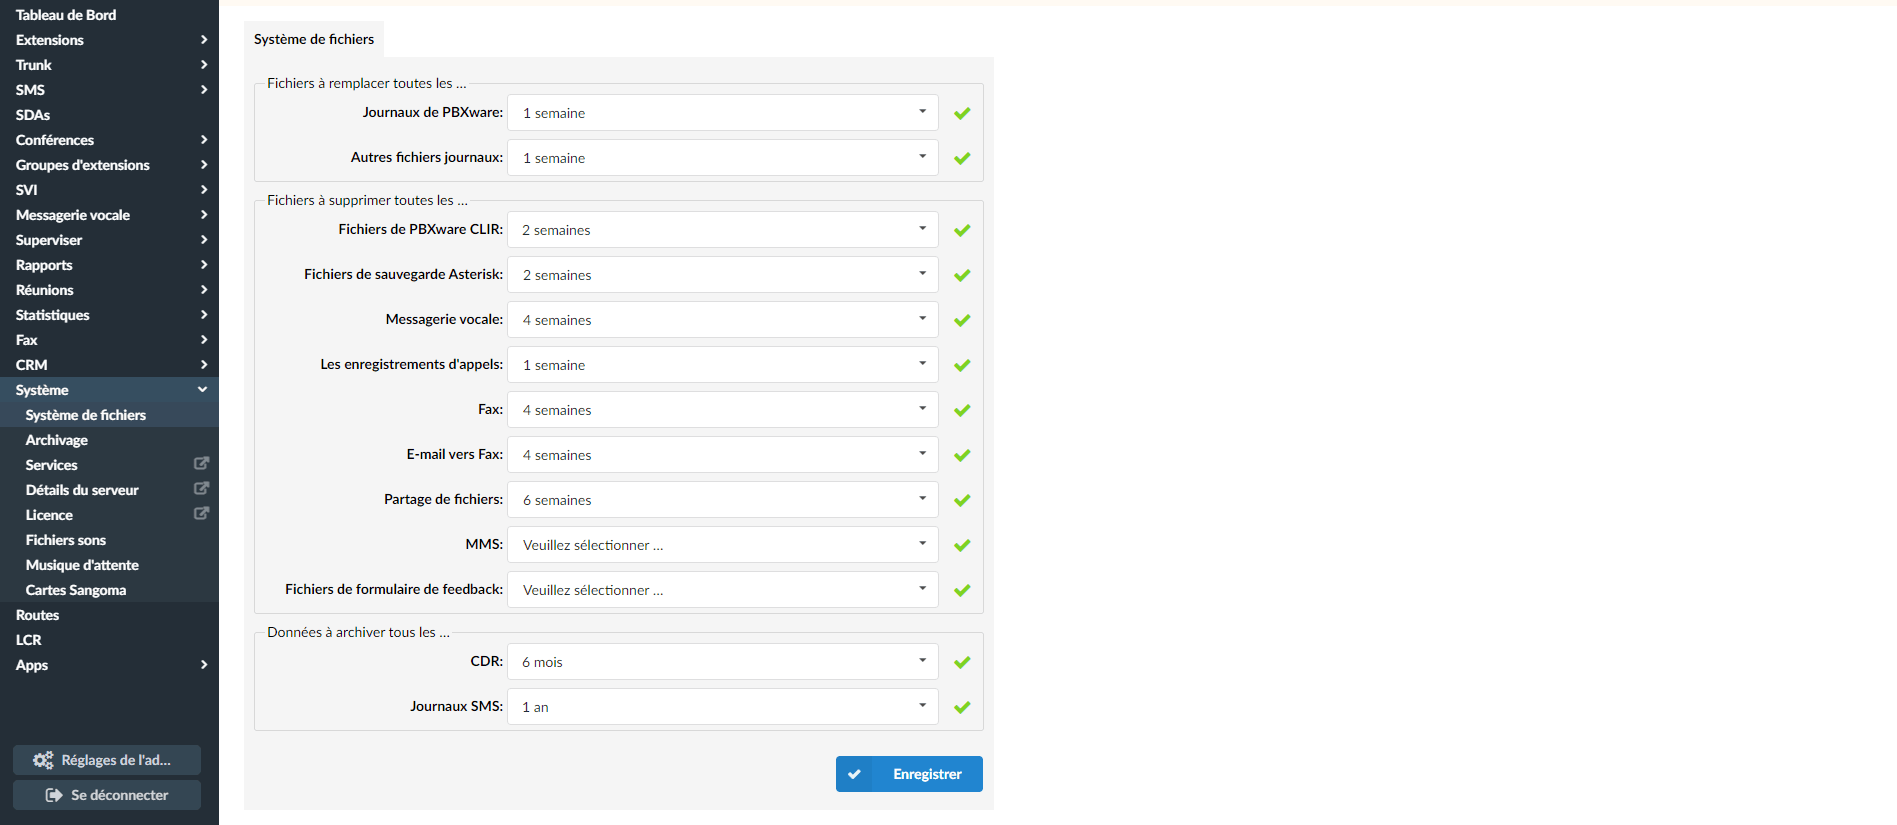
File system
All PBXware logs, sound recordings, CLI and CLIR files are stored on the local file system. These files can grow over time and leave the system with no free space. This section explains how and when these files should be replaced or deleted in order to avoid such a scenario.
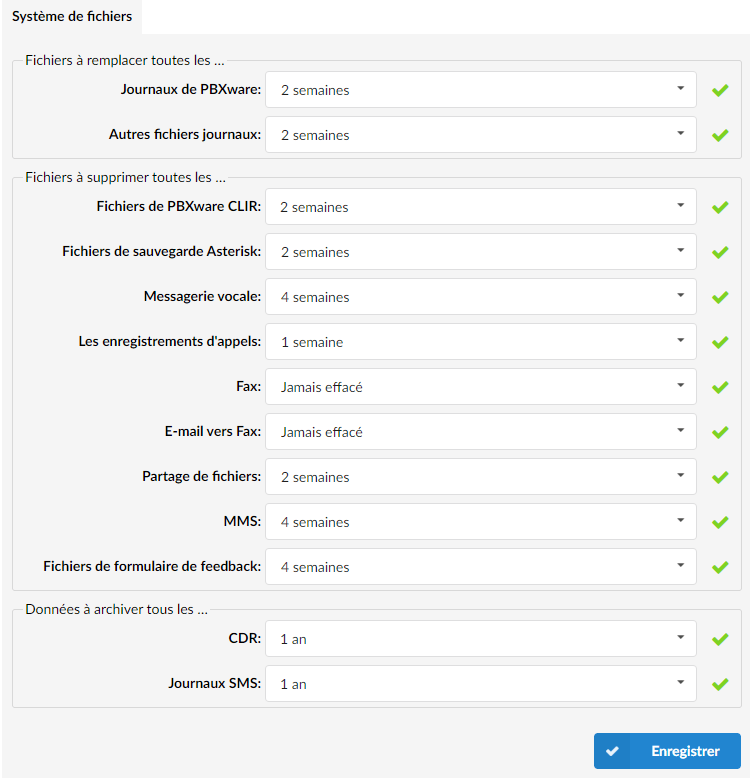
The following files are overwritten after a selected period
PBXware logs:
Select the length of time the PBXware logs are kept on the file system.
Archiving
Archiving is a function that can be used to move local files to a remote location. This service is provided by the user.
It can either keep these files on both sites (your PBXware server and the remote site), or delete them after a successful offload. The function can be configured to run automatically at certain times (daily, weekly) or at specific hourly intervals.
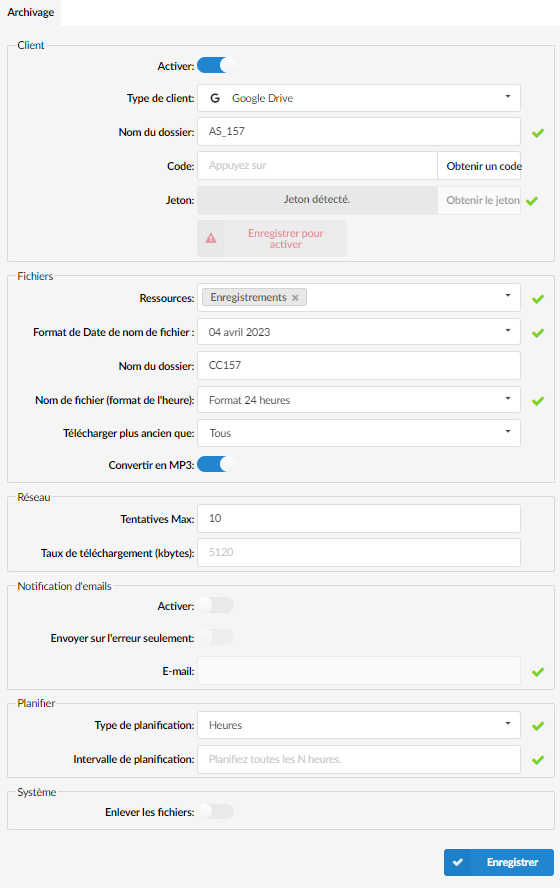
Client
 Click this button to enable the configuration for a Client specific.
Client type
Select the client to use
After selecting a client, all required fields must be filled in for the configuration to be saved.
Click this button to run a test for the selected Client.
Amazon S3
If users press the “Enable” button and select “Amazon S3” as the “Client Type”, the following required fields must be filled in:
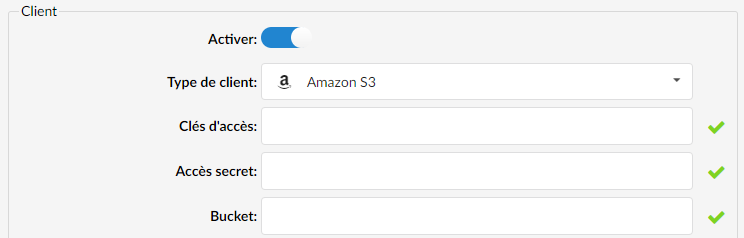
Access key
Enter the access key.
Dropbox
If users press the “Enable” button and select “Dropbox” as the “Client Type”, the following required fields must be filled in:
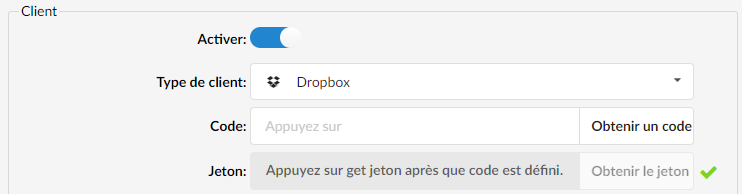
Code
Click “Get a code” to obtain a code.
FTP
If users press the “Enable” button and select “FTP” as the “Client Type”, the following required fields must be filled in:
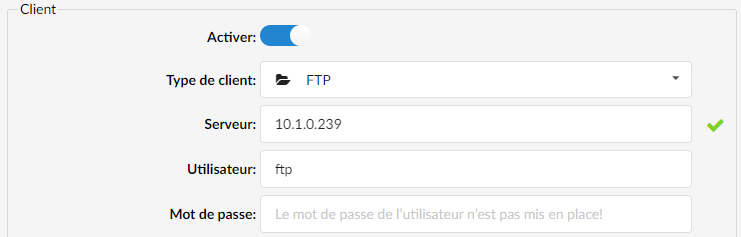
Server:
Enter the server address/IP.
User:
Enter the username to use for registration.
Password:
Enter the password to use for registration.
SFTP
If users press the “Enable” button and select “SFTP” as the “Client Type”, the following required fields must be filled in:
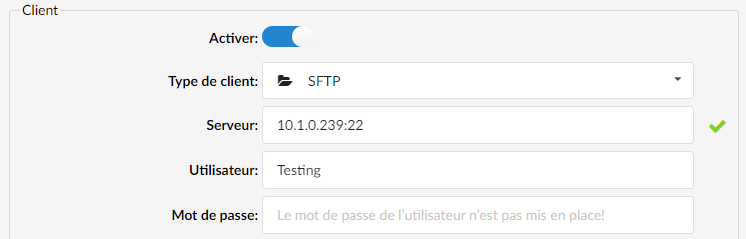
Server:
Enter the server address/IP.
Google Drive
If users press the “Enable” button and select “Google Drive” as the “Client Type”, the following required fields must be filled in:
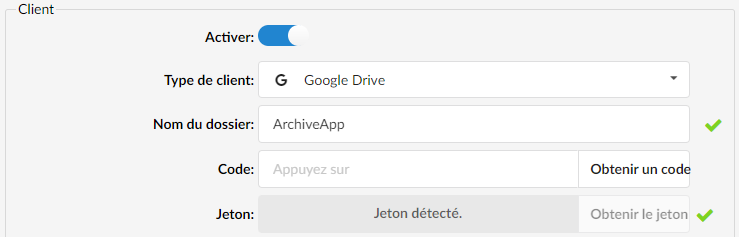
Folder name
Sets a folder name on Google Drive in which the transferred files will be stored.
Files
Here, users can configure the system files that will be offloaded. They can also configure how the files will be displayed on the service used.
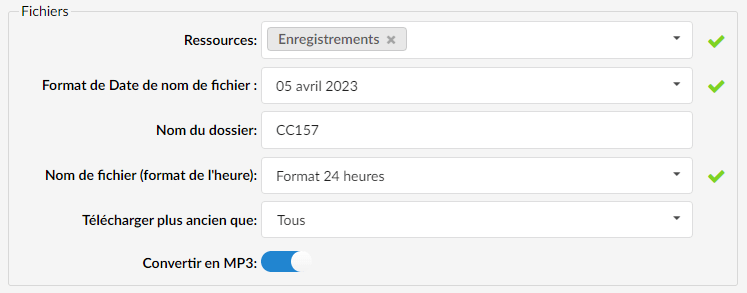
Resources
Select the resources to download.
Each resource has a specific format for naming files. The available options and their file name formats are as follows:
- Fax : “date-time-src-dst-uniqueid.format”
- CLIR Reports : ‘uniqueid.log.gz’
- Recordings : “date-time-src-dst-uniqueid.format”.
- Voicemail : ‘date-time-src-dst-uniqueid.format’
Network
Here the user can configure the amount of system and network resources that the archiving will use.

Max attempts:
Set the number of retries in case a download fails due to a non-critical error.
Email notifications
Here, users can configure email notifications that can be sent once the archiving has finished offloading the data.
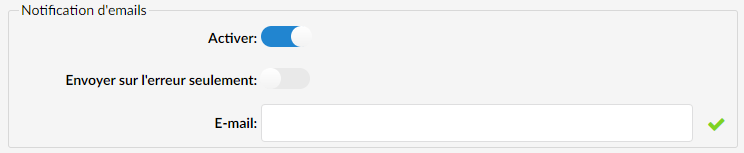
Click this button to enable email notifications.
Send on error only

Click this button to generate an email only in the case where the execution status is:
'failed' or 'partial'
Email:
Enter the email address of a user who will receive this notification by email.
Schedule
Here, users can configure the frequency of the archiving execution.

Scheduling type:
Select a scheduling type that the archiving will use.Scheduling interval:
Set the number of time intervals between offloads.
Schedule time:
Set a specific time at which archiving should begin offloads.
The options are as follows:
Disable: Execution will never start automatically.

Hours: Archiving will begin to be offloaded every N hours, where N is defined in the field Scheduling interval.
Daily: Archiving will begin to be offloaded once a day at the time specified in the field Hourly time.

Weekly: Archiving will begin to be offloaded once a week, during the weekend.

System
Remove files

Enable this option to delete the files from the system after a successful transfer.
Services
This window allows you to control the PBXware services. The available actions are as follows:
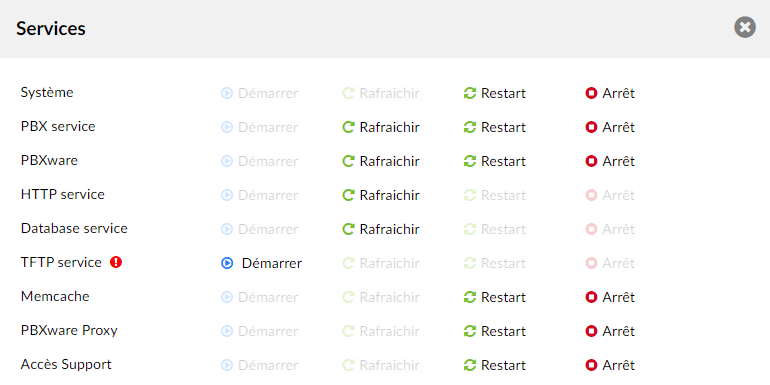
- Start
- Stop
- Restart
- Refresh
System
This is the system on which PBXware runs (press restart to restart the system).
PBX service
This is the main PBXware service. If the PBXware service stops for any reason, you will not be able to access your system through the web interface.
PBXware:
The PBX service is the core service on which PBXware runs. If the PBX service is not running, you will be able to access the PBXware web interface, but you will not be able to make or receive calls.
- HTTP service
The HTTP service represents the web server that serves the web user interface. Database service
The database service is the MySql database server used to store configuration and runtime data.
TFTP service
TFTP server used to store and serve the UAD/Phone auto-provisioning files.
Memcache
The Memcached service stores information that is read by the PBXware proxy.PBXware Proxy
PBXware Proxy connects to the asterisk manager and reads the events, which are then placed in Memcache for later use. Based on this data, the monitoring section will provide the information that is of interest to users.
Server details
This window modifies the system's time zone and host name and resets the PBXware root password.
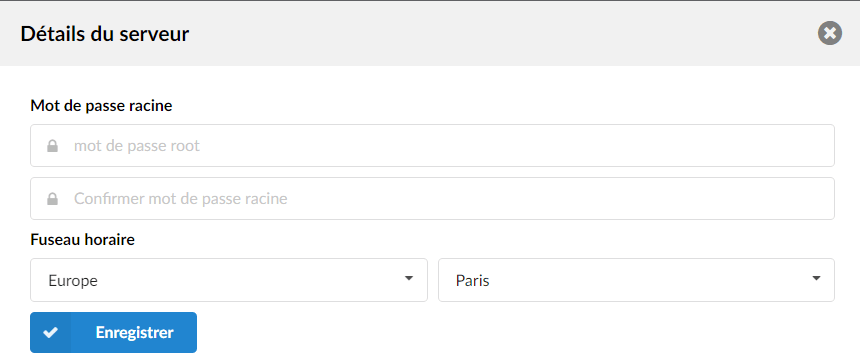
Root password:
PBXware requests this password when connecting to the system/ssh and when accessing system services through the interface.Confirm the root password:
Retype the root password entered in the field above.Time zone:
Select the time zone in which PBXware is located.
For more information on the other server detail fields, consult the section Getting started.
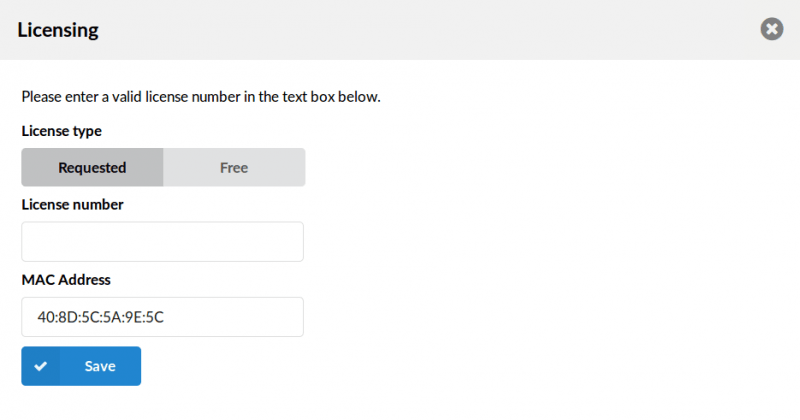
License type:
Select a license type for the system. The system comes with two license types: “Free” and “Required”.For the "Required" license, the license number will be requested in the field below.
License number:
Enter the system license number as received in the email.MAC:
Enter the MAC address to which the license will be applied
(For example, if your system has several MAC addresses, select the one to which you want to assign the license. If this MAC address changes in the future, you will have to reassign a license to the system).
Sound files
This section manages all the sound files used by PBXware.
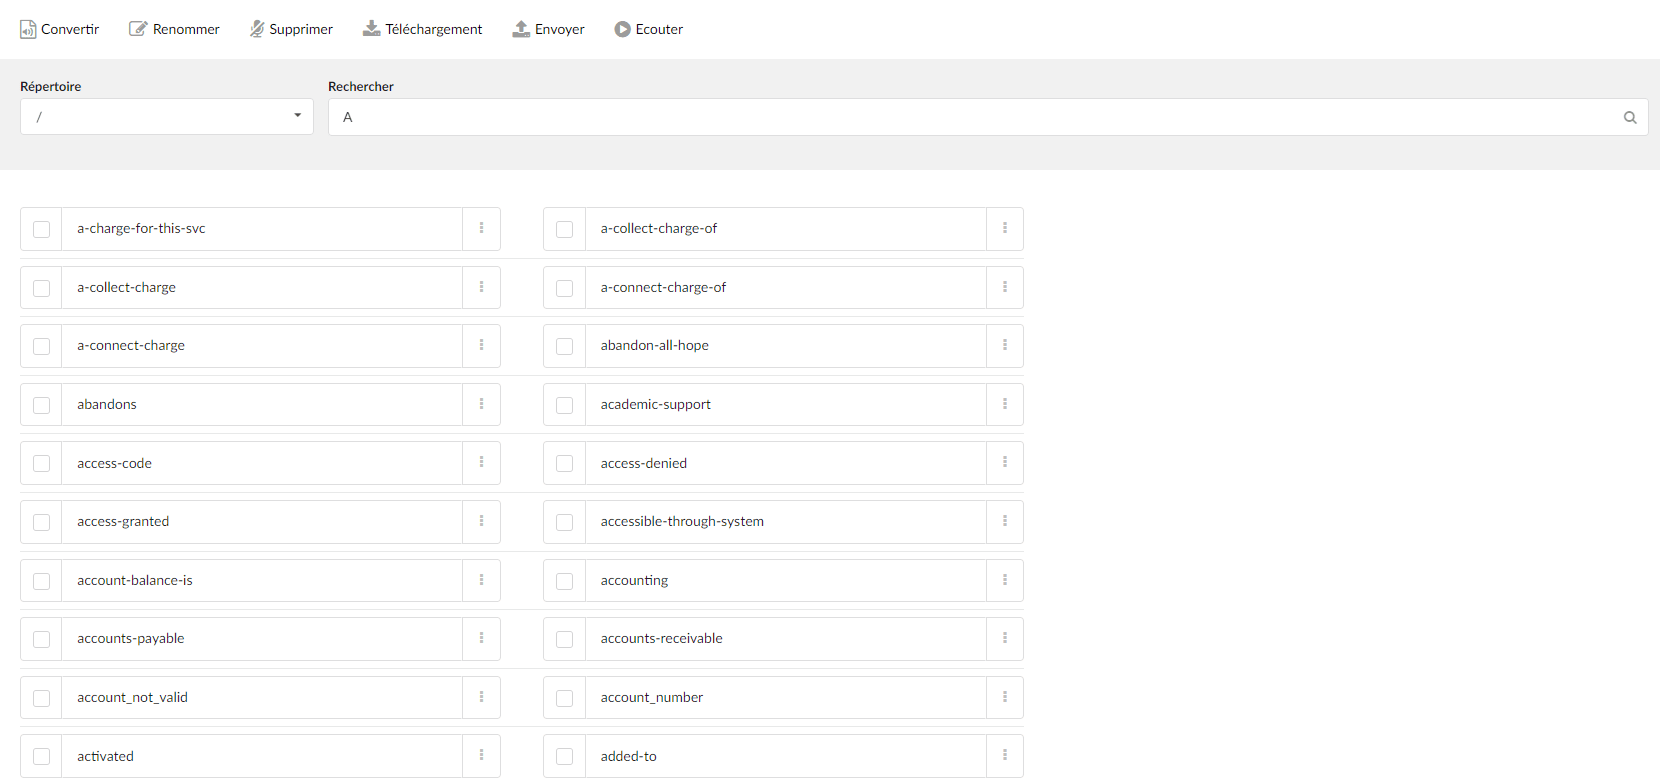
Filter

Directory
Select the directory from the drop-down list to display only the files located in that specific system directory. The directory is sorted alphabetically.
Search
Search bar for finding sound files using a provided search string. The default search string is “A” and the field cannot be empty. The search will cover all files whose name begins with the search string. Case insensitive.
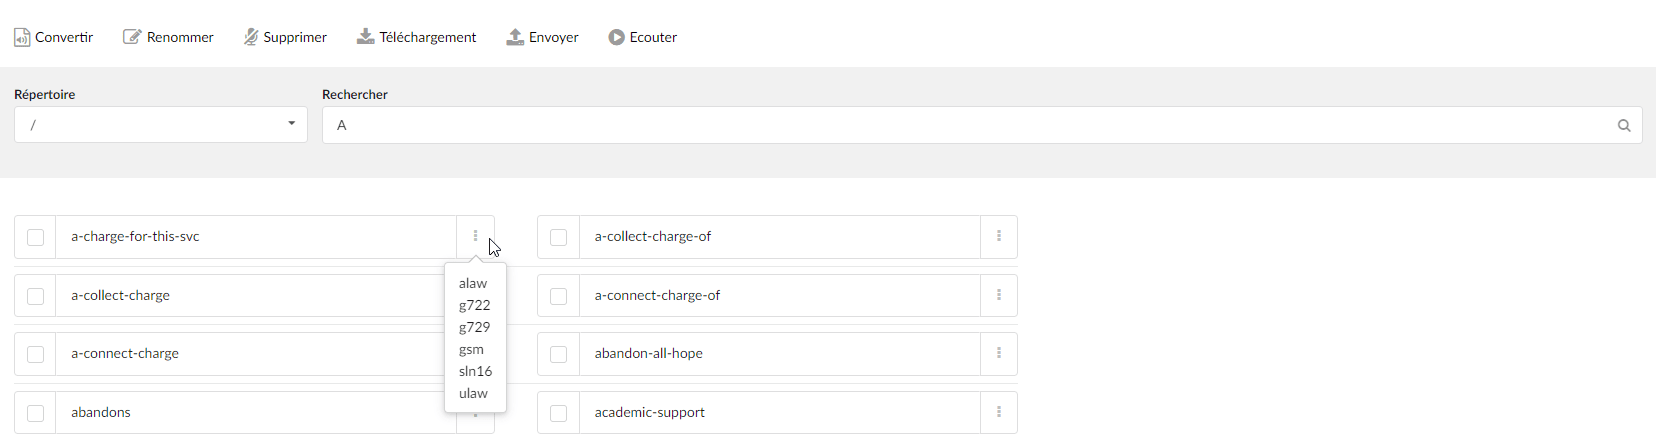
Type
List of all types of this file, which can be displayed by hovering over the 3-dots icon (as shown in the screenshot).
Options
At the top of the page, the following options are available for audio files:

Convert:
Convert the selected file to the desired codec.
After selecting one or more audio files and clicking “Convert”, users can choose the codec to which they want to convert the file from the drop-down list. The selected sound file will then be converted.
Download:
Downloads the selected sound file to the user's computer (a dropdown menu is offered and only the types available for that file appear in the dropdown. If “All” is chosen, a ZIP file containing all types available for that file will be downloaded).
Check a box next to one or more audio files and click the “Download” command button. The user can choose from the available audio formats which one they want to download, or all of them.Send
Upload the selected sound file from the user’s desktop.
Click the “Send” button and choose a sound file on your desktop to send it to the system.
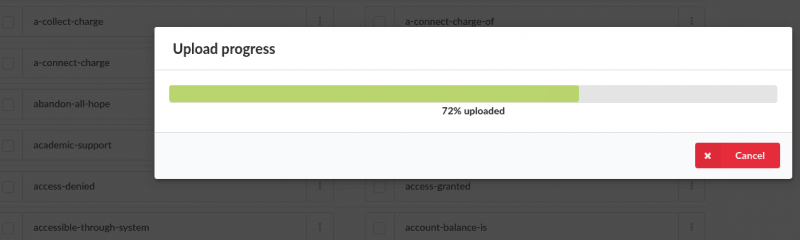
A progress bar is displayed when uploading a file.
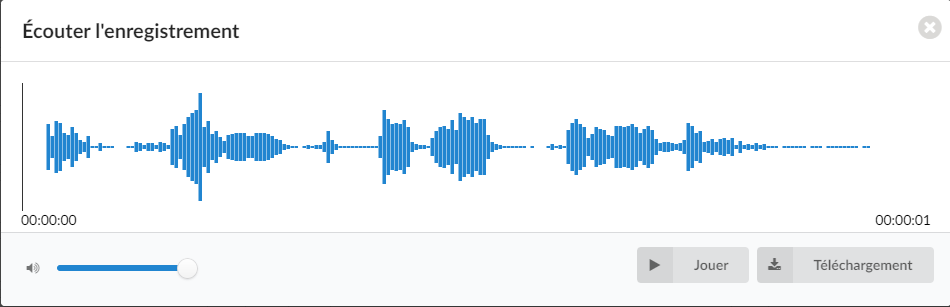
Listen
This option allows you to listen to a sound file. Check a box next to a sound file, then click "Listen" to listen to it.
Music on hold
Music on hold is music or advertising played to callers while they wait, for example, for an agent or when they are placed on hold.

Content
The Music on Hold content window manages all the sound files of PBXware's music on hold. They are listed here with the following details.
Name:
Name of the Music on Hold sound file.
Class:
The Music on Hold class that the sound file belongs to.
Status:
Status of the Music on hold sound file. The possible choices are "Enabled" and "Disabled".
 Edits the Music On Hold file configuration.
 Deletes a file from the system Music on Hold.
Search

Search:
The possible choices are "Enabled" and "Disabled".
(For example, enter a search phrase here and press the “Enter” key to filter the records).
Classes
Music on Hold classes are a bit like folders on a computer filled with music files. When a music class is assigned to the queue, for example, all the sound files belonging to that class are played in a random order. Music classes are listed here with the following details

Name:
Name of the Music on Hold class.
Status:
System status of the Music on hold class. When disabled, the sound files belonging to the class will not be played anywhere on the system.
- Edits the Music On Hold file configuration.
- Deletes a file from the system Music on Hold.
Search
Search:
Enter a search phrase here to make it easier to find a Music on Hold class. The search can be done by class name.
Add/edit Music on Hold classes.
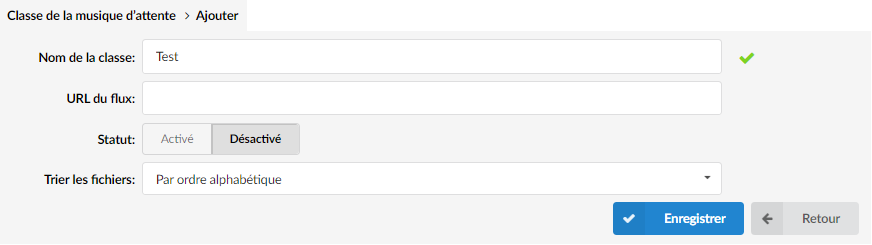
Class name:
Enter the name of the Music on Hold class.Feed URL:
In the latest version of PBXware, we have implemented support to facilitate the streaming of Music on Hold. All you have to do is create a new Music on Hold class and enter the link to your stream in the stream URL field.Status:
Set the status of the class.Sort files:
Should the files assigned to this class be played in alphabetical order or randomly.
Sangoma cards
This part of the interface is used to configure Sangoma cards: PRI and Analog.

This part of the interface is used to configure Sangoma cards: PRI and Analog.
Depending on the inserted cards and the number of ports they have, an appropriate row of information will be displayed in the card list. Likewise, if a PRI or analog card is inserted, the configuration settings will differ.
PRI cards
When the PRI card is inserted (such as the A101 card which has one port), the list contains as many items as there are ports on that card. In this case, A101 has one port, so one item or card in the list. If you insert an A102, you will get two items in the list because that card has two ports.
You must therefore configure each port individually, which is why there is a separate Configure button for each port.
When the PRI card is inserted (such as the A101 card which has one port), the list contains as many items as there are ports on that card. In this case, A101 has one port, so one item or card in the list. If you insert an A102, you will get two items in the list because that card has two ports.
You must therefore configure each port individually, which is why there is a separate Configure button for each port.
When the card is inserted, the “Not connected” status is displayed. You must connect the cable to the card and click the Configure button.

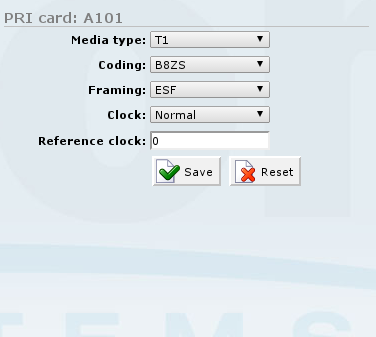
Media type:
This is the type of PRI system to which the card is connected.
Example:- T1 – PRI in the United States
- E1 – PRI in the EU
- J1 – PRI in Japan
Encoding:
This is the coding type for this port. It is automatically selected with the media type, so there is no need to change this option.Scope:
This is the framing used for this port. This option is automatically selected with the Media type, so there is no need to change it.Clock:
Choose whether the card will provide a clock to the devices (“Master”) or whether it will use a clock generated by the telco (“Normal”).Reference clock:
This option allows you to use the incoming clock from another port as the clock source for this port.
Analog cards
When you insert a Sangoma analog card, each card has one “item” in the list, regardless of the number of ports it has. Under Port, you will see how many FXS and/or FXO ports are configured.

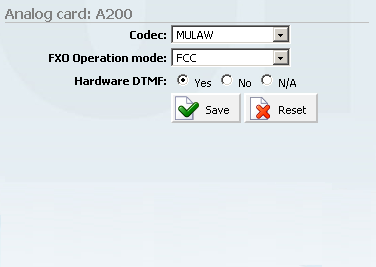
Codec:
Codec used for this card.
FXO operating mode:
FXO operating mode.Hardware DTMF:
Enable/disable Hardware DTMF detection.
The procedure for configuring the FXS/FXO ports is the simplest. Click Configure, Save, click Apply, then restart PBXware.
