



15. Reports
CDR
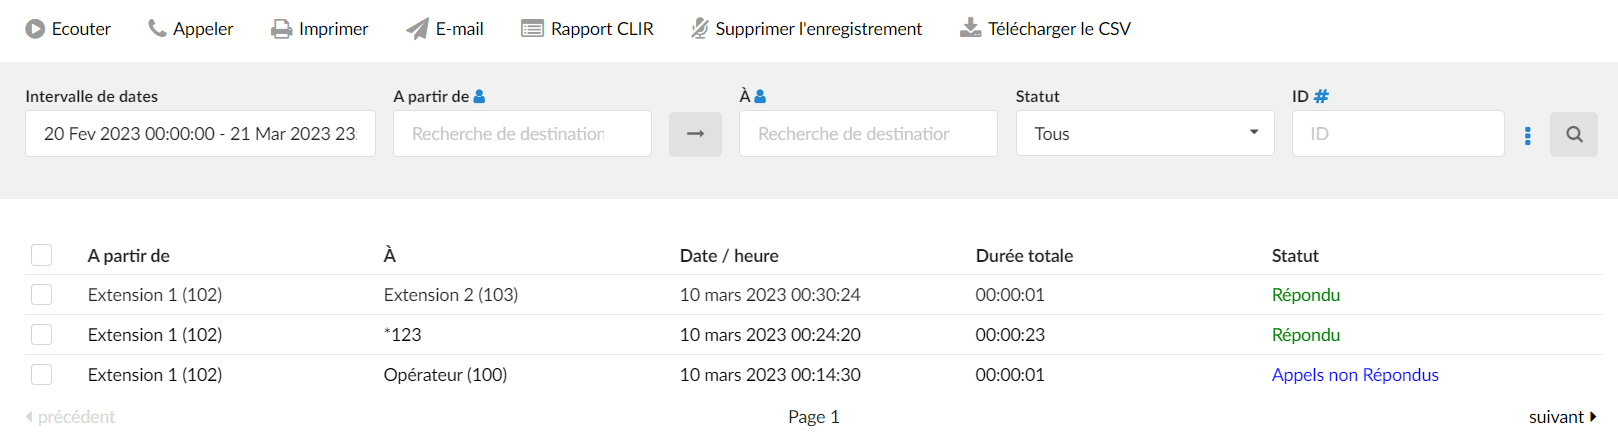
CDR displays the detailed records of all PBXware calls with the following details
Starting from:
The extension number from which the call was made
(For example, if the call was made from extension 1001 to extension 1004, '1001' is displayed here).
To:
The extension number to which the call was made
(For example, if the call was made from extension 1001 to extension 1004, '1004' is displayed here).
Date/Time:
Date and time at which the call was made
Total duration:
Call duration in hh:mm:ss format
Duration rating:
Time billed by the system
Cost rating:
Call cost.
Cost rating:
Call cost
Status:
Displays the call status
Example:
Depending on whether a call was answered or not, the value of this field may have the following content:- Answered
- Unanswered
- Busy
- Failed
- Voicemail
 This icon is displayed when a call is recorded and the "Delete" or "Listen" enhanced service is active.
 This is a box used with CDR commands to select a desired call
Playback of recordings
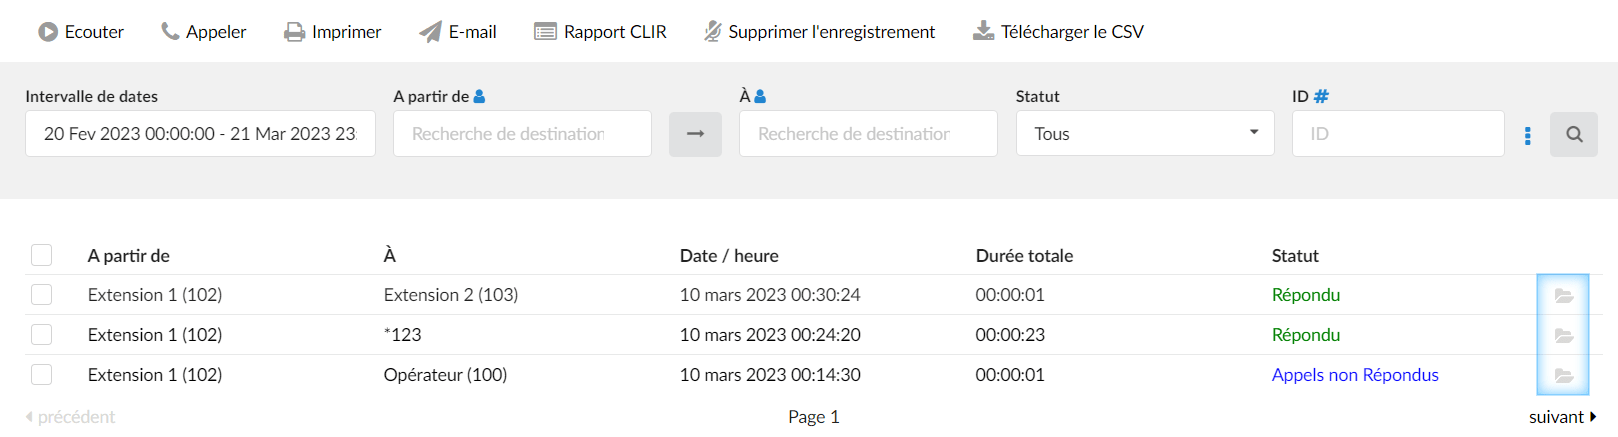
Users can download or listen recordings forwarded to certain services using the Archiving option on this page. These recordings are similar to ordinary call recordings, but those that are forwarded cannot be deleted.
If such an entry is selected and "Delete recording" is clicked, the following warning message appears: "Recording is not available for the selected recording“.
Depending on the scenario involved, one of the two icons is displayed:
- Standard playback icon – A recording is available both locally and remotely. This recording can be downloaded or listened to on this page, and it can also be deleted from the system. The deletion action will be performed locally, but the recording will remain stored remotely.
- Service icon – A recording is only available remotely. Such a recording can be downloaded or listened to on this page, but it cannot be deleted from the system.
The system displays different icons depending on the service used.
The list is as follows:
 Amazon S3
 FTP
FTP
SFTP
 Google Drive
 Dropbox
Search/filter
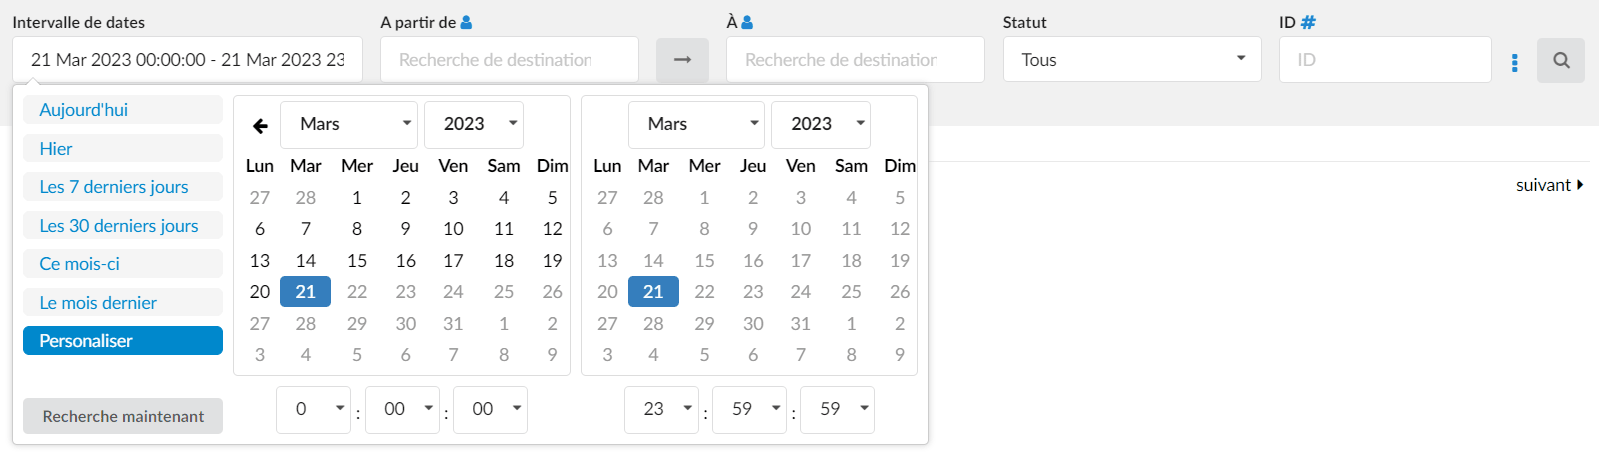
Date range
Select a search/filter start date
Starting from
Select whether you want to search the CDR by destination(s) or by the line from which the call arrived.To
This field indicates the destination(s) or the Trunk for which you are performing a searchStatus
Search for calls by selecting the desired call status. Example: Click the "Please select" button and choose one of the available fields:- All
- Answered
- Unanswered
- Busy
- Failed
- Voicemail
ID
 CDRs can now be filtered by two different types of identifiers. The first is the unique ID, and by filtering with this one, you get the same functionality as before (set by default). By clicking on the blue "#" sign right next to the "ID" label, you change the ID type to linked ID. By filtering CDRs with this ID type, you will get all the CDRs that are "linked" to the selected CDR and you will be able to create a call flow in which the selected CDR is included.
 Actions

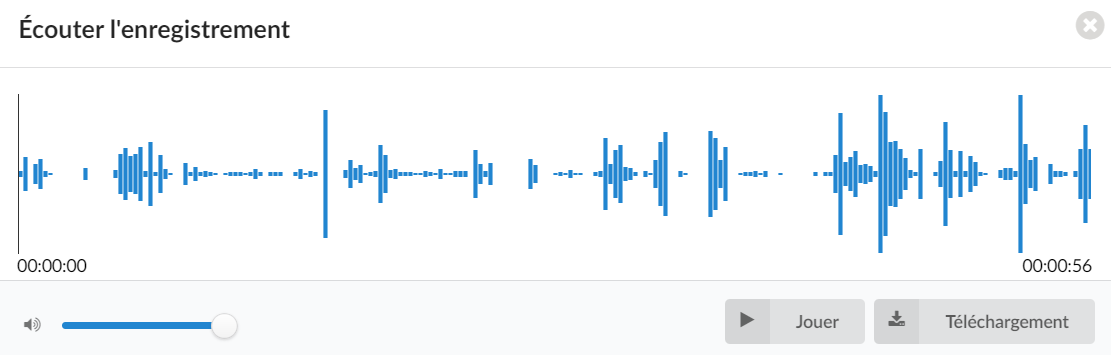
Listen:
Once the 'Listen' icon is displayed next to a call recording, it means that the call in question has been recorded.
Click the Play button to play the call recording in your browser.
Most modern browsers are supported (Google Chrome, Mozilla Firefox, Safari, Microsoft Edge, etc.).
Call
To establish a call between two PBXware extensions, click the button Call from the action bar the extension number of the caller and to choose the destination extension from the drop-down list.
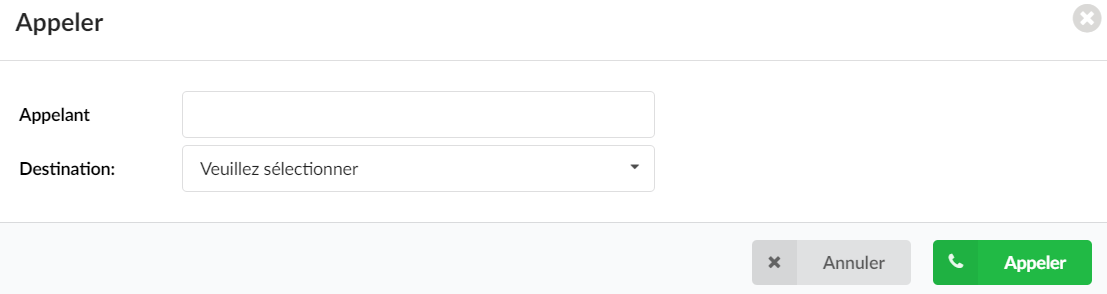
Caller
PBXware extension that will place the call.
Enter any PBXware extension number here, 101 for example.Destination:
Destination extension that will be dialed by the caller's extension
(For example, to select a destination extension, first check the box next to a CDR record. This field will display two extensions listed under the selected records "From" and "Destination").
Click the Email button to send all the reports listed on the page, or check a box next to a report and click the “Email” button to send only the selected reports.
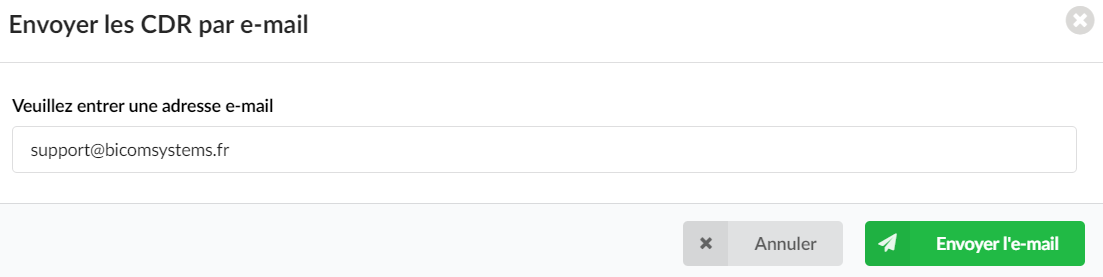
Enter the email address to which the report should be sent and click the “OK” button to continue or “Cancel” to interrupt the email action.
Press “OK” to email all CDR records on the current page (even if they are not selected), or click “Cancel” to print only the selected records.
Finally, press the "OK" button to confirm the email action or "Cancel" to cancel the email action.
CDR summary
Create a CDR summary report for a selected period.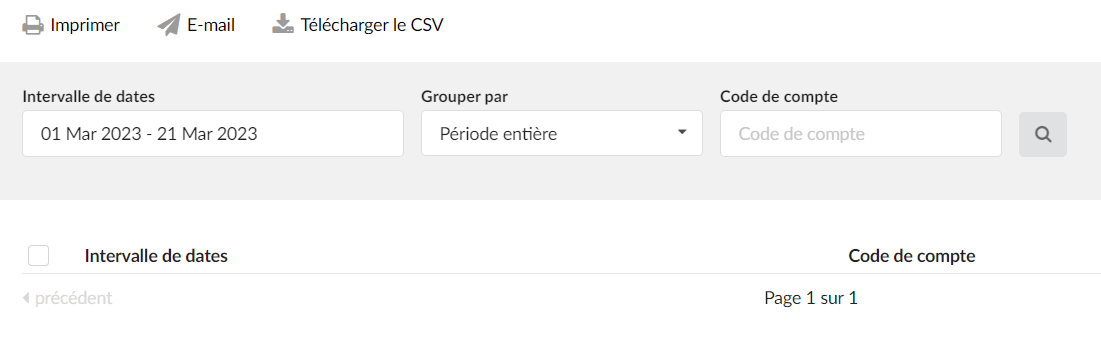
Date range:
Select a search/filter start date (For example, click the small “Calendar” icon next to a field and select the desired date).Group by:
Group results by selecting the desired period. Example: Click the field and select one of the available options:- Entire period
- Quarterly
- Monthly
- Annual
Account code:
Filter the results by account code.
SMS
The “SMS” section of the reports allows users to see all the details concerning the SMS messages on the system.

- Click the button Print to print the CDR report.

Date range:
Select a search/filter start date
(For example, click the small “Calendar” icon next to a field and select the desired date).Starting from:
Enter a number from which the SMS message was sent and the data will be filtered accordingly.
To:
Enter a number to which the SMS was sent and have the data filtered accordingly.
Orientation:
Select one of the directions and have the data filtered accordingly.

Checkbox
Select an entry by checking this boxStarting from
Displays the number from which the SMS was sent as well as the extension name/number.
To
Displays the number to which the SMS was sent as well as the extension name/number.
Orientation
Displays the direction of the SMS message
Date/Time
Displays the date and time of the SMS message.
Status
Displays the SMS message status
Grouped messages
 The section Grouped messages reports allows users to see all the details about broadcast messages.
- Click the button Print to print the CDR report.

Date range:
Select a search/filter start date
Status
Select one of the statuses and filter the data accordingly.
Name
Fill in the field with a name and filter the data accordingly

Checkbox
Select an entry by checking this box
- Name
Displays the name of a bulk message
CDR options
Please indicate a number in the "Records per page" field.
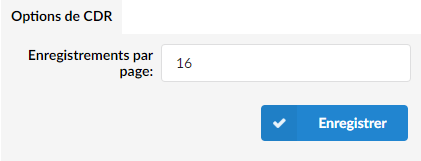
Records per page:
Number of records displayed per page
(For example, when you are on the “Reports: CDR” page and this option is set to ’16’, the last 16 call records will be displayed. At the bottom, there is a “Page” field. Enter a page number, for example “2”, and click the “GO” button to display the next 16 call records).
CLI messages
CLI messages are a convenient method to display the messages received from asterisk's CLI (Command Line Interface). Each message is displayed in the order in which it was received, and if one of them is clicked, a new Google search page will open with the message text.
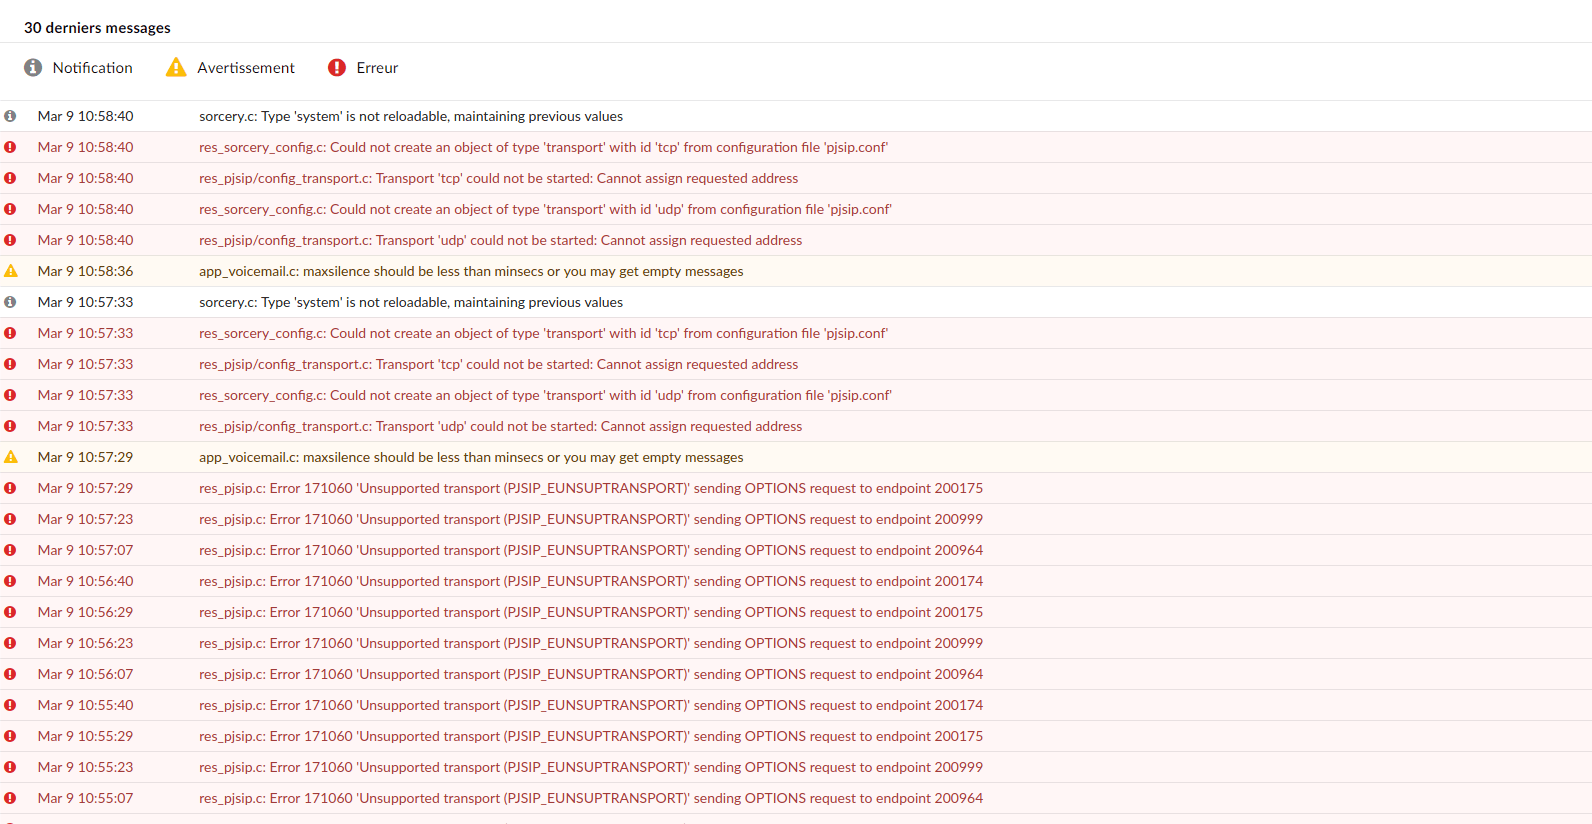
Available message types:
Notification – A notification message is simply a notice and does not affect the operation of the system.
Warning – An attention message concerning an issue that does not generally affect the operation of the system.
Error – An error message may stop or affect the operation of the system in certain situations.
SMTP Log
This page will allow you to see any errors concerning email messages and notifications from PBXware.

Notification – A notification message is simply a notice and does not affect the operation of the system.
Error – An error message may stop or affect the operation of the system in certain situations.
Auto provisioning
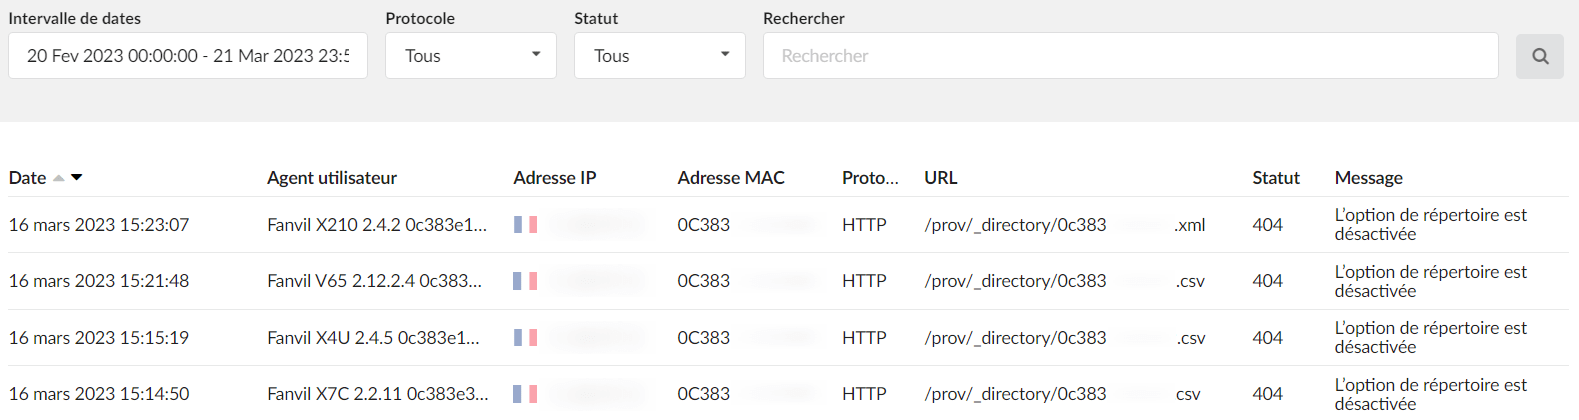
This page displays the auto provisioning logs for the UADs registered on the system.
The page displays 8 columns as follows:
- Date: Record of the date and time at which the request was submitted
- User agent: User agent character string, as written in the request
- IP address: Country flag (if it can be determined) + IP address of the request sender
- MAC address: MAC address of the phone
- Protocol: HTTP, HTTPS or TFTP
- URL: URL that was requested
- Status: 200, 401, 403, 404, 500
- Message: A message describing the status in more detail
Logs can be filtered by tenant, by date, by protocol, by status, and by a search entry that will try to match the UAD to the IP, MAC, and URL.
Archiving
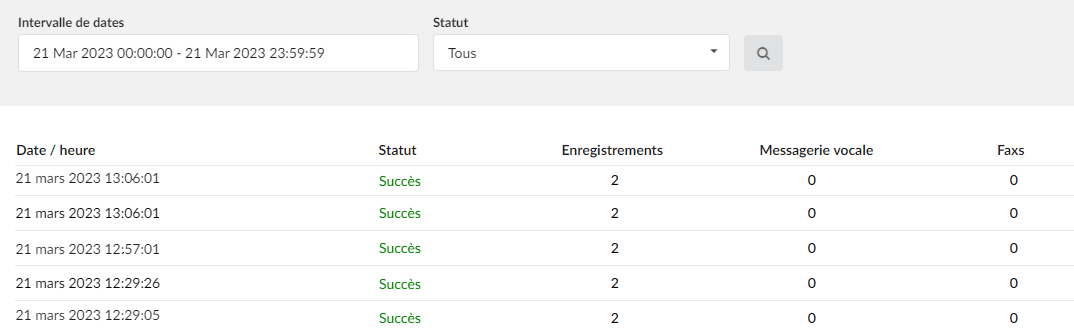
Archiving automatically copies eligible files to a remote destination on a weekly basis.
Users can store data on one of the following services:
- Amazon S3
- Google Drive
- Dropbox
- SFTP
- FTP

Date range
Search for data by selecting a specific date range and clicking the "Search now" button.
Status
Search for data by selecting one of the statuses shown in the drop-down list

Date/Time
Displays the date and time of a download
Status
Displays the status of a download
Recordings
Displays the number of records
Voicemail
Displays the number of voice messages
Faxes
Displays the number of faxes
Email to fax
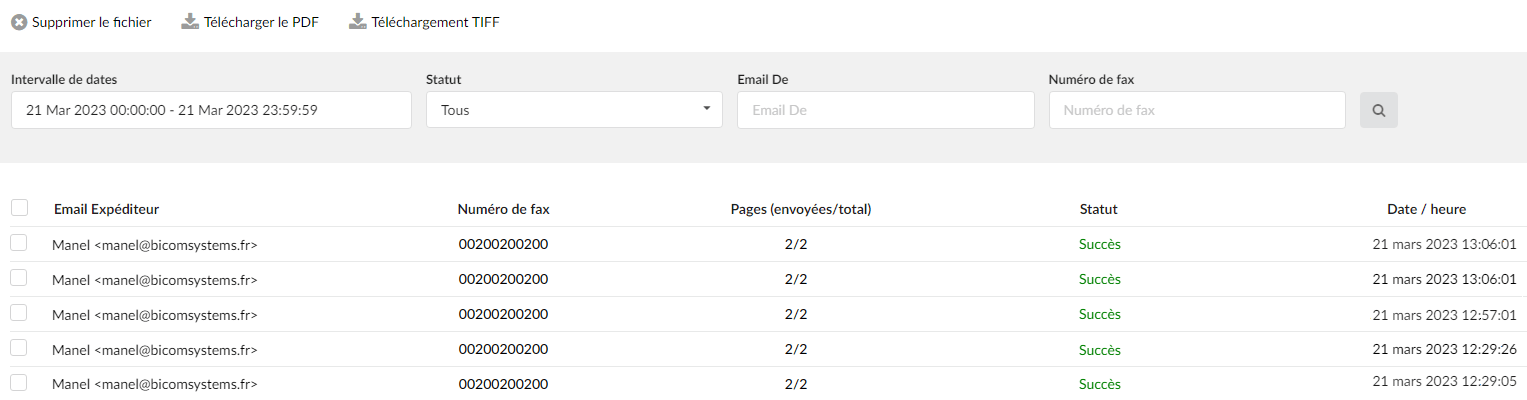
Each fax (sent or failed) will be recorded. Here, you can generate a report and see the details of each record.
Each log will display this information:
- Tenant: Tenant number (only if the system is Multi Tenant and we are viewing the reports of the master tenant)
- Sender Email: Email address of the fax sender.
- Fax number: The number to which the fax is sent.
- Pages (sent/total): Indicates the number of pages sent.
- Status: Success or Failure
- Date/Time: Date the fax was sent.
The reports can be filtered by date, by tenant (only for the master tenant), by status, by email and by fax number.
This page has three action buttons:
- Delete the file: this option allows deleting the PDF and TIF files from the system for the selected reports, if available.
- Download the PDF: Download the PDF for all selected reports. If the PDF file corresponding to this report does not exist, this report will be ignored.
- Download TIFF: Same as the Download PDF button, but it downloads the TIF file format.
Archived reports
On new installations, the CDR will be partitioned automatically. By default, we will retain up to one year of data, but customers will have the option to modify this period in the "File System" section, if necessary. The "Archived Reports" page allows users to consult the logs and see how the partitioning process went.
Date range:
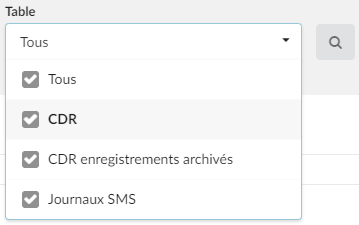
Select a search/filter start date (For example, click the small “Calendar” icon next to a field and select the desired date).Table
Select a specific table and filter the data accordingly
Period
Displays the partition dateTable
Displays the database tableFile size
Displays the size of a file after archivingFile
Download the archived partition as a file
RPS Provisioning
This page will contain the latest logs concerning ZTP.
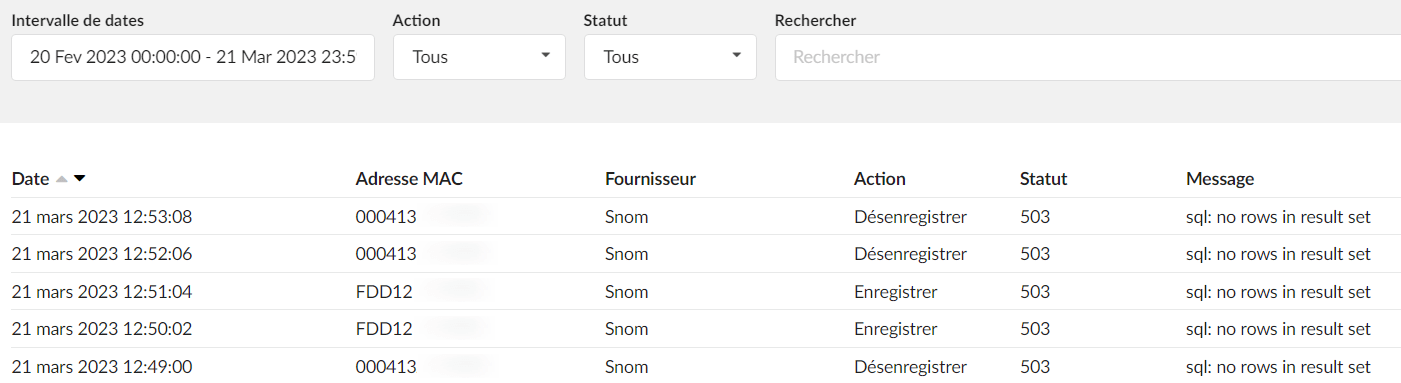
Each log contains the following information:
- Date – Date/Time of the recording
- MAC address – MAC address of the phone
- Provider – UAD Provider
- Action – Action performed: Registration, Deregistration, Update.
- Status – Status of the action
- Message – In case of an error, a detailed message will be provided.
You can filter the logs by date, action, status or enter a search term that will be matched against a Mac address or a UAD. If the page is opened on the master tenant, the logs can also be filtered by tenant.
Directory Sync Management

Date range:
Select a search/filter start date (For example, click the small “Calendar” icon next to a field and select the desired date).Action:
Select one of the three actions and display the data related to that action.
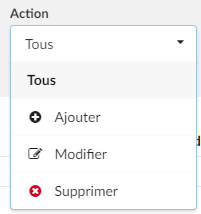
- Add – By selecting this option, you will display the synchronized extensions that have been added.
- Edit – The selection displays the modified synchronized extensions.
- Delete – Selecting this option displays the deleted synchronized extensions.
Status:
Select one of the two statuses and display the data related to that particular status.
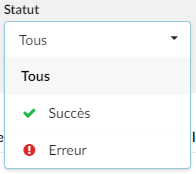
- Success – The extension synchronization was completed successfully.
- Error – The extension synchronization failed.
Search the site
Search for data by "email", "extension number" or "extension name" and display it accordingly.Email
Displays the name of the synchronized extension.Extension number
Displays the extension number.Action
Displays data based on the selected action.Status
Displays data based on the selected "status".Message
Displays the message explaining the synchronization failure.
