18. Fax
The Fax page displays all faxes received by PBXware as well as those forwarded to remote systems.
Received
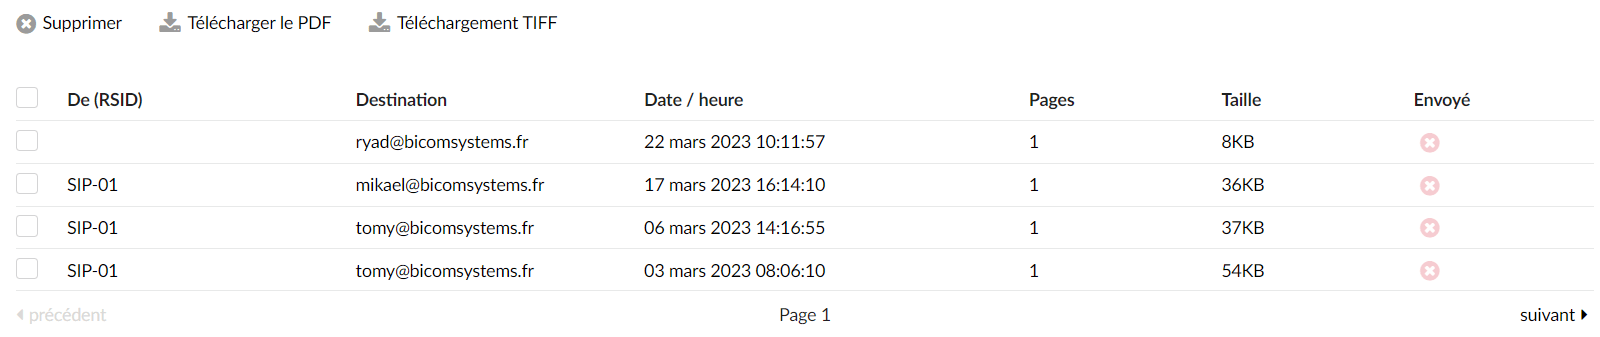 This page shows the faxes received by PBXware.
The possible actions on this page are:
- Delete
The Delete button allows you to delete the selected fax(es) from the list.
- Download the PDF
Downloads the selected fax(es) in PDF format
- TIFF download
Downloads the selected fax(es) as a TIFF file
The fax page details are as follows:
- From (RSID)
Extension number from which the fax was sent
- Destination
The email address to which the attached fax was sent. If the extension number is displayed here, the fax is sent to the email address associated with the extension.
- Date/Time
Date/time the fax was received
- Pages
Number of pages of the received fax
- Size
Fax size in KB
- Sent
Indicates whether the fax was sent remotely or not.
(for example, the red icon indicates the local destination and the green icon indicates the remote destination of the fax).
Sent
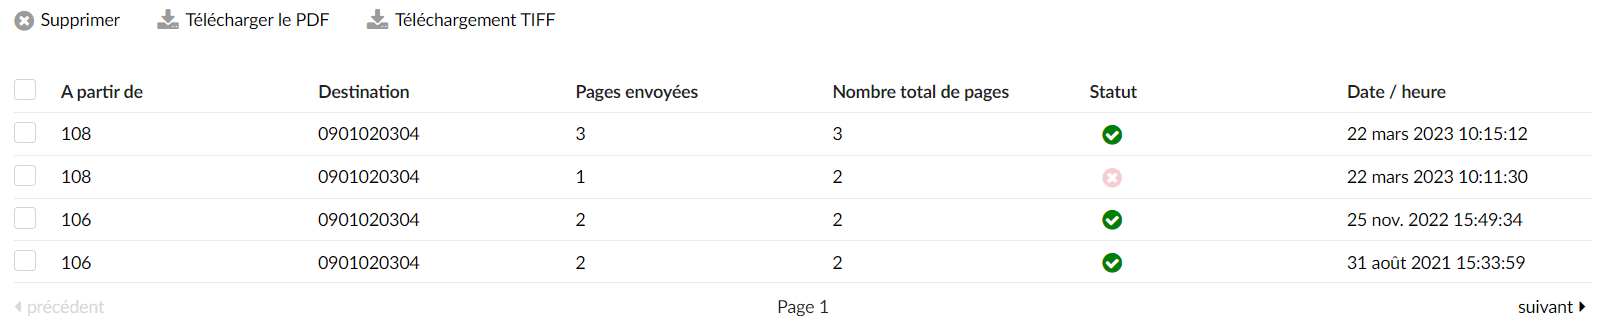
This page shows the sent faxes.
The possible actions on this page are:
- Delete
The Delete button allows you to delete the selected fax(es) from the list.
- Download PDF
Download the selected fax(es) in PDF format
- Download TIFF
Download the selected fax(es) in TIFF format
The sent faxes page presents the following details:
- Extension number
Extension number from which the fax was sent
- Destination
External number to which the attached fax was sent.
- Pages sent
Number of fax pages sent successfully.
- Total number of pages
Total number of pages of the selected fax.
- Status
Sent fax status, indicating whether the fax was sent successfully or not.
- Date/Time
Date/time the fax was sent
Remote fax
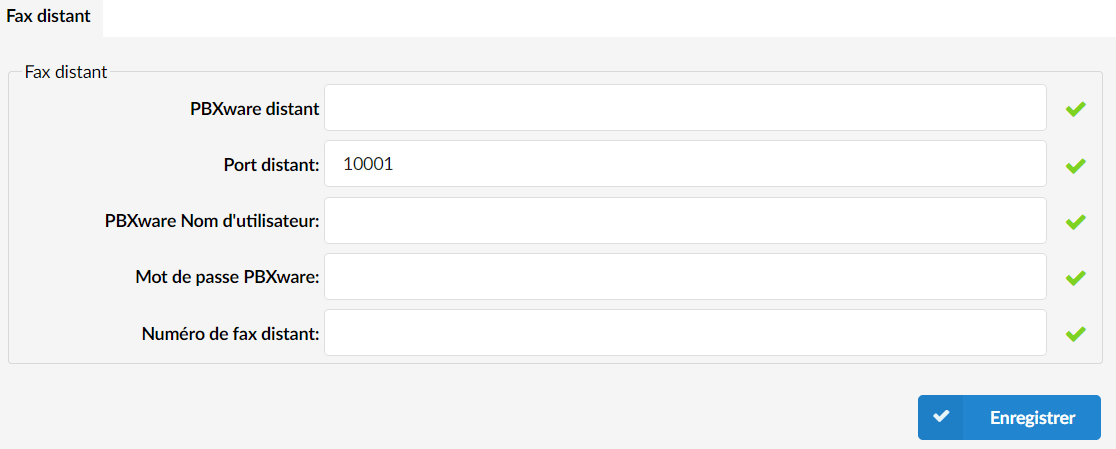
The remote fax option allows PBXware to forward all incoming faxes to other systems. To do this, make sure to set the following options in the inbound DID (Destination > Fax to email), then provide the necessary information about the remote system as follows:
- Remote PBXware
The IP address of the remote system that is to receive the fax.
- Remote port
Remote system port used for communication
- PBXware Username
Daemon username of the remote system (‘Settings: Servers: Edit: Daemon Username’)
- PBXware password
Remote system daemon password (‘Settings: Servers: Edit: Daemon Password’)
- Remote fax number
Extension number that will be displayed as the sender of the fax.
Cover page
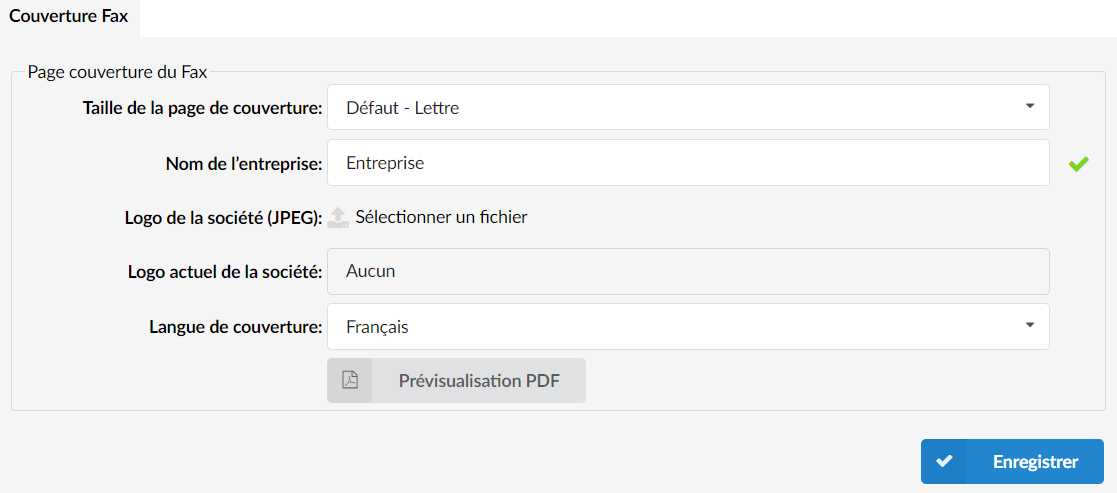
This page allows users to configure the cover page according to their preferences. It is possible to change the size of the cover page (A4, legal, letter, petition) as well as the company name, and to upload the company logo that will be displayed on the cover page.
Fax cover page
The cover page options are detailed here:
- Cover page size
Set the cover page size
- Company name
Set the company name that will be used on the fax cover page.
- Company logo (JPEG)
Upload the company logo
- Current company logo
Displays the file name of the company's current logo
- Cover language (since 6.6.1)
Sets the language of the cover page
- PDF preview
Open a new window with an example of what the cover page looks like using the settings in this section.
Caller ID
Communicator users can choose the caller ID, from a list predefined in PBXware, to use when sending a fax.

- Drop CSV
It is possible to upload a CSV file instead of manually entering the caller IDs. Make sure that the CSV file contains caller IDs and labels separated by commas on each line (callerid,label), as in the example below:
- Download CSV
Uploads the list of fax caller IDs defined in a CSV file
- Download the CSV template
The button Download a CSV template presents you with a file that already contains the necessary headers to help you create a CSV file more easily.
- Search
In the search section, you can find the caller IDs of your fax by typing its number or its label.
The caller ID screen lists all the following details:
- Caller ID
Unique caller identification number
- Label
Caller identification label
 Edit
Edit
Edit the fax caller ID configuration
 Delete
Deletes the fax caller ID from the system.
Add/Edit a caller ID
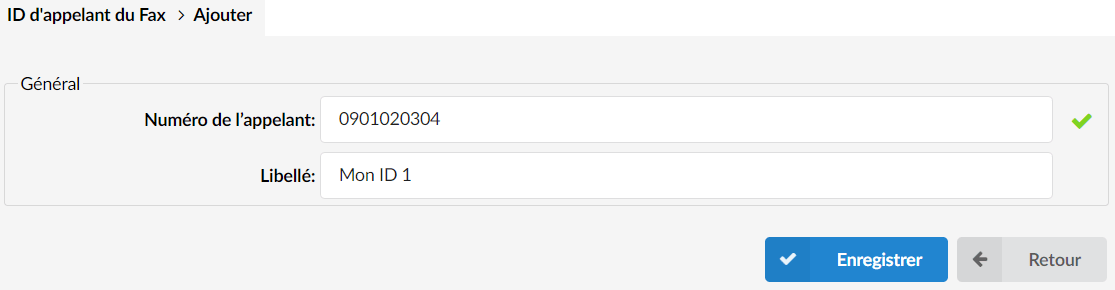
- Caller number
Unique Caller ID number for the Fax
- Label
Name that will be displayed in Communicator for this Caller ID
Settings
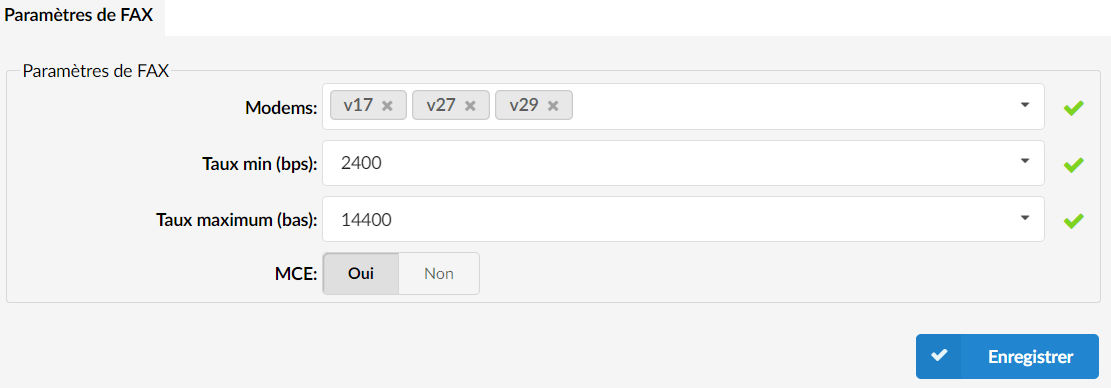
- Modems
Supported modem versions.
- Min rate
Minimum BPS rate.
- Max rate
Maximum BPS rate.
- ECM
Error Correction Mode (ECM) automatically detects and corrects errors in the fax transmission process.
Email to Fax
The service Email to Fax allows you to send faxes by email.
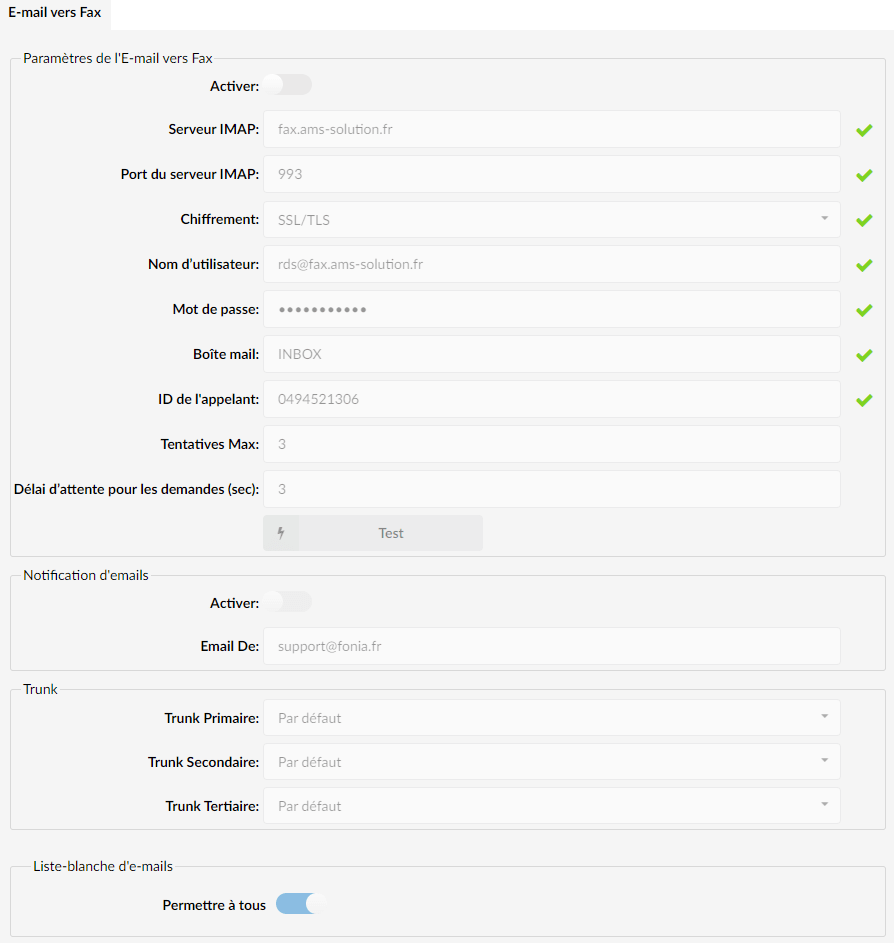
The email must have the following structure:
- The subject of the email must contain the number to which the fax will be sent.
- The attachment to the email is the content of the fax that will be sent (the attachment must be in PDF format).
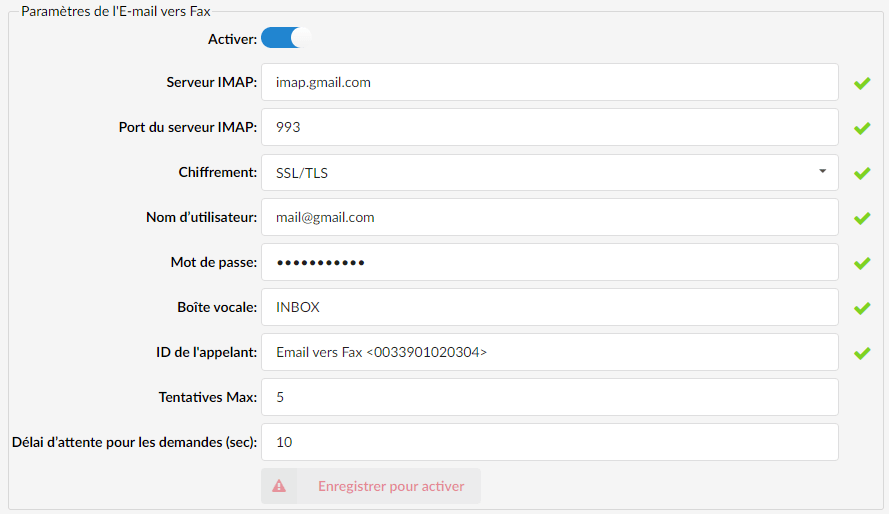
Microsoft Outlook
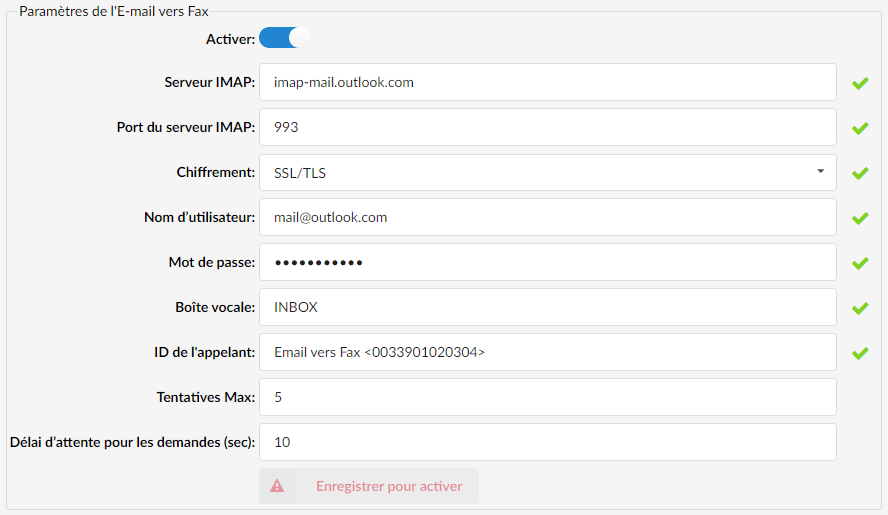
Here is a configuration example of the Email to Fax feature with a Microsoft Outlook server.